crwdns2915892:0crwdne2915892:0
If your TomTom GO Live 1535M GPS has a cracked, unresponsive, or malfunctioning display, this guide will show you how to replace the screen.
The screen on the TomTom GO Live 1535M displays navigation routes, menus, and real-time traffic updates, and it responds to touch inputs to control the device. A damaged screen can result in symptoms such as a blank display, visible cracks, dead pixels, or loss of touchscreen functionality. Please check out the TomTom GO Live 1535M Troubleshooting Guide before taking the device apart to ensure you are following the correct repair procedure.
Before beginning this repair, power off the device completely and disconnect it from any external power source. If the screen is shattered or broken, use caution to avoid any injuries from broken glass.
crwdns2942213:0crwdne2942213:0
-
-
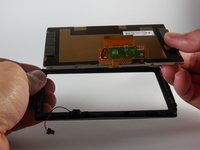
Slip a small opening tool underneath the screen, and gently slide it around the outside edge.
-
-
-
-
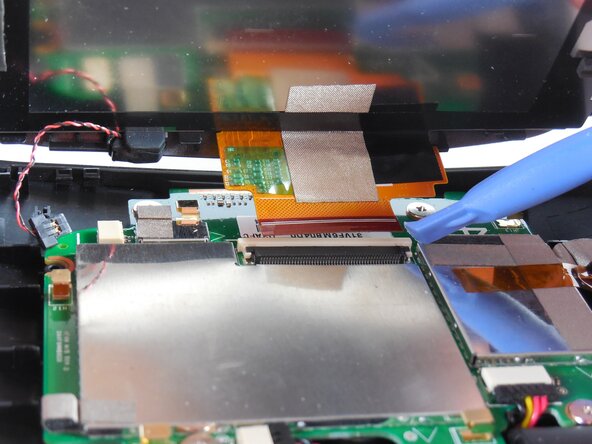
Use the wide end of a spudger to push on the sliding connector tab to slide it out of its socket and disconnect the reset button cable.
-
Use the wide end of a spudger or a clean fingernail to flip up the locking flap on the ZIF connector—the unlocked position.
-
Once the flap is in the unlocked position, use tweezers or your fingers to gently pull the cable out of its socket.
-
-
-
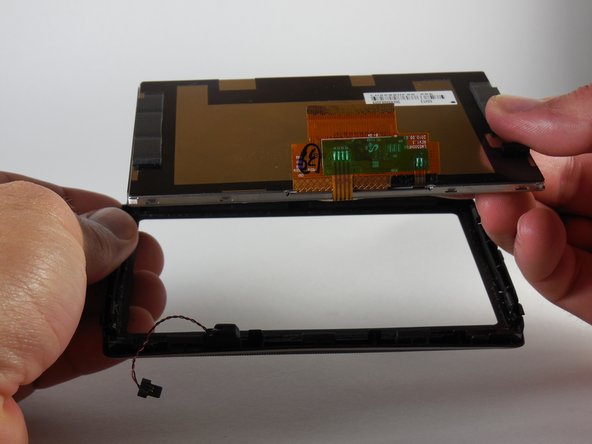
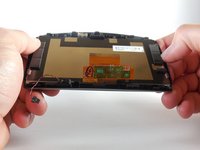
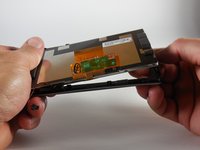
Push the screen up-and-out of the outside rim to remove it.
-


To reassemble your device, follow these instructions in reverse order.
crwdns2935221:0crwdne2935221:0
crwdns2935229:02crwdne2935229:0
crwdns2935287:0crwdne2935287:0

USF Tampa, Team 19-4, Blackwell Spring 2014 crwdns2935289:0USF Tampa, Team 19-4, Blackwell Spring 2014crwdne2935289:0
USFT-BLACKWELL-S14S19G4
crwdns2934841:01crwdne2934841:0
crwdns2935297:05crwdne2935297:0
crwdns2947410:01crwdne2947410:0
I just replaced the screen. But with the cable ribbon installed the screen does not activate. The startup tom-tom sound does play. The screen is blank. But the old screen does not work as well. Prior to this the screen did work but was un responsive. Any thoughts?