crwdns2915892:0crwdne2915892:0
The Black Mirror Mini's power switch is known to fail.
You may be able to get a replacement or refund if it fails within the warranty period.
At first, you may be able to move the slide switch slightly back from the ON position to turn the unit on but eventually this will stop working too.
While you could potentially replace the slide switch, this guide bypasses it in favor of using the soft on/off key on the top.
crwdns2942213:0crwdne2942213:0
-
crwdns2935267:0crwdne2935267:0Jimmy$7.95
-
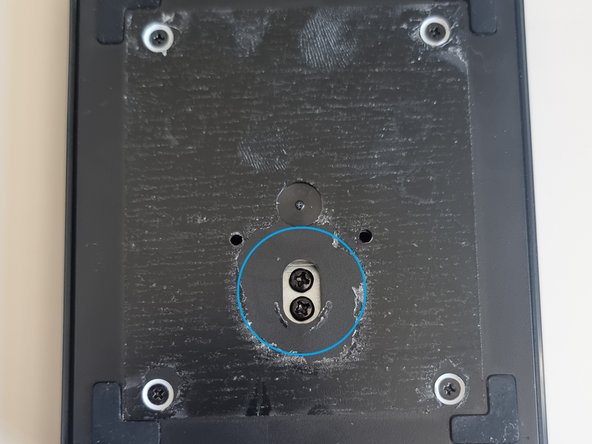
Using a Jimmy, peel back the label on the bottom plate.
-
Using a Phillips #1 Screwdriver, remove the two black screws in the middle of the bottom plate. These screws might be quite tight.
-
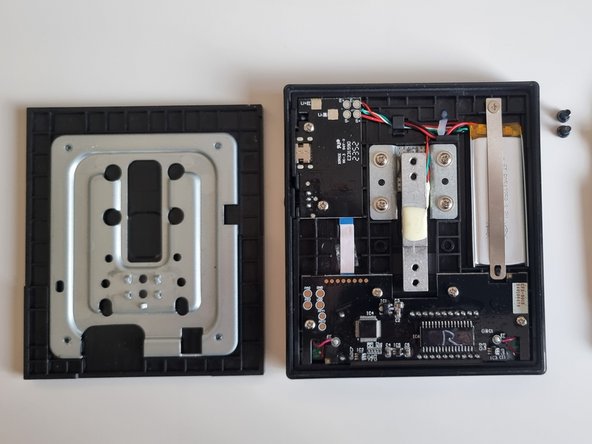
Using an Opening Pick, separate the top plate from the bottom plate.
-
-
-
crwdns2935267:0crwdne2935267:0Tweezers$4.99
-
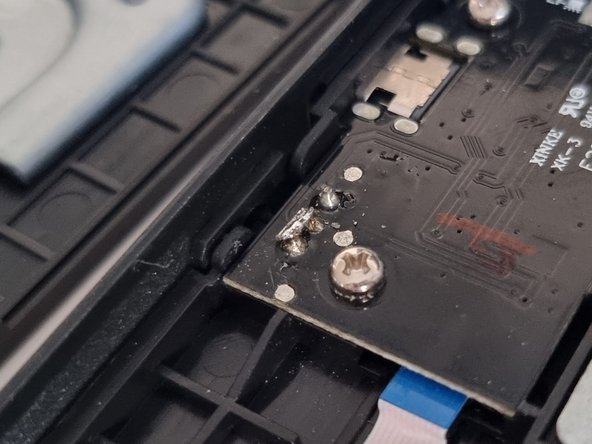
Set the slide switch to the ON (right) position.
-
Using your Soldering Skills and Tweezers, solder a jumper wire between the bottom two poles of the slide switch to bypass it.
-
If you don't have a soldering iron, you could try gluing aluminum foil across the two poles to electrically join them.
-
-
crwdns2935267:0crwdne2935267:0Phillips #1 Screwdriver$5.49
-
Place the top plate back on the bottom plate.
-
Using a Phillips #1 Screwdriver, screw the two black screws back into the middle of the bottom plate.
-
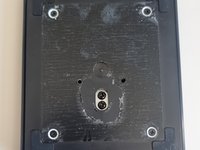
Reapply the label to the bottom plate and press firmly to secure it.
-


You can now use the soft key on the top plate to power the unit on or off:
- To turn the unit on, press the power button on the top plate.
- To turn the unit off, press and hold the power button on the top plate.
You can now use the soft key on the top plate to power the unit on or off:
- To turn the unit on, press the power button on the top plate.
- To turn the unit off, press and hold the power button on the top plate.
