crwdns2915892:0crwdne2915892:0
The motherboard keeps all function intact, whether start ups or shut downs, the motherboard sends the desired signal that you wish. If buttons do not work properly and send the correct signals, then the motherboard may be the problem and here is how to replace it.
crwdns2942213:0crwdne2942213:0
-
-
Power down the TiVo Premiere XL4 by detaching the power cable from the unit and power source.
-
-
-
Remove the four 80 mm T10 screws from the back of the TiVo box using theTorx screwdriver.
-
-
-
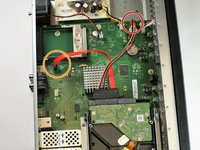
Take the outer casing by sliding the top of the box off of the component carefully, making sure not to damage the surrounding components inside.
-
-
-
Remove the single 140 mm T8 screw from the back panel using a Torx screwdriver.
-
-
-
Unplug the wire of the fan by gently squeezing the connector and lifting up.
-
-
-
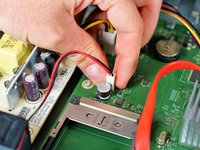
Remove the power supply wire by pinching the plastic connection and gently pulling away from the motherboard.
-
-
-
-
Remove the single 80 mm T10 screw above HDMI port using the Torx screwdriver.
-
-
-
Remove wire connected to the front of of the box by pinching the connector and gently removing from the motherboard.
-
-
-
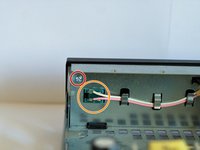
Remove two 100 mm T10 screws connecting the front cover to the hardware of the box using a Torx screwdriver.
-
Unplug the connector from the front panel.
-
-
-
Remove the front of the TiVo.
-
This step helps with the process of removing the motherboard due to the plastic prongs putting pressure on the board.
-
-
-
Using pliers, be sure that the cable jack is centered with the back of the box for easy removal.
-
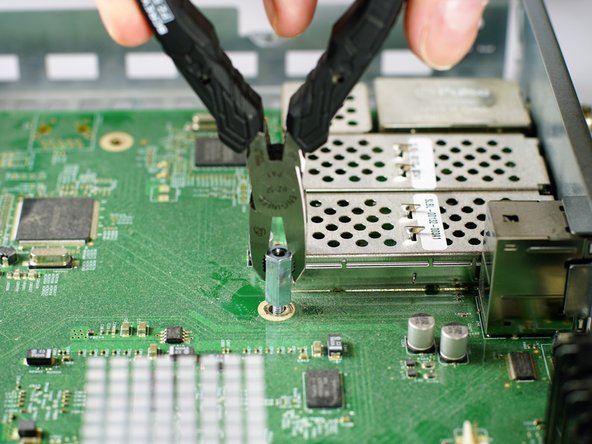
Remove the nut on the cable jack using pliers.
-
Remove the washer after removing the nut.
-
-
-
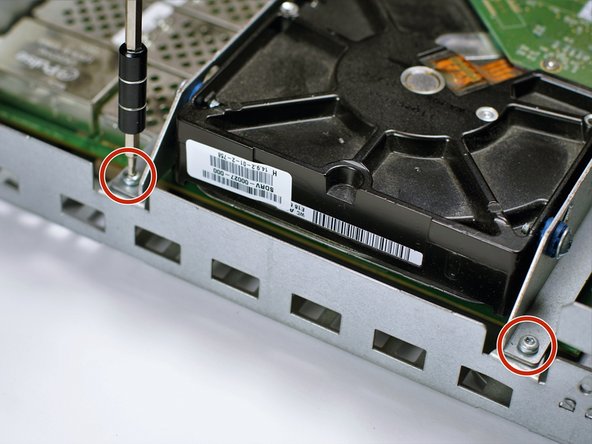
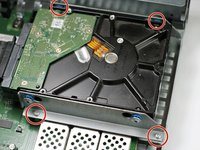
Remove the following (2) 80 mm T10 screws including the (2) 80 mm T10 screws located on the other side using the Torx Screwdriver.
-
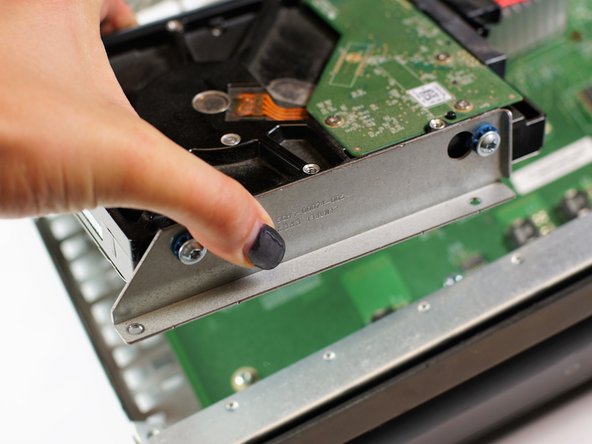
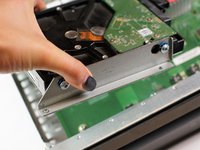
Remove hard drive from on top of the motherboard.
-
-
-
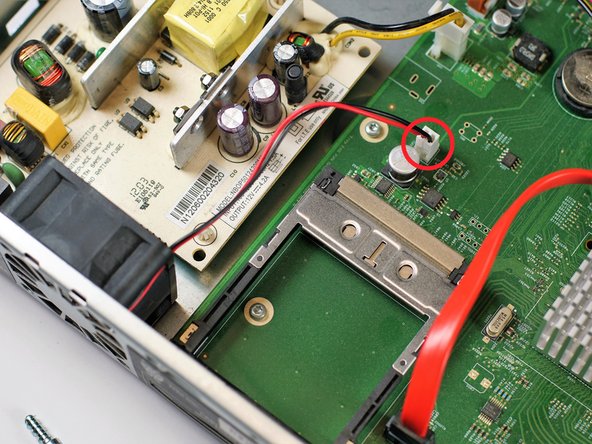
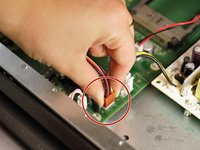
Pinch the connector of the bundle of wires (the bundle having black, red, black and yellow wires) and gently remove from the motherboard.
-
Pinch the connector of the single flat red wire and gently remove from motherboard.
-
-
-
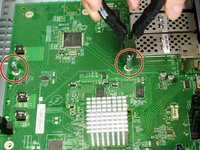
Remove the two 200 mm screws holding the motherboard in place to the bottom of the box using pliers.
-
-
-
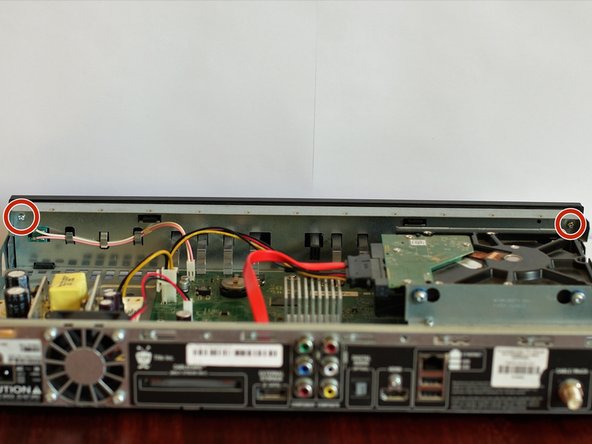
Remove the six 80 mm T10 screws using the Torx Screwdriver.
-
-
-
Remove the motherboard from the box.
-


To reassemble your device, follow these instructions in reverse order.

crwdns2935287:0crwdne2935287:0

Baylor, Team S1-G1, Williams Fall 2018 crwdns2935289:0Baylor, Team S1-G1, Williams Fall 2018crwdne2935289:0
BU-WILLIAMS-F18S1G1
crwdns2931471:03crwdne2931471:0
crwdns2935297:06crwdne2935297:0