crwdns2933423:0crwdne2933423:0

Thymio II Motor Replacement

crwdns2942213:0crwdne2942213:0

  1. Thymio II Motor Replacement, Unscrewing the top cover: crwdns2935265:01crwdnd2935265:01crwdnd2935265:01crwdne2935265:0
    • The first step is to remove the four M3x10 Phillips screws from the bottom of the Thymio chassis.

  2. Thymio II Motor Replacement, Opening up the Thymio II: crwdns2935265:02crwdnd2935265:01crwdnd2935265:03crwdne2935265:0 Thymio II Motor Replacement, Opening up the Thymio II: crwdns2935265:02crwdnd2935265:02crwdnd2935265:03crwdne2935265:0 Thymio II Motor Replacement, Opening up the Thymio II: crwdns2935265:02crwdnd2935265:03crwdnd2935265:03crwdne2935265:0
    • Once the screws are removed you simply need to turn the thymio around and pop the top part of the case.

    • Be careful as the speaker is still connect to the PCB so don't pull too hard.

  3. Thymio II Motor Replacement, Disconnecting the speaker cable: crwdns2935265:03crwdnd2935265:01crwdnd2935265:03crwdne2935265:0 Thymio II Motor Replacement, Disconnecting the speaker cable: crwdns2935265:03crwdnd2935265:02crwdnd2935265:03crwdne2935265:0 Thymio II Motor Replacement, Disconnecting the speaker cable: crwdns2935265:03crwdnd2935265:03crwdnd2935265:03crwdne2935265:0
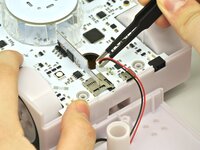
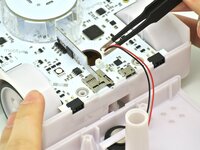
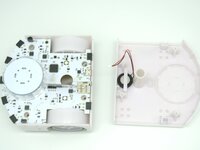
    • Now grab some tweezers or with your fingers disconnect the speaker cable. You should now have two seperate pieces, the top case and the bottom one.

  4. Thymio II Motor Replacement, Removing the PCB: crwdns2935265:04crwdnd2935265:01crwdnd2935265:03crwdne2935265:0 Thymio II Motor Replacement, Removing the PCB: crwdns2935265:04crwdnd2935265:02crwdnd2935265:03crwdne2935265:0 Thymio II Motor Replacement, Removing the PCB: crwdns2935265:04crwdnd2935265:03crwdnd2935265:03crwdne2935265:0
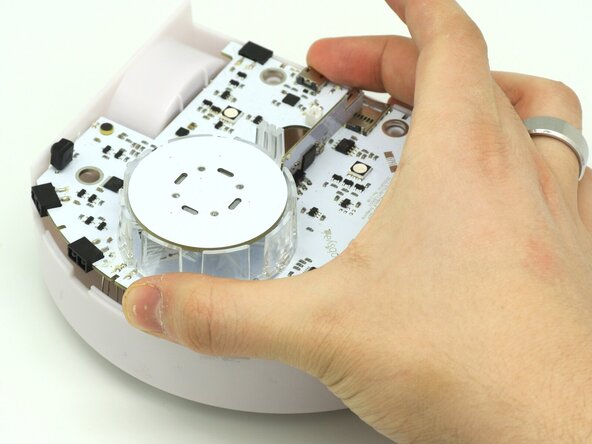
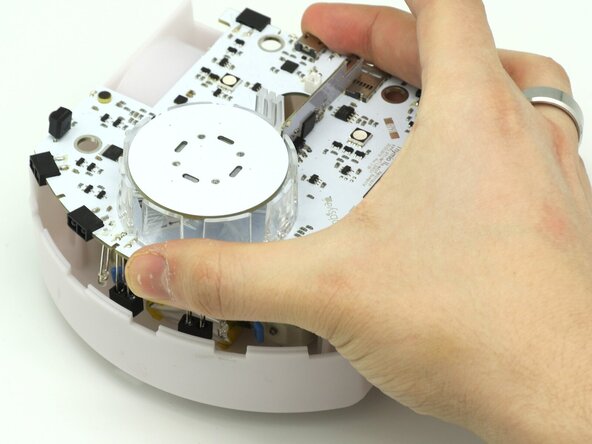
    • To remove the PCB, take it between your hands or with one finger in the pen hole.

    • Tilt and lift the PCB.

    • Be careful as the battery and motor cables are still attached.

  5. Thymio II Motor Replacement, Removing the motor and battery cables: crwdns2935265:05crwdnd2935265:01crwdnd2935265:02crwdne2935265:0 Thymio II Motor Replacement, Removing the motor and battery cables: crwdns2935265:05crwdnd2935265:02crwdnd2935265:02crwdne2935265:0
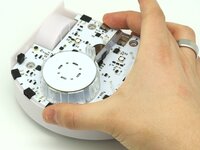
    • After lifting the PCB, carefully remove the cables one by one with tweezers or your fingers.

  6. Thymio II Motor Replacement, Replacing the motors: crwdns2935265:06crwdnd2935265:01crwdnd2935265:03crwdne2935265:0 Thymio II Motor Replacement, Replacing the motors: crwdns2935265:06crwdnd2935265:02crwdnd2935265:03crwdne2935265:0 Thymio II Motor Replacement, Replacing the motors: crwdns2935265:06crwdnd2935265:03crwdnd2935265:03crwdne2935265:0
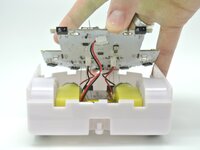
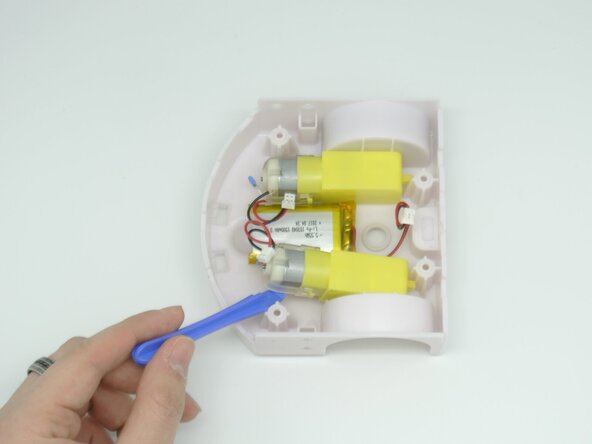
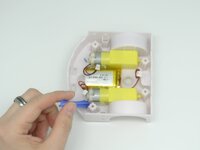
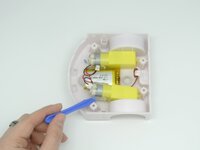
    • Now that the motors are free, we can simply take a prying tool and twist the motor free.

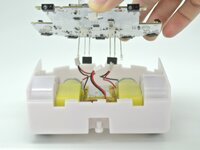
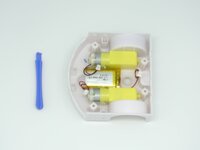
    • Replace the motor with the new one.

    • The motor axle is still sticking out the chassis so don't force it out if you feel some resistance.

crwdns2915888:0crwdne2915888:0

To reassemble your device, follow these instructions in reverse order.

crwdns2935229:02crwdne2935229:0

Alexandre Aires Viegas

crwdns2935283:003/07/25crwdne2935283:0

412 crwdns2915208:0crwdne2915208:0

crwdns2935297:04crwdne2935297:0

crwdns2947412:00crwdne2947412:0

crwdns2917038:0crwdne2917038:0

crwdns2936625:0crwdne2936625:0:

crwdns2936751:024crwdne2936751:0 0

crwdns2936753:07crwdne2936753:0 6

crwdns2936753:030crwdne2936753:0 53

crwdns2942667:0crwdne2942667:0 53