crwdns2933423:0crwdne2933423:0

Thrustmaster T Flight Hotas 4 PlayStation Action Buttons Replacement

crwdns2942213:0crwdne2942213:0

  1. Thrustmaster T Flight Hotas 4 PlayStation Action Buttons Replacement, J1 Screws on Throttle: crwdns2935265:01crwdnd2935265:01crwdnd2935265:01crwdne2935265:0
    • Be sure to disconnect the controller from the power source before disassembling.

    • Remove the five 15 mm J1 JIS head screws from the front of the throttle.

  2. Thrustmaster T Flight Hotas 4 PlayStation Action Buttons Replacement, Throttle Panel: crwdns2935265:02crwdnd2935265:01crwdnd2935265:02crwdne2935265:0 Thrustmaster T Flight Hotas 4 PlayStation Action Buttons Replacement, Throttle Panel: crwdns2935265:02crwdnd2935265:02crwdnd2935265:02crwdne2935265:0
    • Be sure to disconnect the controller from the power source before disassembling.

    • Using your hands, pull away the panel from the throttle.

  3. Thrustmaster T Flight Hotas 4 PlayStation Action Buttons Replacement, PlayStation Action Buttons: crwdns2935265:03crwdnd2935265:01crwdnd2935265:02crwdne2935265:0 Thrustmaster T Flight Hotas 4 PlayStation Action Buttons Replacement, PlayStation Action Buttons: crwdns2935265:03crwdnd2935265:02crwdnd2935265:02crwdne2935265:0
    • Remove the two 8 mm J1 JIS head screws.

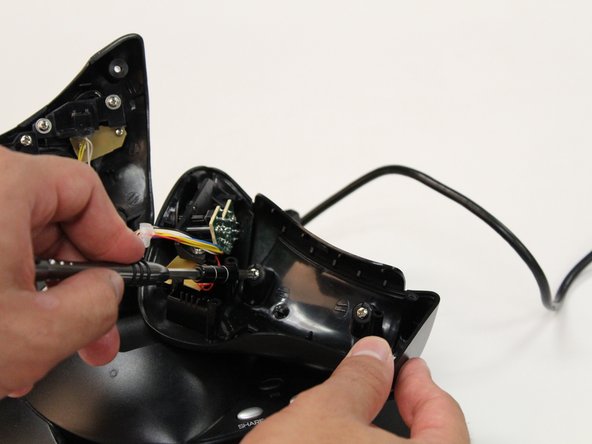
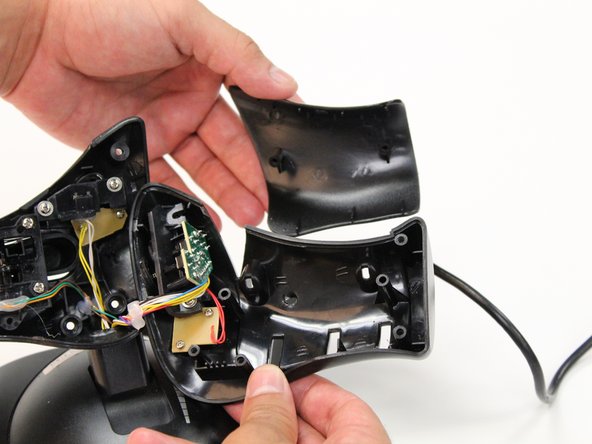
  4. Thrustmaster T Flight Hotas 4 PlayStation Action Buttons Replacement: crwdns2935265:04crwdnd2935265:01crwdnd2935265:02crwdne2935265:0 Thrustmaster T Flight Hotas 4 PlayStation Action Buttons Replacement: crwdns2935265:04crwdnd2935265:02crwdnd2935265:02crwdne2935265:0
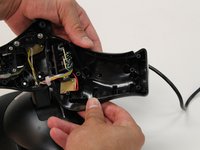
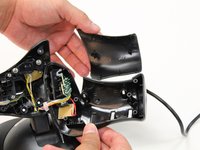
    • Remove exterior panel from the throttle by using your hands to gently pull the panel away.

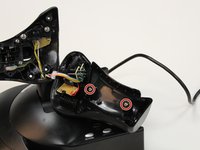
  5. Thrustmaster T Flight Hotas 4 PlayStation Action Buttons Replacement: crwdns2935265:05crwdnd2935265:01crwdnd2935265:02crwdne2935265:0 Thrustmaster T Flight Hotas 4 PlayStation Action Buttons Replacement: crwdns2935265:05crwdnd2935265:02crwdnd2935265:02crwdne2935265:0
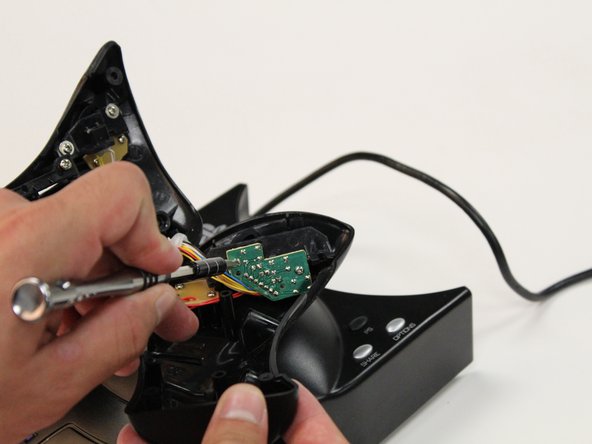
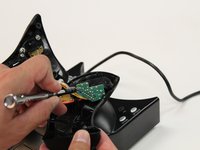
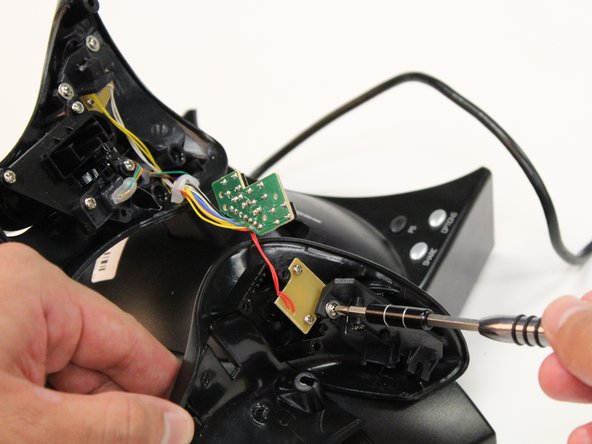
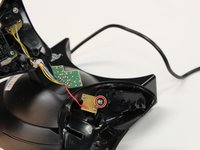
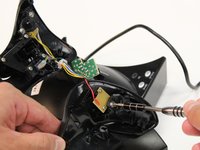
    • Remove the two 6 mm J1 JIS head screws from the circuit board.

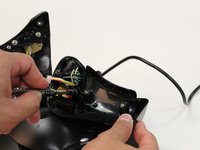
  6. Thrustmaster T Flight Hotas 4 PlayStation Action Buttons Replacement: crwdns2935265:06crwdnd2935265:01crwdnd2935265:01crwdne2935265:0
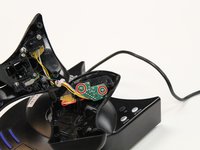
    • Carefully remove the circuit board.

  7. Thrustmaster T Flight Hotas 4 PlayStation Action Buttons Replacement: crwdns2935265:07crwdnd2935265:01crwdnd2935265:02crwdne2935265:0 Thrustmaster T Flight Hotas 4 PlayStation Action Buttons Replacement: crwdns2935265:07crwdnd2935265:02crwdnd2935265:02crwdne2935265:0
    • Remove the 6 mm J1 JIS head screw that is attached to the black plastic cover.

  8. Thrustmaster T Flight Hotas 4 PlayStation Action Buttons Replacement: crwdns2935265:08crwdnd2935265:01crwdnd2935265:02crwdne2935265:0 Thrustmaster T Flight Hotas 4 PlayStation Action Buttons Replacement: crwdns2935265:08crwdnd2935265:02crwdnd2935265:02crwdne2935265:0
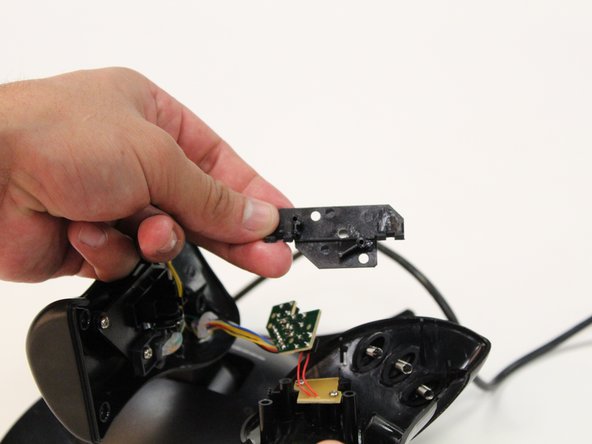
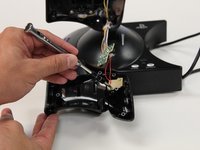
    • Remove black plastic cover.

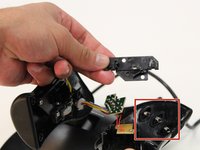
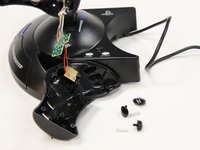
  9. Thrustmaster T Flight Hotas 4 PlayStation Action Buttons Replacement: crwdns2935265:09crwdnd2935265:01crwdnd2935265:02crwdne2935265:0 Thrustmaster T Flight Hotas 4 PlayStation Action Buttons Replacement: crwdns2935265:09crwdnd2935265:02crwdnd2935265:02crwdne2935265:0
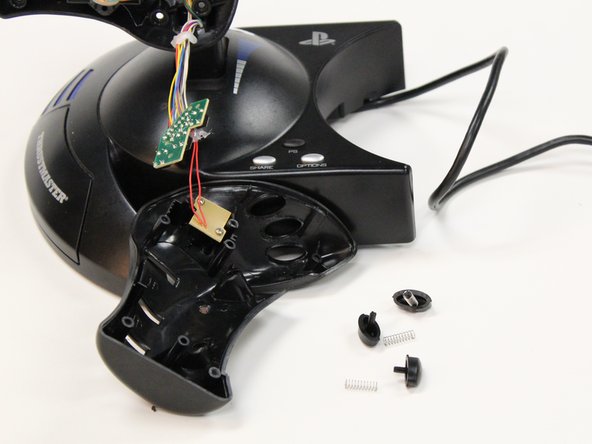
    • Once the black plastic cover is removed, push the buttons inward from the outside of the device.

    • Be aware of the springs. They are small and easy to lose.

    • This step only replaces the x, square, and circle buttons.

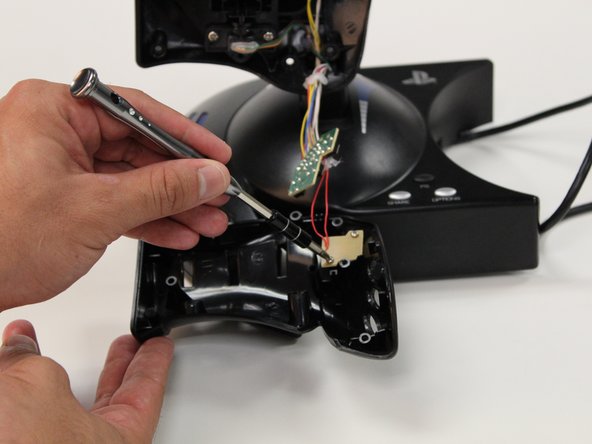
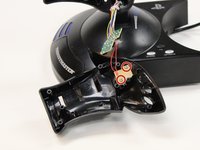
  10. Thrustmaster T Flight Hotas 4 PlayStation Action Buttons Replacement: crwdns2935265:010crwdnd2935265:01crwdnd2935265:02crwdne2935265:0 Thrustmaster T Flight Hotas 4 PlayStation Action Buttons Replacement: crwdns2935265:010crwdnd2935265:02crwdnd2935265:02crwdne2935265:0
    • Remove the two 6 mm J1 JIS head screws that are attached to the tan plastic cover.

    • Removal of the screws will detach the exterior panel from the device.

  11. Thrustmaster T Flight Hotas 4 PlayStation Action Buttons Replacement: crwdns2935265:011crwdnd2935265:01crwdnd2935265:01crwdne2935265:0
    • Carefully remove tan plastic cover.

  12. Thrustmaster T Flight Hotas 4 PlayStation Action Buttons Replacement: crwdns2935265:012crwdnd2935265:01crwdnd2935265:01crwdne2935265:0
    • Once the black panel is disconnected, push the triangle button inward from the outside of the exterior panel.

crwdns2915888:0crwdne2915888:0

To reassemble your device, follow these instructions in reverse order.

Aaron Banaga

crwdns2935283:009/11/17crwdne2935283:0

526 crwdns2915208:0crwdne2915208:0

crwdns2935297:04crwdne2935297:0

crwdns2915084:0crwdne2915084:0

CSU Fullerton, Team S2-G1, Bruce Fall 2017 crwdns2935289:0CSU Fullerton, Team S2-G1, Bruce Fall 2017crwdne2935289:0

CSUF-BRUCE-F17S2G1

crwdns2931471:03crwdne2931471:0

crwdns2935297:013crwdne2935297:0

crwdns2917034:0crwdne2917034:0

Very well presented. Just one question - if one of these buttons (or rather the switch that it activates) has broken, how do you fix it? Where can you get a replacement part if that is what is needed?

Anthony Vallillo - crwdns2934203:0crwdne2934203:0

crwdns2917038:0crwdne2917038:0

crwdns2936625:0crwdne2936625:0:

crwdns2936751:024crwdne2936751:0 2

crwdns2936753:07crwdne2936753:0 3

crwdns2936753:030crwdne2936753:0 5

crwdns2942667:0crwdne2942667:0 1,562