crwdns2915892:0crwdne2915892:0
Now your computer battery power will finally last over 1 hour!
crwdns2942213:0crwdne2942213:0
-
-
Remove the ten Phillips screws using a Philips 00 screwdriver
-
-
-
Pry up the case carefully using a spudger.
-
-
-
-
Lift off the cover, and you're done!
-
-
-
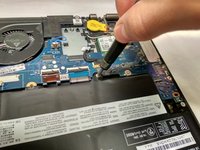
Remove the one and only Phillips screw with a Phillips 0 screwdriver.
-
-
-
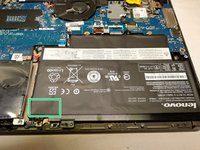
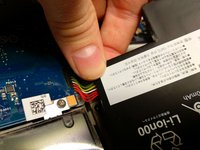
Carefully lift the battery. There is a small bit of adhesive underneath the green.
-
-
-
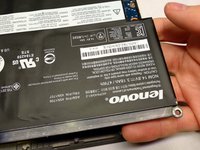
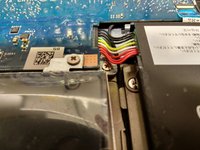
Carefully pull the connector out from underneath the logic board to remove the battery.
-


To reassemble your device, follow these instructions in reverse order.
crwdns2935221:0crwdne2935221:0
crwdns2935229:09crwdne2935229:0
crwdns2947410:01crwdne2947410:0
These directions (and those for replacing the SSD) were very helpful. Everything worked well for about a week after which time the battery started having charging problems (again). The computer will start to charge, get to ~25% at which point the machine reports that it’s charging, but doesn’t get beyond ~25%. “Troubleshooting” in Win 10 doesn’t reveal any troubles to shoot. I am now trying to figure out whether the problem is with the new (supposedly Lenovo-brand) battery or perhaps the power cord. Any suggestions?