crwdns2933423:0crwdne2933423:0

ThinkPad L412 WLAN Card Replacement

crwdns2942213:0crwdne2942213:0

  1. ThinkPad L412 WLAN Card Replacement, WLAN Card: crwdns2935265:01crwdnd2935265:01crwdnd2935265:01crwdne2935265:0
    • Turn the laptop over.

  2. ThinkPad L412 WLAN Card Replacement: crwdns2935265:02crwdnd2935265:01crwdnd2935265:01crwdne2935265:0
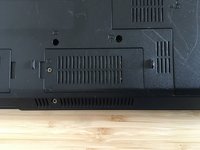
    • Remove the battery, and make sure the device has no power.

  3. ThinkPad L412 WLAN Card Replacement: crwdns2935265:03crwdnd2935265:01crwdnd2935265:01crwdne2935265:0
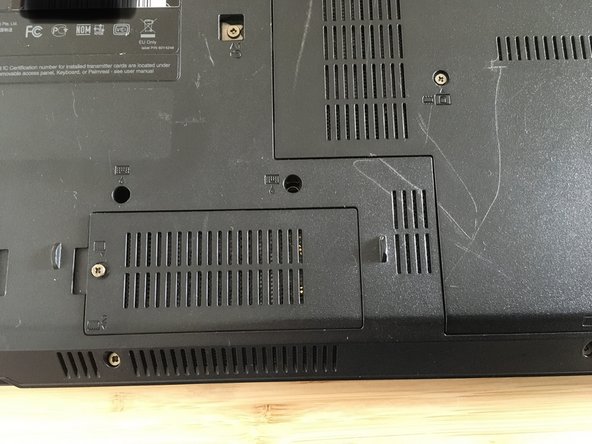
    • Then, with a J00 screwdriver, loosen the screws. Make sure the screws don't fall out!

  4. ThinkPad L412 WLAN Card Replacement: crwdns2935265:04crwdnd2935265:01crwdnd2935265:02crwdne2935265:0 ThinkPad L412 WLAN Card Replacement: crwdns2935265:04crwdnd2935265:02crwdnd2935265:02crwdne2935265:0
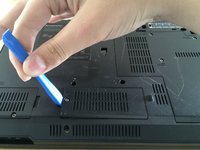
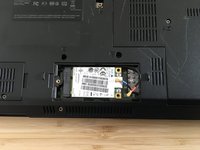
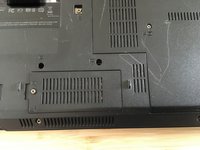
    • Then, use the opening tool to carefully open the lid (your fingernail can also work too).

  5. ThinkPad L412 WLAN Card Replacement: crwdns2935265:05crwdnd2935265:01crwdnd2935265:02crwdne2935265:0 ThinkPad L412 WLAN Card Replacement: crwdns2935265:05crwdnd2935265:02crwdnd2935265:02crwdne2935265:0
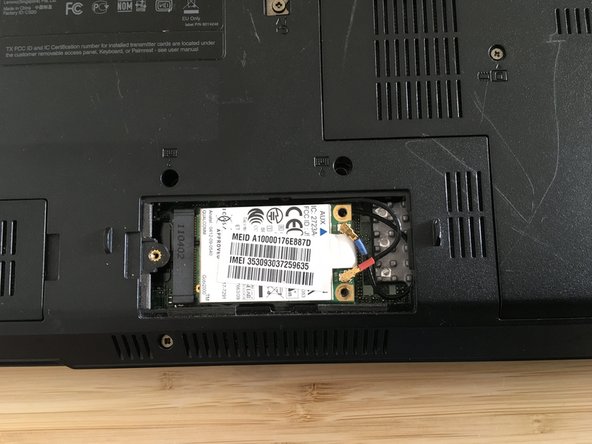
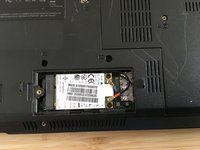
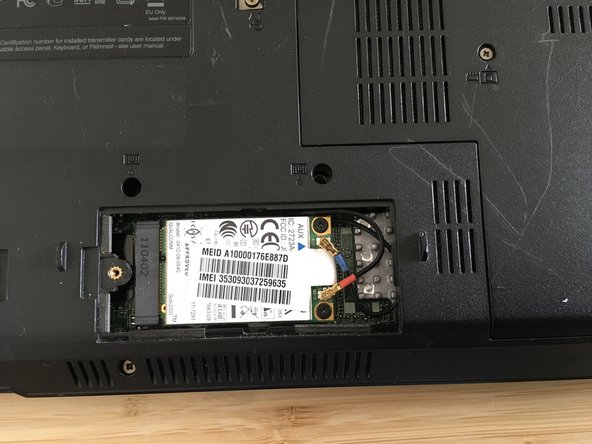
    • Next, unscrew the two screws. Then, carefully use tweezers to remove the two cables from the connectors.

  6. ThinkPad L412 WLAN Card Replacement: crwdns2935265:06crwdnd2935265:01crwdnd2935265:01crwdne2935265:0
    • Now, remove the WLAN card.

  7. ThinkPad L412 WLAN Card Replacement: crwdns2935265:07crwdnd2935265:01crwdnd2935265:03crwdne2935265:0 ThinkPad L412 WLAN Card Replacement: crwdns2935265:07crwdnd2935265:02crwdnd2935265:03crwdne2935265:0 ThinkPad L412 WLAN Card Replacement: crwdns2935265:07crwdnd2935265:03crwdnd2935265:03crwdne2935265:0
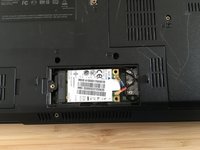
    • Next, install the new card, re-attach the cables to the connectors, and screw the two screws back into place.

  8. ThinkPad L412 WLAN Card Replacement: crwdns2935265:08crwdnd2935265:01crwdnd2935265:03crwdne2935265:0 ThinkPad L412 WLAN Card Replacement: crwdns2935265:08crwdnd2935265:02crwdnd2935265:03crwdne2935265:0 ThinkPad L412 WLAN Card Replacement: crwdns2935265:08crwdnd2935265:03crwdnd2935265:03crwdne2935265:0
    • Then, carefully set the lid back into place and screw the screws back in. Now, finally insert the battery and lock it back into place.

crwdns2915888:0crwdne2915888:0

Complete the steps in reverse order to re-assemble your device.

crwdns2935227:0crwdne2935227:0

crwdns2934873:0crwdne2934873:0

de en

100%

crwdns2934883:0Brian IHLE (ILL)crwdne2934883:0 crwdns2934875:0crwdne2934875:0
crwdns2934877:0crwdne2934877:0 ›

Der Blaulicht Techniker

crwdns2935283:010/27/20crwdne2935283:0

157 crwdns2915208:0crwdne2915208:0

crwdns2935295:0crwdne2935295:0

crwdns2947412:00crwdne2947412:0

crwdns2917038:0crwdne2917038:0

crwdns2936625:0crwdne2936625:0:

crwdns2936751:024crwdne2936751:0 1

crwdns2936753:07crwdne2936753:0 2

crwdns2936753:030crwdne2936753:0 6

crwdns2942667:0crwdne2942667:0 159