crwdns2915892:0crwdne2915892:0
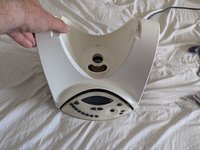
This guide is to replace the control panel. To do this we will be Removing and Reinstalling all the plastic covers for the TM31.
crwdns2942213:0crwdne2942213:0
-
-
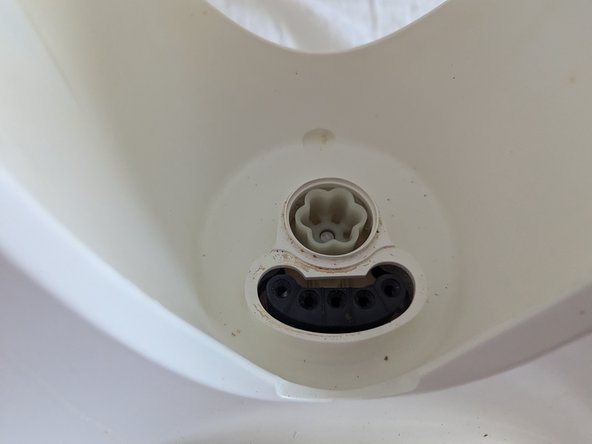
Remove Contact Seal and Driving Pinion by pulling vertically or using Plastic Pry to lever out
-
-
-
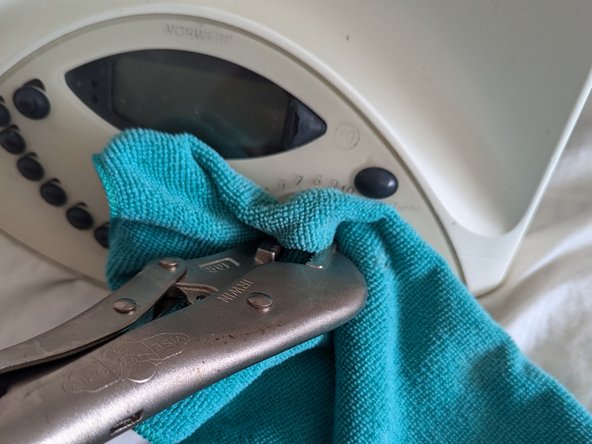
Use Cloth to protect knob from Scuffing and grab with Pliers. Pull straight out (this requires a bit of force)
-
-
-
-
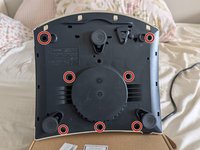
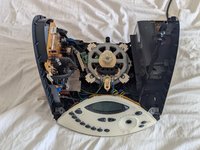
Remove the 7 marked T20 Screws. This will leave the White Plastic Cover loose.
-
Lift off the White Plastic Cover
-
-
-
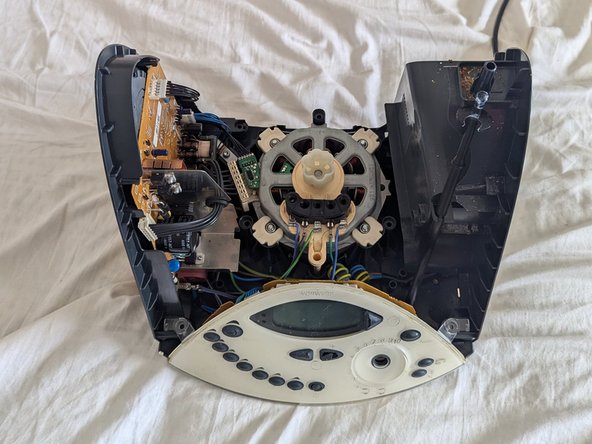
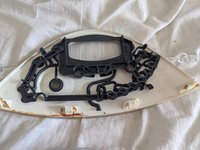
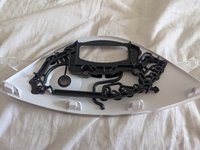
Carefully lift the control panel cover directly vertically off.
-
-
-
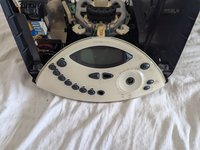
Move Button Rod Guide from old Control Panel Cover to new Control Panel Cover.
-
-
-
Reassemble by following these instructions in reverse
-
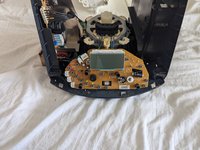
When Reassembling ensure this Camrod is rotated towards the front. The Cam at the top needs to be engaged properly to allow the lid to lock. Leaning the base towards the front when putting the White Plastic Cover on helps with this.
-


crwdns2935221:0crwdne2935221:0
crwdns2935229:02crwdne2935229:0
