crwdns2915892:0crwdne2915892:0
Sometimes corrosion can form inside the buttons of a TI-Nspire CX calculator, causing them to stop working correctly. This guide will show you how to disassemble the calculator and clean the problematic buttons, which should help solve the problem.
crwdns2942213:0crwdne2942213:0
-
-
Power down the calculator with the OFF function.
-
-
-
Remove the feet from the top of the calculator to reveal the top clutch screws.
-
Unscrew the clutch screws, the torx bottom screws, and the battery drawer screws.
If you don’t have a thin enough screwdriver, you can make one by snapping or grinding the tip off an X-Acto blade.
-
-
-
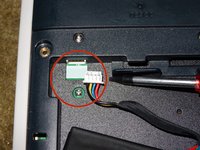
Disconnect the power cable in the battery case.
-
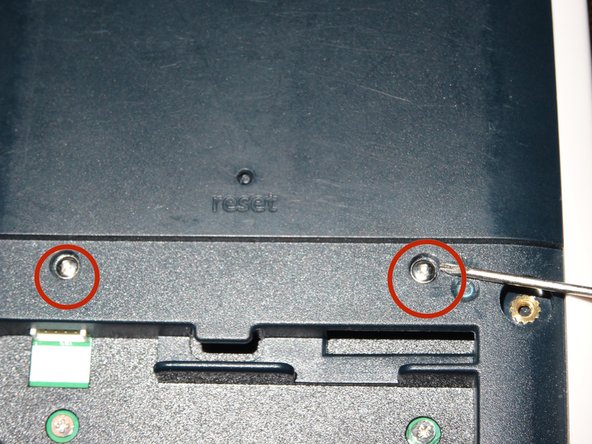
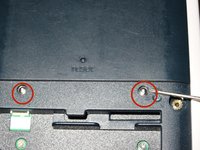
Unscrew the two clutch screws above the battery case, using the 1mm flathead screwdriver.
The models since 2016 have a smaller battery cover. The two screws in the middle are attached under the plastic backside! I loosened the screws with a lot of force and saw that the screws are attached to the front under the display! Does anyone know how to loosen the screws correctly?
I had no problem loosening the screws on my 2016 model. The calculator opened up without issues.
-
-
-
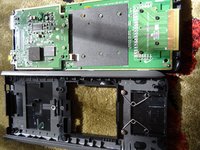
Remove the front panel by loosening all around the edges, then carefully pulling the panel loose.
-
-
-
-
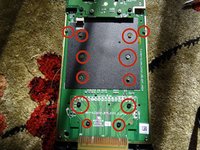
Unscrew the sixteen screws circled in the pictures.
-
-
Spacers go on the two silver screw posts (before you put the screen and screen board back on)
-
-
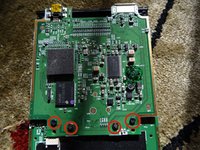
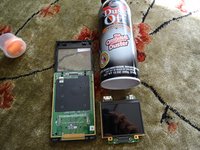
Pull the top circuit board and the screen off. You should not need much force to undo the connector between them.
-
-
-
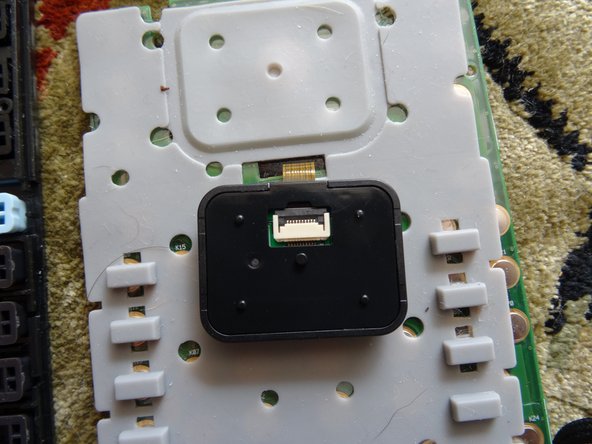
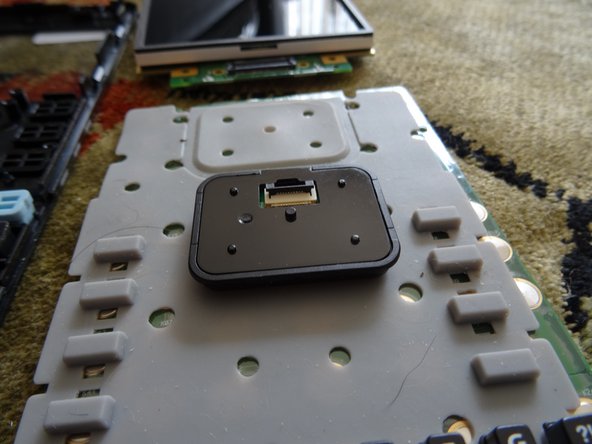
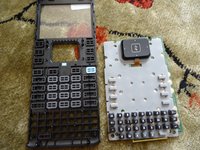
Take the keyboard off. The buttons will fall out now, so take care to put them somewhere safe.
-
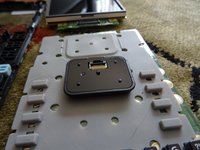
Take the mouse flex cable off, otherwise it will dangle. Flip up the tab.
-
-
crwdns2935267:0crwdne2935267:0Tweezers$4.99
-
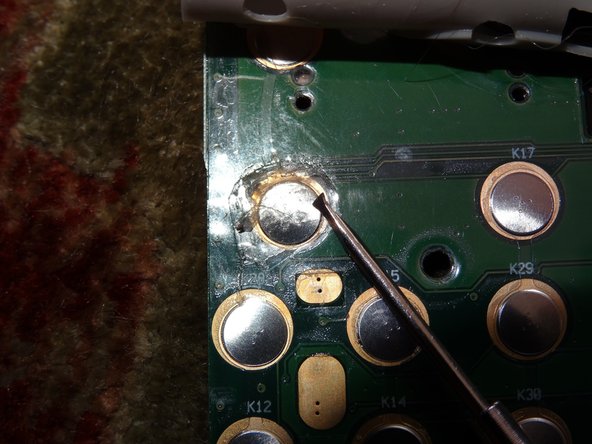
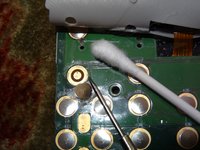
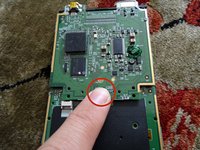
On the circuit board, cut around the failing button with a safety knife. Once it is loose, peel it off delicately with a screwdriver or tweezers.
-
Clean the button with rubbing alcohol.
-
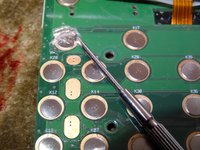
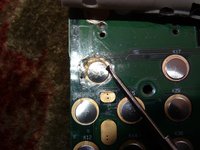
Place the button back on the circuit board, then use a small amount of adhesive tape to reattach it.
-
-
-
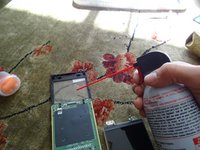
[Optional] Clean the screen with compressed air.
-
-
-
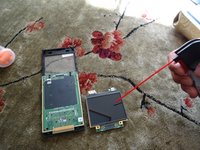
Put the circuit board and the screen back together. Then press the connector into place.
-
Set the four screws that were near the connector back in their holes.
-
-
-
Drop the other twelve circuit board screws in their holes. Once all sixteen are in place, tighten them carefully.
-
Reassemble the remaining components.
-


To reassemble your device, follow these instructions in reverse order.
To reassemble your device, follow these instructions in reverse order.
crwdns2935221:0crwdne2935221:0
crwdns2935229:07crwdne2935229:0
crwdns2947412:013crwdne2947412:0
How does this fix the buttons, I do't want to damage my calculator
Watch for the little clear plastic piece when you put it back together. I think it goes to the inside of the hole for the power connector.
Thanks for this.
The black circular spacers shown at step 6 go on the mounting brackets for the two outermost screws holding the screen onto the mainboard. On the first picture for step 5, if you numbered the circled screws from left to right, those would be screws 1 and 4.
I didn’t have a screwdriver for the clutch screws of the back cover, but a thin, pointed knife tip did the job.
Thanks a lot! Spilled coffee in mine, had to wash all the buttons individually to solve the sticky button issue, worked like a treat.
I have the problem that my TI Nspire CX CAS uses the buttons “Enter, E, K, Q and W” on its own, although i can´t use these. These buttons line up, and i tried cleaning them using the guide here. But I still have the same problem. Does somebody have a clue? Or even a way to fix this?
Hello there Andi, i seem to have the same problem i was wondering if you by chance had found a solution?
Rene -
Hey! I have a TI-Nspire Cx version. Which screw driver is needed to loosen the screws in step 3?
How do you get the back cover off on the CAS. The screws in step 3 are not there and I cannot find how to undo the last few screws. PLS help.
I wonder how many people ruined their calc after following these instructions?
How are we supposed to reconnect the metal button cap after it is removed and cleaned?
Just use some thin, preferrably transparent scotch tape. The metal peice just needs to be held in place by the tape.
m0r -
Hello, I have the TI-Nspire CX II-T version. Does this guide work with it too?
There are numerous device revisions even within the CX and CX CAS devices. From all I've seen they are very similar. So as long as you feel comfortable with some screw positions being different you should be fine.
m0r -