crwdns2915892:0crwdne2915892:0
Please note this guide was written the day after on memory only so may be inconsistent or not the fastest way but it worked for me.
crwdns2942213:0crwdne2942213:0
-
-
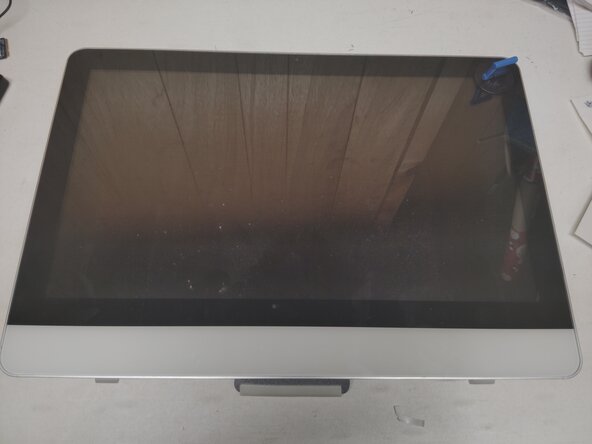
Lay the computer down on a flat surface
-
Put your suction cups on the top corners of the screen
-
Pull upwards in an arching motion trying to pull the front glass towards yourself. It's held in place with magnets, some force may be required.
-
-
-
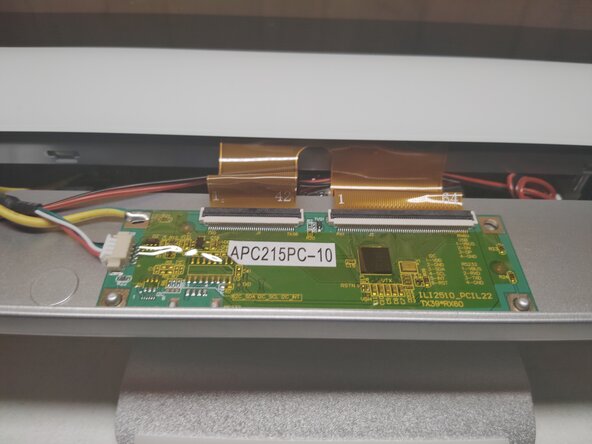
Disconnect the ribbon cables.
-
While wearing gloves remove the front glass and place it to the side
-
-
-
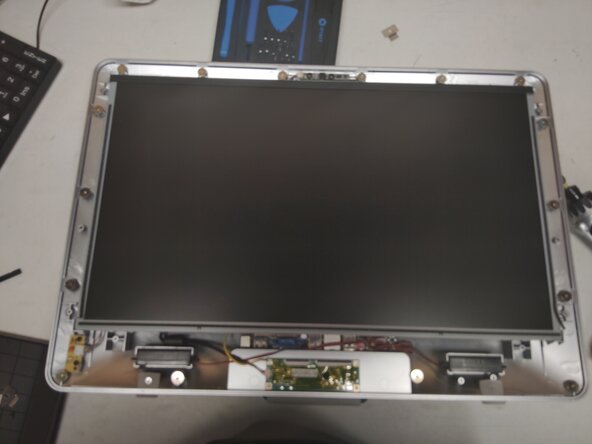
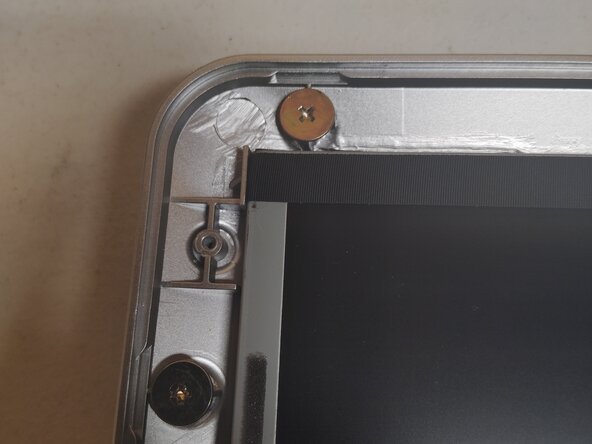
Remove the brackets on the top corners of the screen using a Phillips head screwdriver, put aside for reassembly.
-
-
-
Once the screen is unscrewed pull in a similar arching motion as you did the front glass.
-
-
-
-
When reassembling, ensure that the screen is flush with all four corners. Otherwise it will not seat back into the chassis properly.
-
-
-
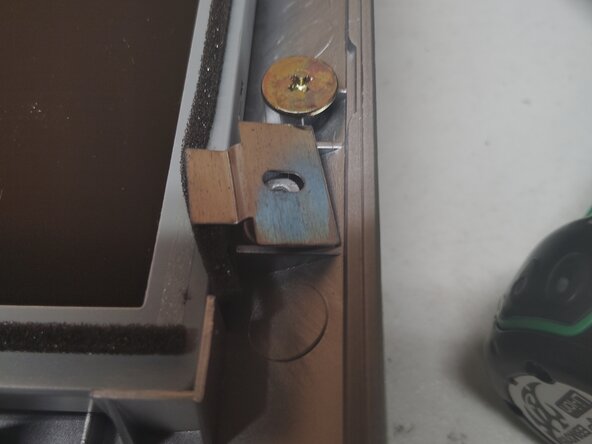
This is the INCORRECT way to put the brackets back on, the bend point should be facing upwards
-
As some of the screws are next to the magnets, you may want to use a pair of pliers or tweezers to get them started in the holes
-
-
-
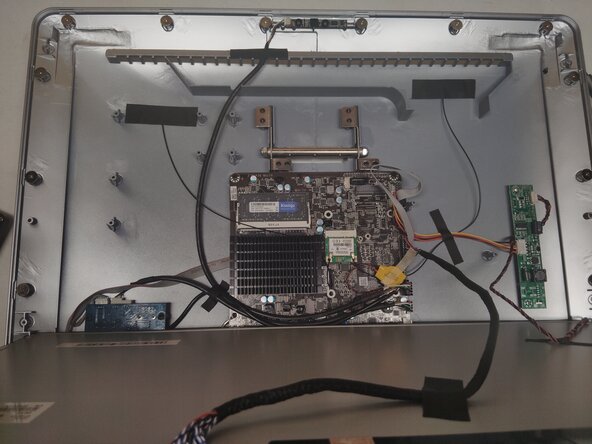
With the computer open, take the MSata out
-
-
-
With the drive removed power the computer back on
-
Mash the ESC key to get into bios
-
Once you are in bios, power the computer back off after making any wanted modifications
-
-
-
With the drive out, re-partition the drive to be empty, deleting everything that is currently on it
-
-
-
Put the MSata Drive back into the computer and power back on, once again mash ESC to enter bios
-
From this point you can now treat this like any traditional OS installation setting a external drive as the boot device
-
-
-
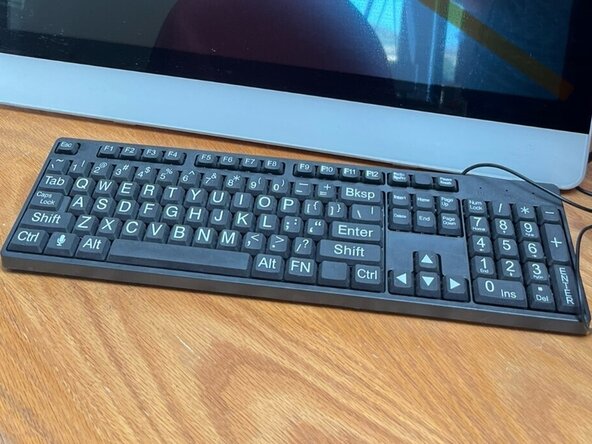
Do not use the included Telikin keyboard, when I did it I had to plug in a third party keyboard which is why its a required tool
-
To reassemble your device, follow these instructions in reverse order.
To reassemble your device, follow these instructions in reverse order.