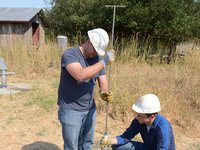
crwdns2915892:0crwdne2915892:0
Follow this guide to remove the traveling valve. If you wish to replace the entire valve, you will not need to follow the disassembly steps towards the end. Follow those steps if you wish to inspect, repair, or replace an individual component of the traveling valve.
crwdns2942213:0crwdne2942213:0
-
-
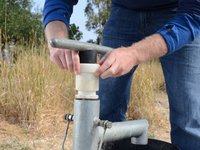
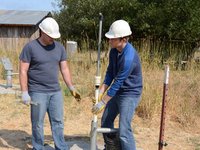
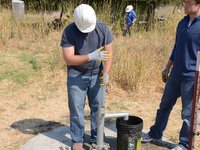
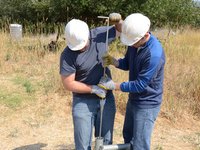
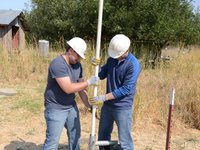
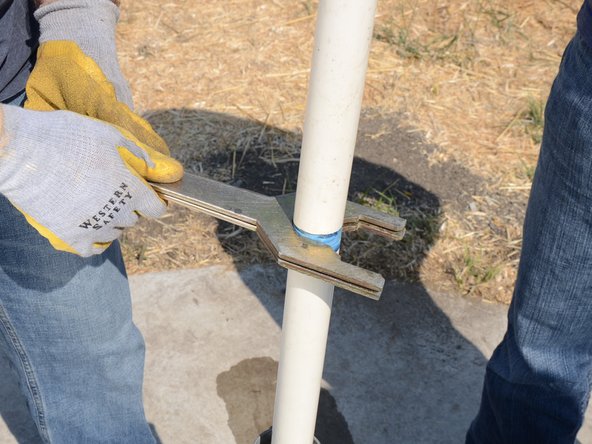
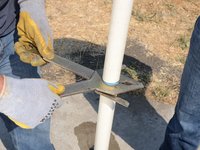
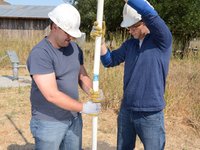
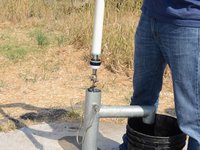
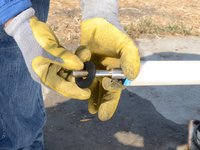
Use a Tara tool to loosen the jam nuts on either side of the pump.
-
-
-
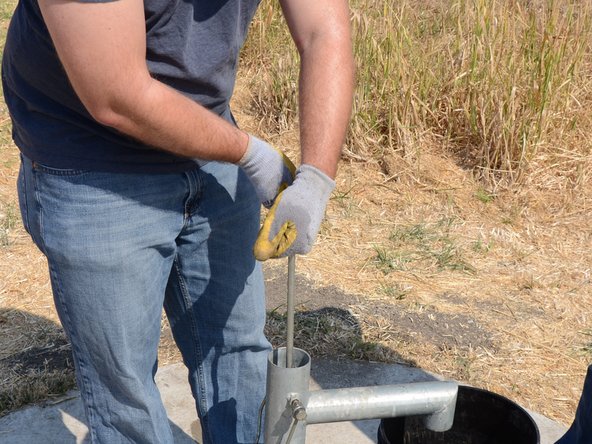
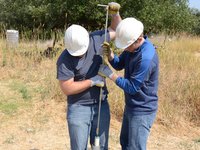
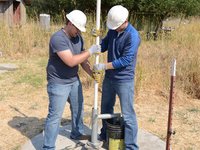
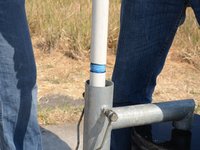
Unscrew the lock bolts about half an inch.
-
-
-
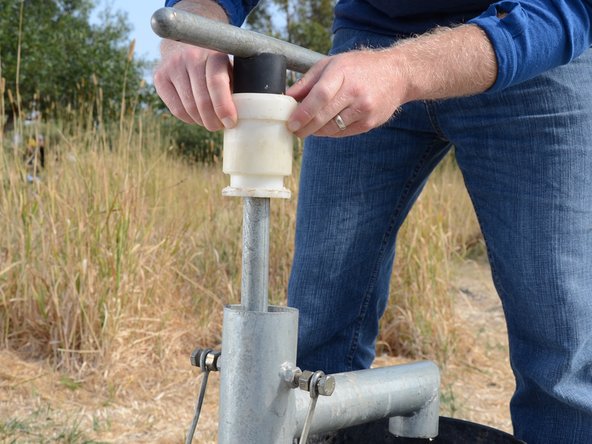
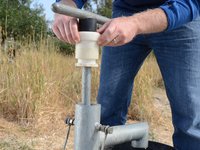
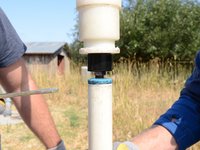
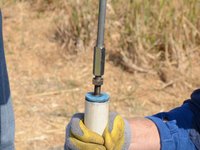
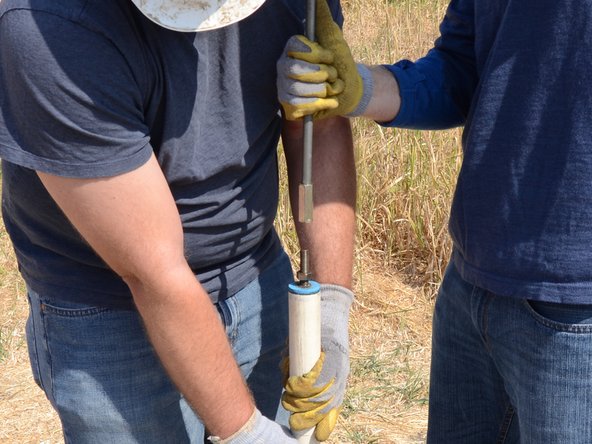
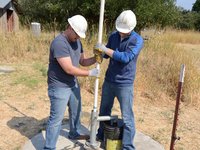
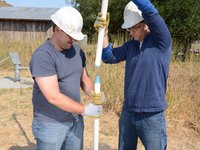
Pull the plastic bushing and handle straight up out of the pump.
-
-
-
Lift up the handle and riser main until the joint between the two is at a comfortable height to work on.
-
-
-
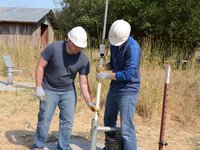
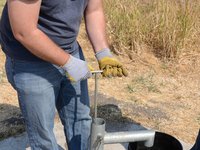
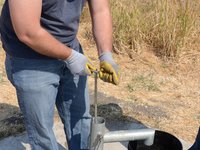
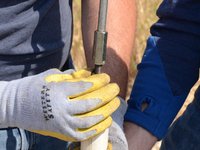
Loosen the jam nut beneath the pump handle using the Tara tool.
-
-
-
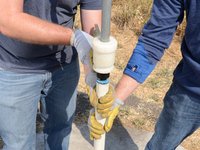
Unscrew the pump handle from the top of the riser main.
-
-
-
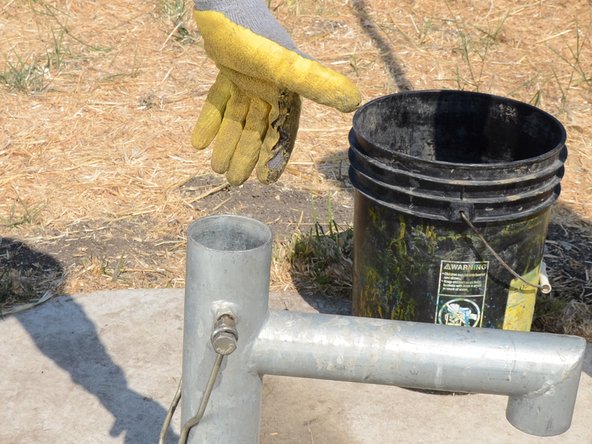
Lift and remove the handle from the pump. Store the handle in a sanitary place to prevent contamination.
-
-
-
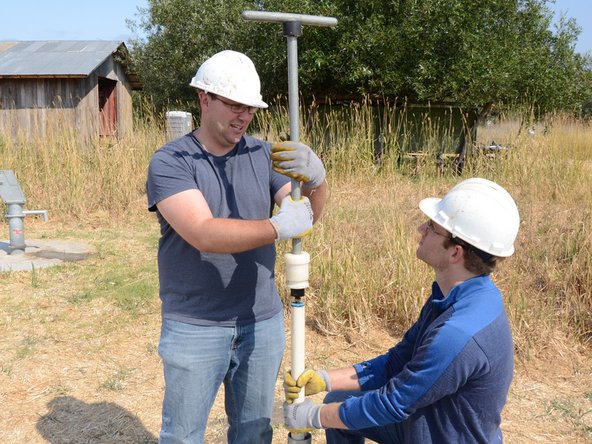
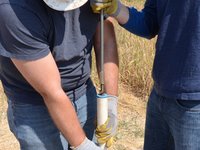
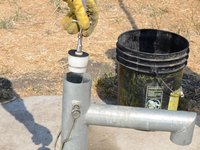
Screw the T-handle onto the top of the riser main.
-
-
-
Tighten the jam nut up against the base of the T-handle.
-
-
-
-
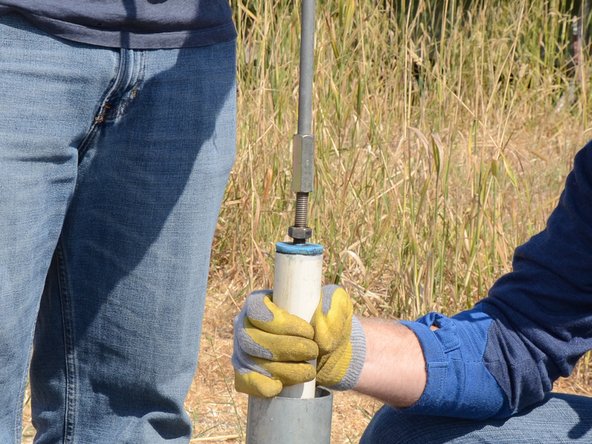
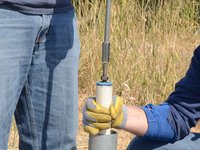
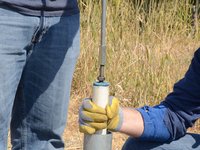
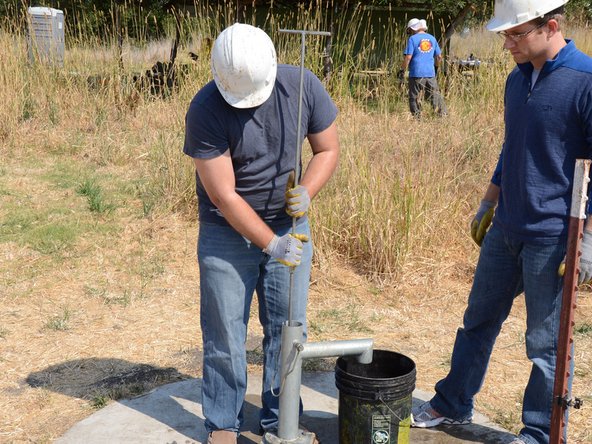
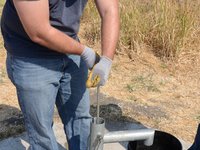
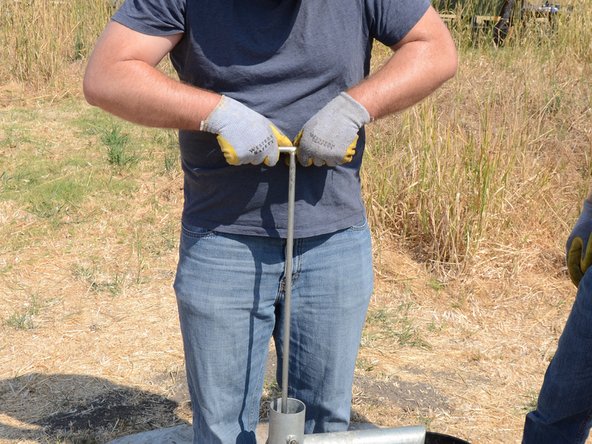
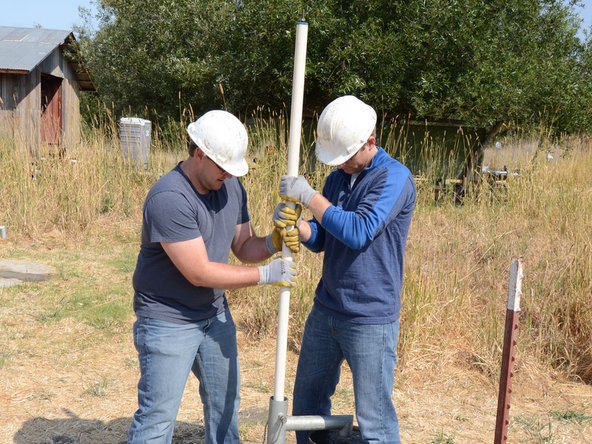
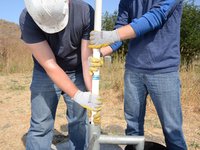
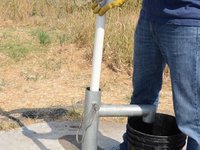
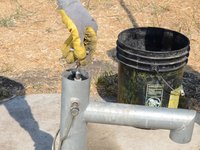
Use the T-handle to push the riser main back down into the well.
-
-
-
Once the riser main hits the bottom, turn the T-handle while pushing down.
-
-
-
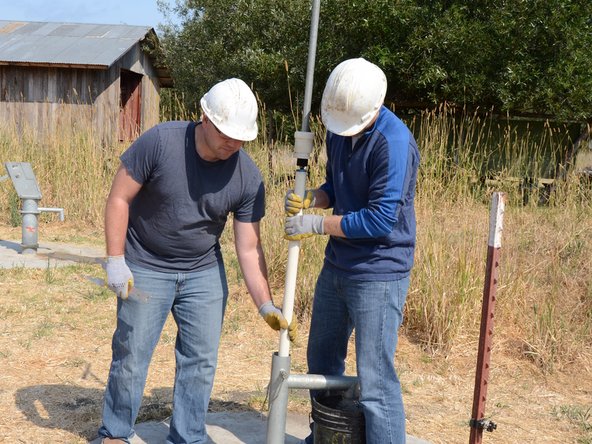
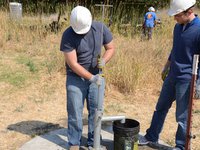
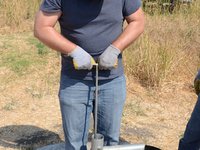
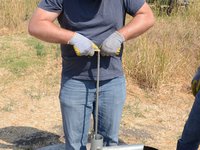
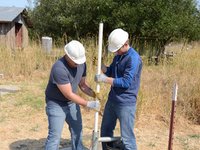
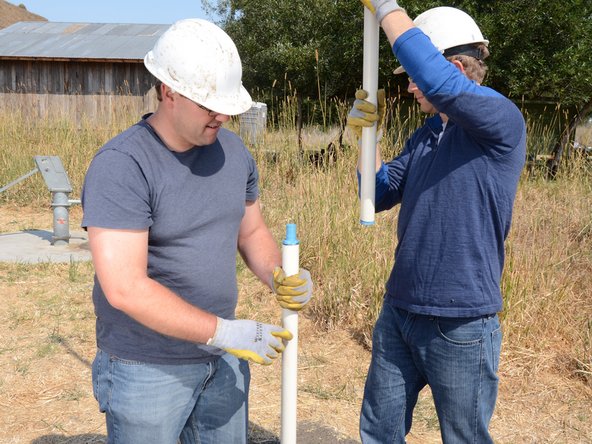
Use the T-handle to pull the riser main straight up out of the well.
-
-
-
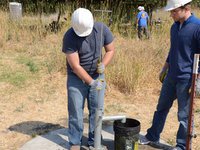
Continue pulling the riser main up from the well.
-
-
-
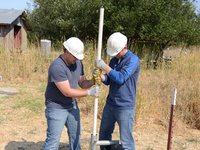
Loosen the jam nut from the base of the T-handle.
-
Unscrew the T-handle from the top of the riser main.
-
Remove the T-handle, making sure to hold the remaining end of the riser main to prevent dropping it down the well.
-
-
-
Continue to pull the riser main out of the well.
-
-
-
Keep pulling until the first joint is exposed.
-
-
-
Use two wrenches to loosen the top section of riser main from the lower section.
-
Unscrew the top section of the riser main.
-
Make sure someone is holding the remaining section of the riser main.
-
-
-
Remove the top section of the riser main.
-
-
-
Lay the first section of riser main in a sanitary place to prevent contamination.
-
-
-
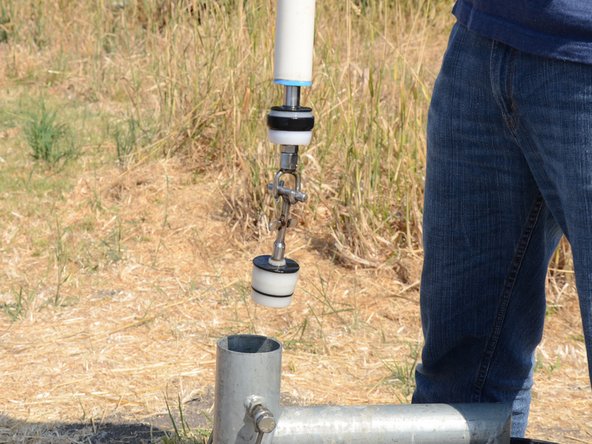
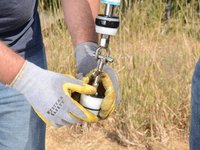
Lift and twist the foot valve to unhook it from the traveling valve.
-
-
-
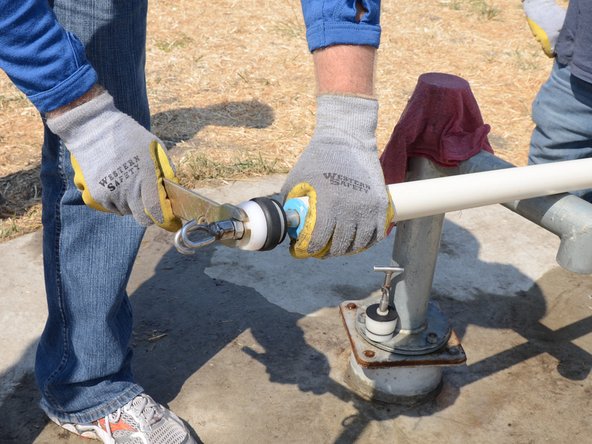
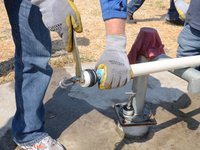
Once the riser main and valves have been removed from the well, place a rag over the top to prevent accidentally dropping anything down the well.
-
-
-
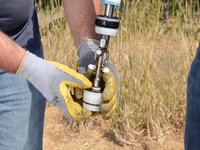
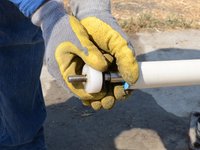
While holding onto the pump rod, use a Tara tool to loosen the jam nut from the hook.
-
-
-
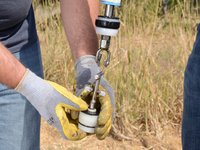
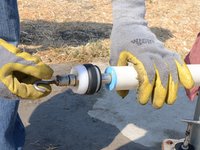
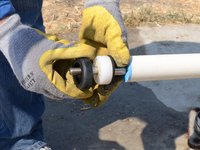
Unscrew and remove the hook from the base of the pump rod.
-
-
-
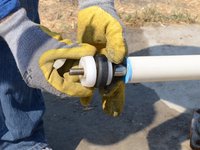
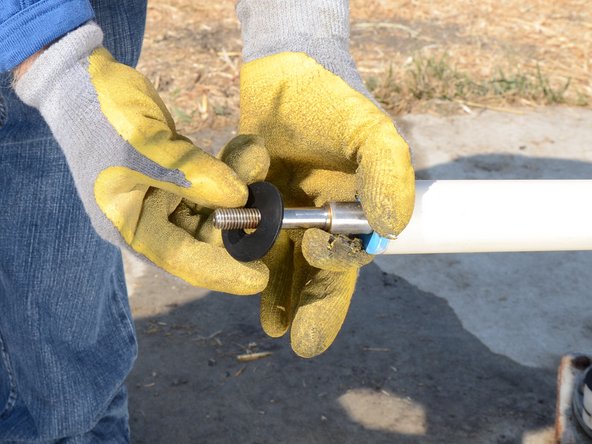
Remove the jam nut from the base of the pump rod.
-
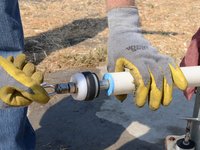
Remove the washer.
-
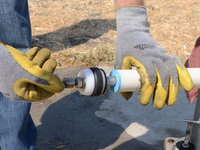
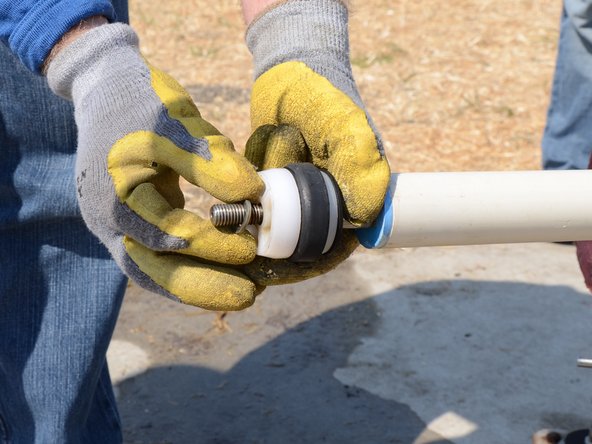
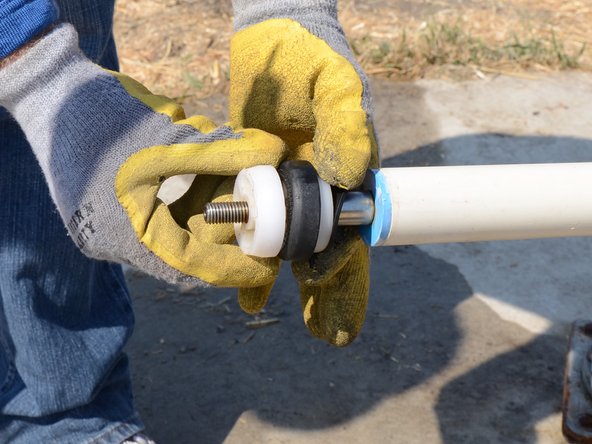
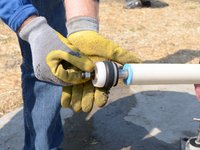
Remove the traveling valve components.
-
-
-
Check all components for signs of wear or damage.
-
-
-
When reassembling the pump, drop the foot valve down the well in the proper orientation, and follow the directions in reverse.
-


To reassemble your device, follow these instructions in reverse order.

