crwdns2915892:0crwdne2915892:0
This guide documents the replacement of the transmission assembly for a 30" Toro TimeMaster Lawmower (21199). This transmission (part #131-9665) can be found at https://www.themowershop.com/product/tor... .
This is a moderately difficult replacement that will take approximately 2 1/2 hours and potentially require a few niche tools to be purchased.
Successful completion of this replacement will fix the self drive system.
crwdns2942213:0crwdne2942213:0
-
-
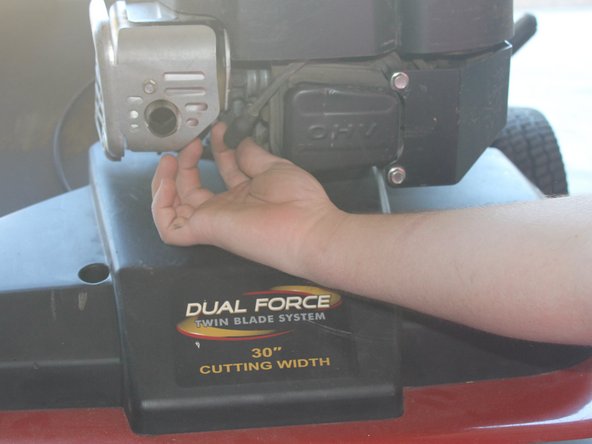
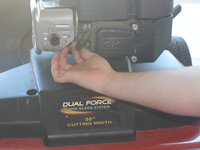
Remove spark plug wire and spark plug using a 5/8" socket to prevent accidental ignition of mower.
-
-
-
Prop up the rear end of the lawnmower using a jack stand, scissor jack, or some other stable platform. Both rear wheels should be off the ground.
-
Use 2 wedges/wood blocks to keep the front wheels stationary.
-
-
-
Set tire-height adjustment lever to forward-most position (past "A").
-
-
-
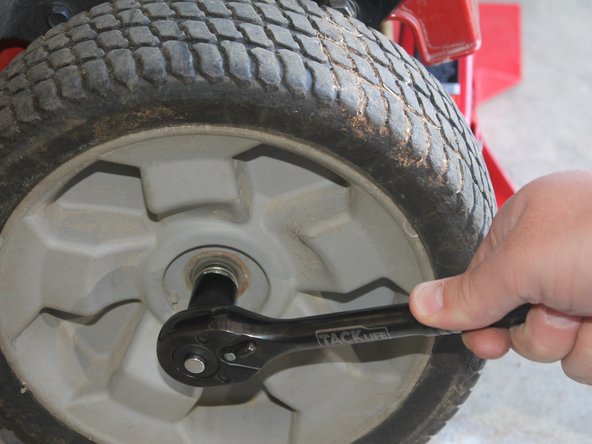
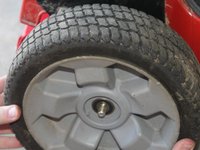
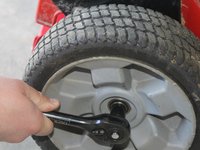
Remove center nut from wheel using 9/16" socket.
-
-
-
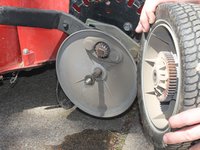
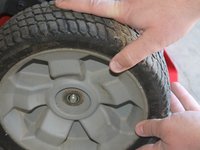
Remove the wheel, washer, and plastic cover.
-
-
-
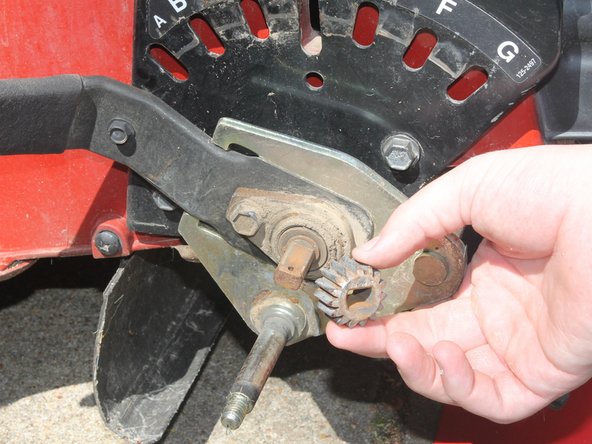
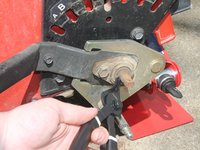
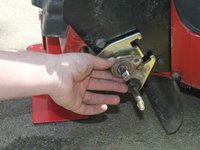
Pry off the metal gear-retaining clip using a flathead screwdriver.
-
Remove gear.
-
-
-
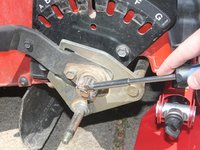
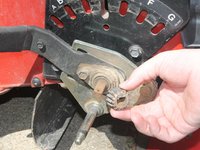
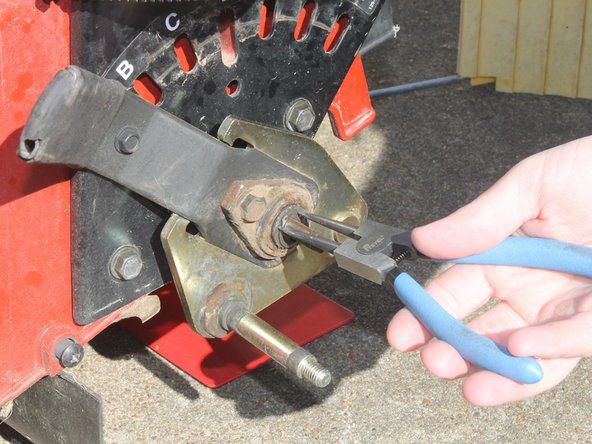
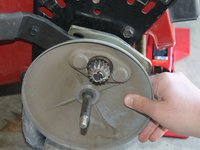
Remove the snap ring using snap ring pliers.
-
-
-
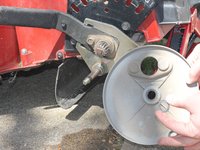
Use a 1/2" socket wrench to remove the bolt holding the bearing assembly from the wheel.
-
-
-
Flip the lawnmower so that the underside is visible.
-
-
-
Remove the drive belt from the two mounted locations at the transmission housing and engine shaft.
-
-
-
-
Disconnect transmission stabilizing spring.
-
-
-
Remove the plastic covers (3) from the transmission shaft.
-
-
-
Use a 3/8" socket wrench to remove the bolts from the supporting tab.
-
-
-
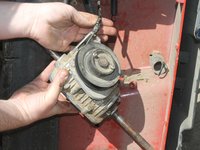
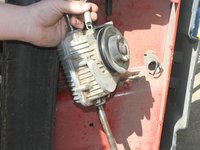
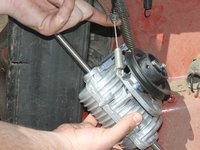
Remove the transmission from the underside of the lawnmower.
-
-
-
Remove the drive cable from the transmission housing.
-
Ensure that the large spring located on the right side of the picture is disconnected from the transmission housing as well.
-
-
-
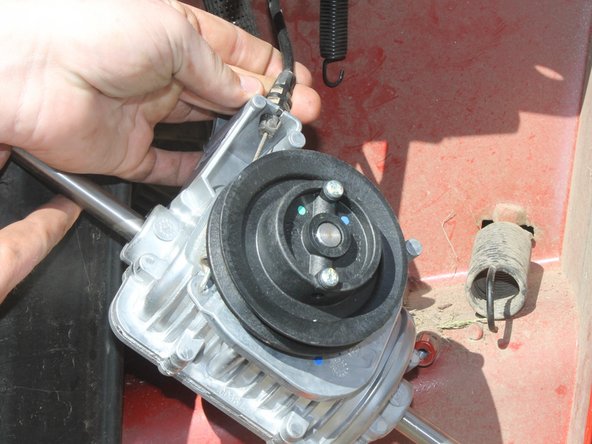
Re-attach the drive cable at the cable mounting point of the new transmission.
-
-
-
Slide on the transmission support tab to the transmission shaft.
-
Slide transmission shaft back into slot.
-
-
-
Re-attach the springs to the transmission housing.
-
-
-
Use a 3/8" socket wrench to install the 2 bolts on the bearing support tab to the underside of the lawnmower.
-
-
-
Re-install the belt to the two mounting points.
-
-
-
Re-attach the plastic covers (3) to the transmission shaft.
-
-
-
Flip the lawnmower back to its original position.
-
Place the scissor jack and wood blocks to support the lawnmower.
-
-
-
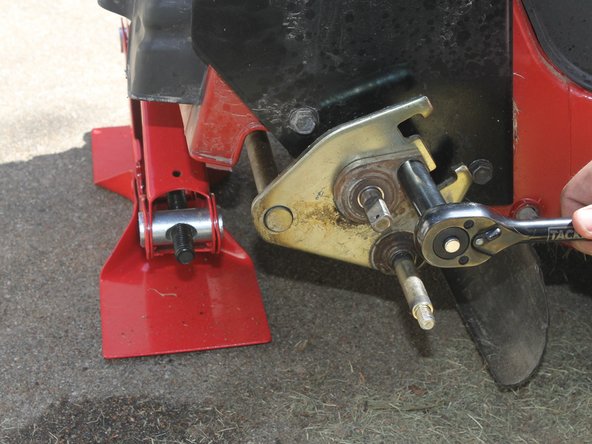
Re-install the wheel bearing and bolt on the right-side wheel using a 1/2" socket wrench.
-
-
-
Secure a clamp between the gold rod assembly and the mower sidewall to ensure that the components added next won't slide off.
-
-
-
On the other side, re-install the height adjustment lever, wheel bearing, and bearing bolt using a 1/2" socket wrench.
-
-
-
Re-install the snap ring using a pair of snap ring pliers. There is a groove in the rod that the snap ring must fit around.
-
-
-
Use a flathead screwdriver to re-install the metal gear-retaining clip.
-
-
-
Re-install the wheel cover and the washer.
-
-
-
Re-install wheel and use a 9/16" socket wrench to re-attach the center nut.
-
-
-
Return to the other side and remove the clamp.
-
-
-
Refer to Steps 25, 27-32
-
-
-
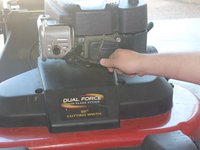
Use a 5/8" socket wrench to re-install the spark plug.
-
Re-attach the spark plug cable.
-


crwdns2935221:0crwdne2935221:0
crwdns2935229:03crwdne2935229:0
crwdns2947412:02crwdne2947412:0
Is there supposed to be a return spring on the other end of the lever that the traction cable attaches to?
On mine, it was just throttle cable to transmission and belt drive. There are some return springs just to help stabilize the transmission housing (see steps 18-22)