crwdns2933423:0crwdne2933423:0
crwdns2947577:0crwdnd2947577:0crwdne2947577:0

TI-36X Pro Button Replacement

crwdns2942213:0crwdne2942213:0

    1. TI-36X Pro Button Replacement, Back Cover: crwdns2935265:01crwdnd2935265:01crwdnd2935265:02crwdne2935265:0 TI-36X Pro Button Replacement, Back Cover: crwdns2935265:01crwdnd2935265:02crwdnd2935265:02crwdne2935265:0
      • Remove the calculator's protective cover.

      • Place the calculator face down.

      crwdns2952109:0crwdne2952109:0

      crwdns2917038:0crwdne2917038:0

    2. TI-36X Pro Button Replacement: crwdns2935265:02crwdnd2935265:01crwdnd2935265:02crwdne2935265:0 TI-36X Pro Button Replacement: crwdns2935265:02crwdnd2935265:02crwdnd2935265:02crwdne2935265:0
      • Using a Phillips #1 screwdriver, remove the six 6mm screws from the back of the case and place them to the side.

      • Start from the notches on the top edge and use your fingers or a prying tool to carefully pry the back cover from the calculator.

      crwdns2952109:0crwdne2952109:0

      crwdns2917038:0crwdne2917038:0

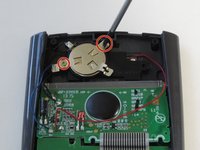
    1. TI-36X Pro Button Replacement, Battery: crwdns2935265:03crwdnd2935265:01crwdnd2935265:02crwdne2935265:0 TI-36X Pro Button Replacement, Battery: crwdns2935265:03crwdnd2935265:02crwdnd2935265:02crwdne2935265:0
      • Use a Phillips #00 screwdriver to remove the two 7.5 mm screws holding the battery cover to the case.

      • Remove the battery cover without disconnecting either end of the blue wire.

      • Use your finger to move the battery cover to the side.

      crwdns2952109:0crwdne2952109:0

      crwdns2917038:0crwdne2917038:0

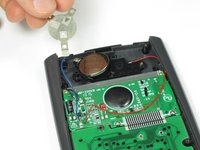
    2. TI-36X Pro Button Replacement: crwdns2935265:04crwdnd2935265:01crwdnd2935265:01crwdne2935265:0
      • Use the flat side of a spudger to remove the battery by lifting the bottom edge.

      • When inserting a new battery, check the polarity (+ or -) and insert the new battery with the + side on top.

      crwdns2952109:0crwdne2952109:0

      crwdns2917038:0crwdne2917038:0

    1. TI-36X Pro Button Replacement, Button: crwdns2935265:05crwdnd2935265:01crwdnd2935265:01crwdne2935265:0
      • After removing the battery, use a Phillips #00 screwdriver to take out the 4.5mm screw directly to the right of the solar panel.

      • Do not disconnect any wires or you will need to solder them back on.

      crwdns2952109:0crwdne2952109:0

      crwdns2917038:0crwdne2917038:0

    2. TI-36X Pro Button Replacement: crwdns2935265:06crwdnd2935265:01crwdnd2935265:01crwdne2935265:0
      • Next, use a Phillips #00 screwdriver to remove the two screws located on each side of the striped ribbon between the two green circuit boards.

      crwdns2952109:0crwdne2952109:0

      crwdns2917038:0crwdne2917038:0

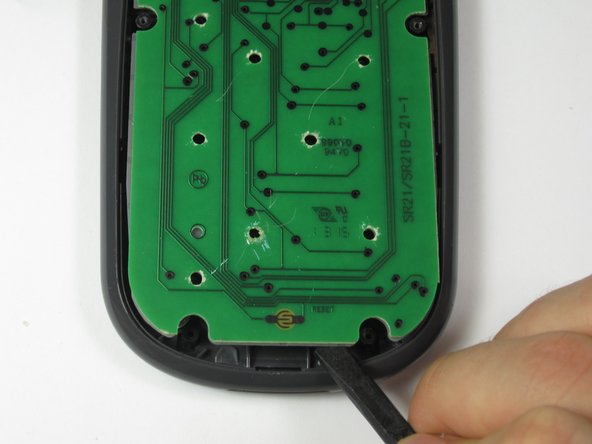
    3. TI-36X Pro Button Replacement: crwdns2935265:07crwdnd2935265:01crwdnd2935265:01crwdne2935265:0
      • Be careful not to scratch the gold lines on the circuit board since it may damage the circuit.

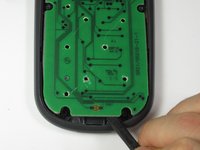
      • Carefully chisel off the 11 circular pieces that connect the lower circuit board to the calculator.

      • When reassembling the calculator, glue the lower circuit board back in place by dabbing glue into the holes that you chiseled.

      crwdns2952109:0crwdne2952109:0

      crwdns2917038:0crwdne2917038:0

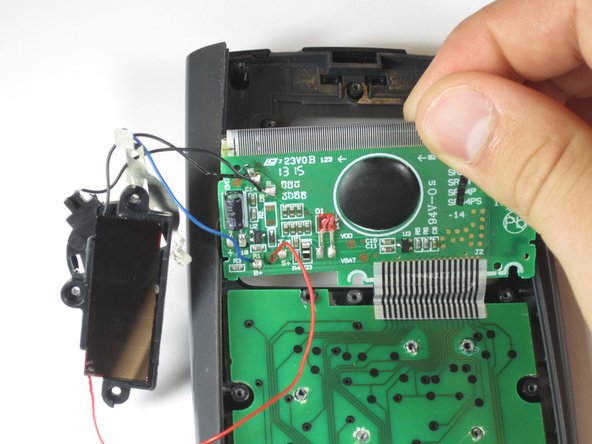
    4. TI-36X Pro Button Replacement: crwdns2935265:08crwdnd2935265:01crwdnd2935265:03crwdne2935265:0 TI-36X Pro Button Replacement: crwdns2935265:08crwdnd2935265:02crwdnd2935265:03crwdne2935265:0 TI-36X Pro Button Replacement: crwdns2935265:08crwdnd2935265:03crwdnd2935265:03crwdne2935265:0
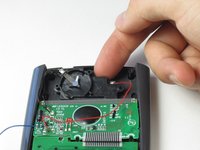
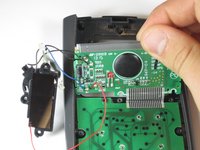
      • When removing the parts from the calculator be careful not to break any wires or ribbons. The solar panel, screen, and lower circuit board should remain connected throughout this guide.

      • Lift the top edge of the solar panel with a finger and slide it away from the circuit board to disconnect it from the calculator.

      • Carefully pry the screen out of the calculator with a prying tool or spudger.

      • Pry the lower circuit board from the calculator by inserting a prying tool between the base of the calculator and the circuit board.

      crwdns2952109:0crwdne2952109:0

      crwdns2917038:0crwdne2917038:0

    5. TI-36X Pro Button Replacement: crwdns2935265:09crwdnd2935265:01crwdnd2935265:01crwdne2935265:0
      • Grab one of the top corners of the gray rubber button pad and peel it off of the buttons.

      • If you turn the calculator over, all of the buttons will fall out.

      crwdns2952109:0crwdne2952109:0

      crwdns2917038:0crwdne2917038:0

    6. TI-36X Pro Button Replacement: crwdns2935265:010crwdnd2935265:01crwdnd2935265:02crwdne2935265:0 TI-36X Pro Button Replacement: crwdns2935265:010crwdnd2935265:02crwdnd2935265:02crwdne2935265:0
      crwdns2935267:0crwdne2935267:0
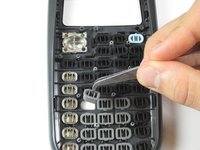
      Tweezers
      $4.99
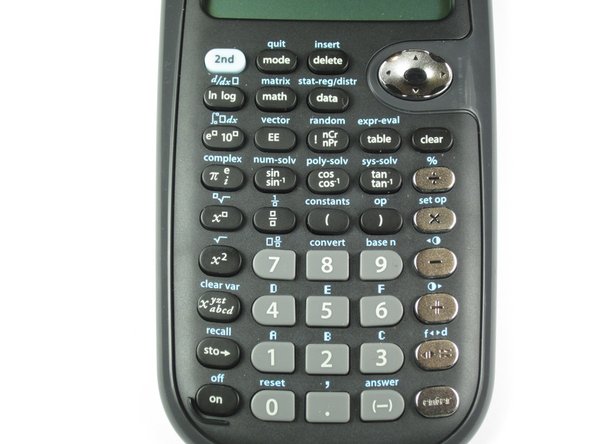
      • Locate the button that needs replacement and lift it out of the calculator with tweezers.

      • If the buttons do fall out, use the second picture to put them back properly.

      crwdns2952109:0crwdne2952109:0

      crwdns2917038:0crwdne2917038:0

crwdns2915888:0crwdne2915888:0

To reassemble your device, follow these instructions in reverse order.

crwdns2935221:0crwdne2935221:0

crwdns2935229:03crwdne2935229:0

Robert Sekerak

crwdns2935283:004/25/14crwdne2935283:0

664 crwdns2915208:0crwdne2915208:0

crwdns2935297:04crwdne2935297:0

crwdns2935287:0crwdne2935287:0

Cal Poly, Team 11-52, Amido Spring 2014 crwdns2935289:0Cal Poly, Team 11-52, Amido Spring 2014crwdne2935289:0

CPSU-AMIDO-S14S11G52

crwdns2931471:04crwdne2931471:0

crwdns2935297:060crwdne2935297:0

crwdns2947412:00crwdne2947412:0

crwdns2917038:0crwdne2917038:0

crwdns2936625:0crwdne2936625:0:

crwdns2936751:024crwdne2936751:0 4

crwdns2936753:07crwdne2936753:0 27

crwdns2936753:030crwdne2936753:0 119

crwdns2942667:0crwdne2942667:0 3,231