crwdns2915892:0crwdne2915892:0
If your SteelSeries Stratus XL is having issues with it’s L2 or R2 trigger, use this guide to allow proper function to your controller.
Your controller triggers are activated with a spring and a screw from an arm pot together on the inside. You may need to do some minor adjustments to the screw on the inside along with some lubing using some isopropyl alcohol for the arm socket.
Be sure to fully disconnect and power off your controller before starting your work.
crwdns2942213:0crwdne2942213:0
-
-
Remove the battery cover and the batteries from the controller.
-
-
-
Remove the eight 1 mm screws from the bottom of the controller using the Y1 Tri-Point screwdriver.
-
-
-
-
Carefully pull the back of the controller off.
-
-
-
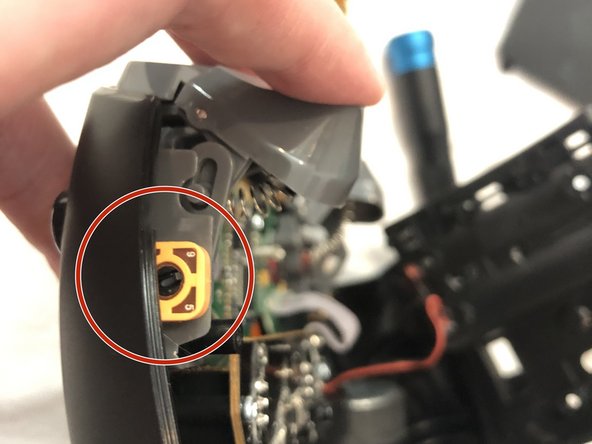
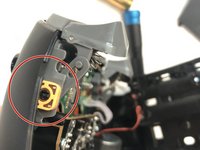
Locate the trigger arm pot depending on which side you are having issues with on your controller.
-
Depending on what issues you may be having with your controller, the screw in the arm pot may appear different. Push the trigger down a couple times and see what happens to the screw.
-
-
-
Make minor adjustments to the screw inside the arm pot using your flathead screwdriver.
-
-
-
Dip your Q-tip in a bit of isopropyl alcohol and dab a little bit into the arm pot. Be careful not to let any leak over any other parts of the controller.
-


To reassemble your device, follow the instructions in reverse order.
To reassemble your device, follow the instructions in reverse order.
crwdns2935221:0crwdne2935221:0
crwdns2935229:02crwdne2935229:0
crwdns2915084:0crwdne2915084:0

UMass Dartmouth, Team S1-G25, Riel Spring 2021 crwdns2935289:0UMass Dartmouth, Team S1-G25, Riel Spring 2021crwdne2935289:0
UMASSD-RIEL-S21S1G25
crwdns2934841:01crwdne2934841:0
crwdns2935297:02crwdne2935297:0
crwdns2947410:01crwdne2947410:0
Can't believe this actually worked! The quality of construction is dispicably poor, the cable had melted onto the trigger springs or something, I've never seen such shoddy construction in my life. I picked out the red plastic gunk and turned the screw as advised. It was a little lower in the frame in my case so hard to reach with the flathead, but with a little perseverance I managed to twist it anti-clockwise and I no longer get phantom presses on my trigger. Many thanks!