crwdns2915892:0crwdne2915892:0
LED lights are one of the greatest draws of the SteelSeries gaming keyboard. Use this guide if you are experiencing problems such as dim, dead lighting, and flickering with the LED lights on your SteelSeries Apex 64145 keyboard.
Within this guide, you will be removing the back of the keyboard in order to replace the broken LED lights. However before you begin, make sure to check your keyboard's software settings and ensure that the LED brightness isn't toned down. Take a look at the keyboard's individual keys as well to check for any debris that could be causing faulty lighting.
Once ready to start, disconnect your keyboard and allow it to cool down. This guide will walk you through the steps to restore your keyboard lights back to full functionality.
crwdns2942213:0crwdne2942213:0
-
-
Unplug the keyboard from the computer.
 crwdns2952109:0crwdne2952109:0
-
-
-
Unscrew the twenty black 4.5 mm Phillips #1 screws on the back of the keyboard.
-
-
-
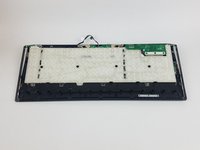
Pry open the back of the keyboard.
-
-
-
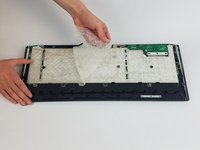
Remove the gel membrane.
-
-
-
-
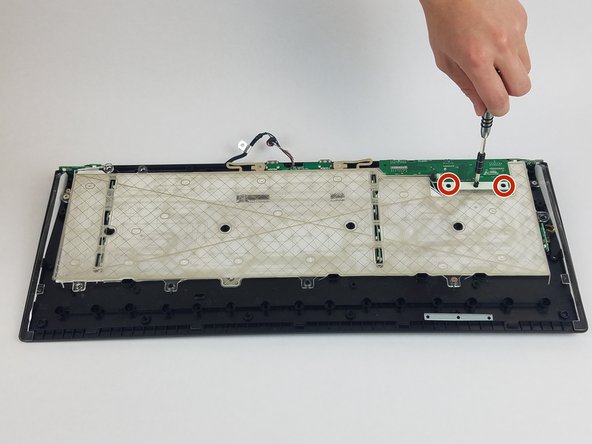
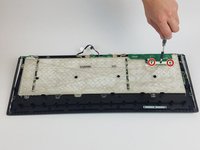
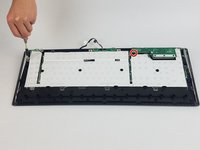
Unscrew the two silver 4.0 mm Phillips #1 screws and the three black 6.5 mm Phillips #1 screws holding the silicone sheets.
-
-
-
Flip the chip slightly in order to remove the sheets.
-
-
-
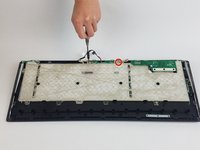
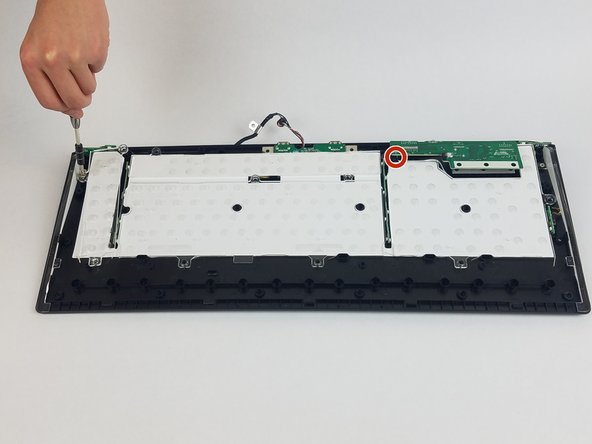
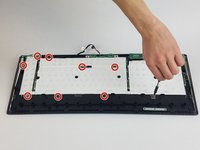
Unscrew the two silver 4.5 mm Phillips #1 screws and the seven 5.0 mm Phillips #1 screws that deter the plastic panel from removal.
-
-
-
Remove the plastic panel and the white sheet.
-
-
-
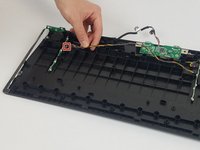
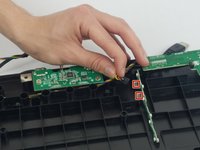
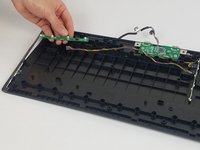
Unplug the wires connected to the LEDs.
-


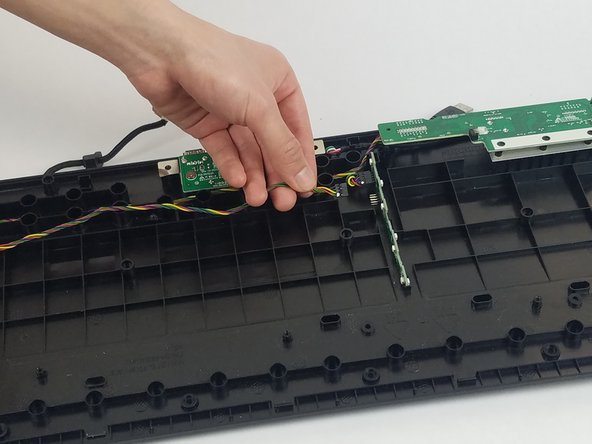


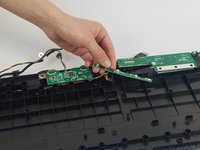
To reassemble your device, follow these instructions in reverse order.
crwdns2935287:0crwdne2935287:0

USF Tampa, Team S1-G1, Nance Spring 2017 crwdns2935289:0USF Tampa, Team S1-G1, Nance Spring 2017crwdne2935289:0
USFT-NANCE-S17S1G1
crwdns2931471:04crwdne2931471:0
crwdns2935297:010crwdne2935297:0