
Steam Machine (2026) Shell Replacement

crwdns2959934:0crwdnd2959934:0Spencer Daycrwdnd2959934:0crwdnd2959934:0crwdnd2959934:0crwdne2959934:0
crwdns2959936:0Ndz 16, 2026crwdne2959936:0
crwdns2869540:0crwdne2869540:0: 318
crwdns2959988:0crwdne2959988:0
- crwdns2959990:0crwdne2959990:0
- 4
- crwdns2959992:0crwdne2959992:0
- 40
- crwdns2959994:0crwdne2959994:0
- 307
- crwdns2959996:0crwdne2959996:0
- 318
crwdns2955950:0crwdne2955950:0: 1
crwdns2960002:01crwdne2960002:0.
crwdns2959984:0crwdne2959984:0: 0 1
crwdns2959956:0crwdne2959956:0
crwdns2959968:01crwdne2959968:0
crwdns2959986:0crwdne2959986:0: 0 1
crwdns2959958:0crwdne2959958:0
crwdns2959976:01crwdne2959976:0
crwdns2918348:0crwdne2918348:0
crwdns2942335:0crwdne2942335:0
crwdns2915892:0crwdne2915892:0
crwdns2959928:0crwdne2959928:0 ↓Follow this guide to replace or upgrade the shell on a Valve Steam Machine (2026).
crwdns2959930:0crwdne2959930:0
crwdns2943215:0crwdne2943215:0


-
-
-
Power down your Steam Machine and disconnect the power cable.
-
Unplug any remaining cables or accessories from all ports.
 crwdns2952109:0crwdne2952109:0
-
-
-
-
-
Reposition the Steam Machine so the bottom is facing up.
-
-
-
Use a T8 Torx screwdriver to remove the four rubber feet.
-
-
-
-
-
Reposition the Steam Machine so the back panel is facing up.
-
-
-
Use a T8 Torx screwdriver to fully loosen the two captive screws securing the back panel.
-
-
-
Lift the top edge of the panel (near the screws) until the two locking clips release.
-
Slide the panel towards the top edge and lift to remove it.
-
-
-
Use a T8 Torx screwdriver to remove the two 7.3 mm‑long screws securing the inner assembly.
-
-
-
Grip the inner assembly under the fan and lift it straight up and out of the shell.
-
Set the inner assembly down so the SSD is on top.
-
-
-
-
-
Use a T8 Torx screwdriver to remove the three 5.1 mm‑long screws securing the front port cover.
-
-
-
Reposition the shell so the open side is facing you.
-
-
-
-
Two plastic clips secure the front port cover to the shell.
-
Use your finger to push both clips in to release them.
-
-
-
Remove the front port cover.
-
-
-
-
-
Firmly pull the faceplate away from the shell to remove it.
-
-
-
You're left with just the shell.
-
-


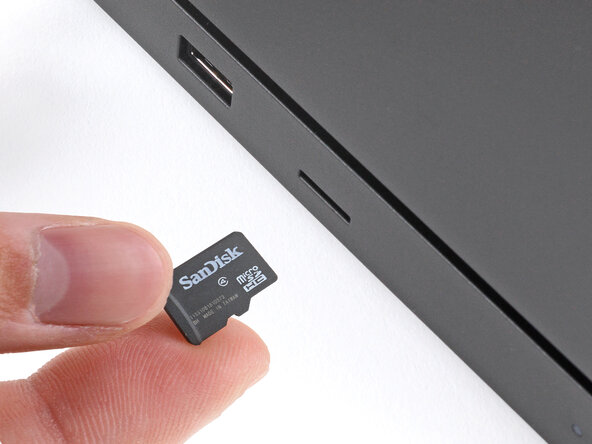


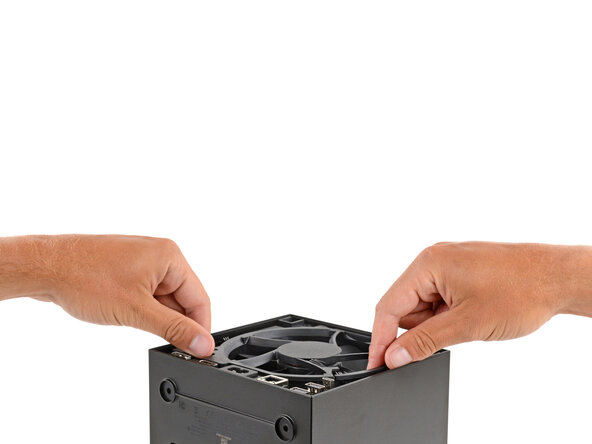


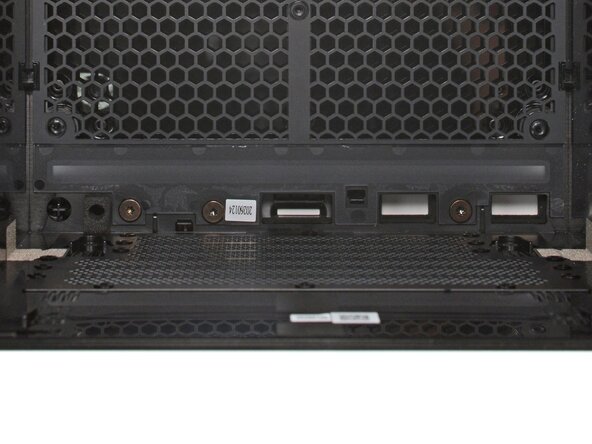


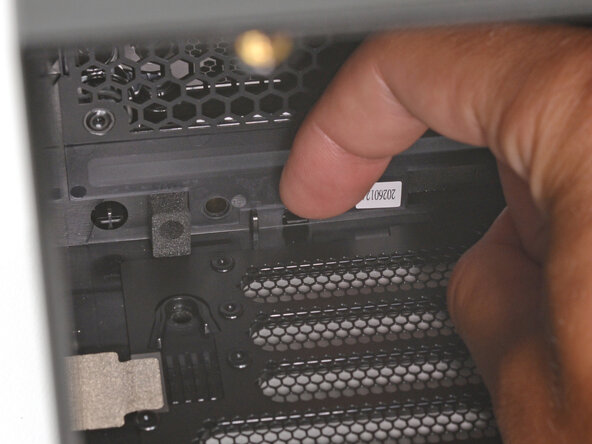


To reassemble your device, follow these instructions in reverse order.
Repair didn’t go as planned? Try some basic troubleshooting, or ask our Answers community for help.

