crwdns2915892:0crwdne2915892:0
This guide will walk you through the disassembly of the Steam Link device made by Valve from 2015 to 2018
crwdns2942213:0crwdne2942213:0
-
-
Start by unplugging your device
-
Power cord
-
Ethernet
-
HDMI
 crwdns2952109:0crwdne2952109:0
-
-
-
Start by removing the rubber bottom using the Guitar Pick or the Jimmy
-
-
-
-
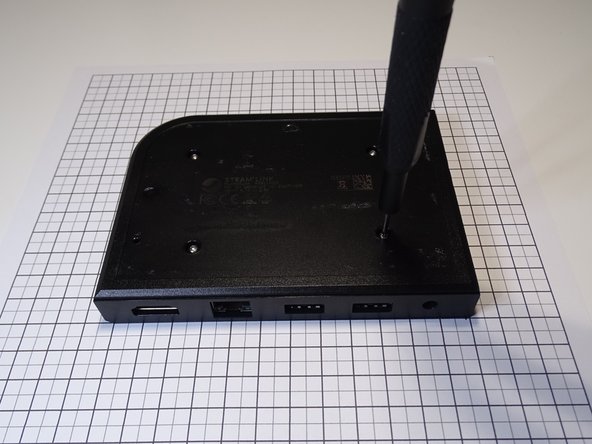
Remove the screws using a Torxx 6 bit
-
-
-
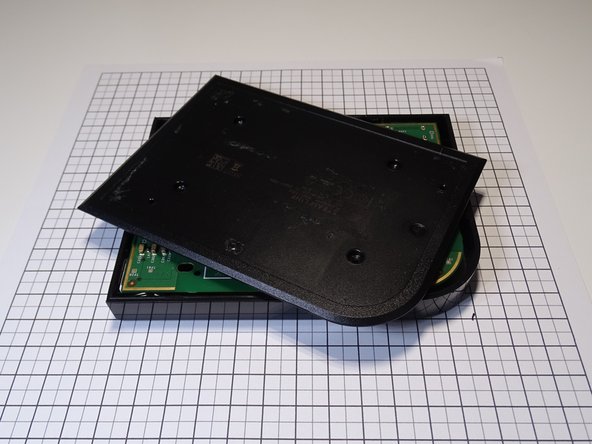
Open-up the bottom lid using guitar pics
-
-
-
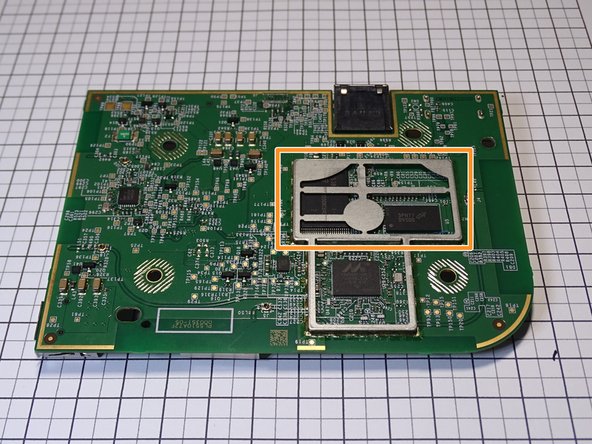
Marvel ArmV7 CPU
-
Vivante GC1000 GPU
-


To reassemble your device, follow the steps in the opposite order
crwdns2935221:0crwdne2935221:0
crwdns2935229:010crwdne2935229:0

crwdns2947412:04crwdne2947412:0
bonjour esque cette carte peu servire comme raspberry merci
thesmoking gta - crwdns2934203:0crwdne2934203:0 crwdns2950251:0crwdne2950251:0
Non, seule une image signée par Valve peut être lancée. Elle a un accès SSH comme indiqué sur la page du SDK cependant. Notez qu'elle n'est plus fabriquée depuis décembre, donc elle n'est plus vraiment disponible.
Jorys Paulin (Jorys_Paulin) - crwdns2934203:0crwdne2934203:0 crwdns2950251:0crwdne2950251:0
Somewhat unworthy Teardown. Naming the CPU brand wrong and not giving any relevant information like schematics or ICs used. THIS is by far better: https://www.allaboutcircuits.com/news/te...
EDIT: Oh, it is a community post, sry. But more information would be nice. E.g. where is the massive heat sink? There are lots of parts missing.
Jan Seewald - crwdns2934203:0crwdne2934203:0 crwdns2950251:0crwdne2950251:0
Hello, this is my first (and only) teardown. I made it just for fun, really. I opened my Steam Link once and then decided to put it on the internet, because I found they weren’t that much photos of it around.
The heat sink is a large piece of aluminum, and now I realize I forgot to add it, my mistake.
Jorys Paulin (Jorys_Paulin) - crwdns2934203:0crwdne2934203:0 crwdns2950251:0crwdne2950251:0