crwdns2915892:0crwdne2915892:0
This disassembly will allow you to replace the batteries, and have access to the internal components of the device.
crwdns2942213:0crwdne2942213:0
-
-
Remove the battery cover by removing the P1 Philips screw.
-
Remove the 3 AA batteries by hand.
-
-
-
Unscrew Top Cover with a 3mm Triangle driver bit from the Driver Kit.
-
-
-
Use Opening Tool to release barbed latch on top cover.
-
-
-
Release pilot studs near the hinge with Metal Spudger.
-
-
-
Once the Top Cover is free, you will have full access to the circuitry.
-
-
-
crwdns2935267:0crwdne2935267:0Tweezers$4.99
-
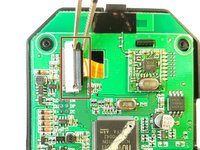
Use Tweezers to remove the side button.
-
-
-
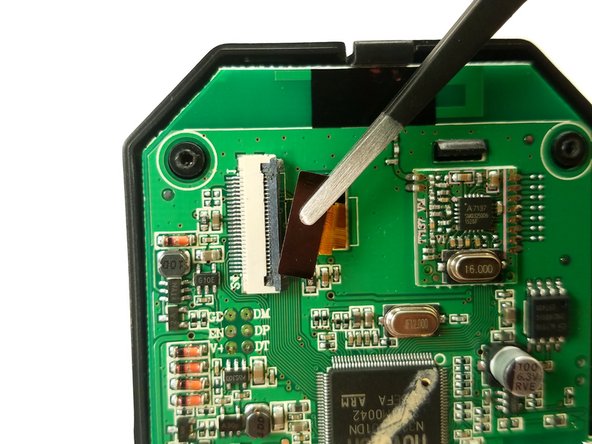
Release the zero insertion force (ZIF) connector.
-
Pull the ribbon cable away carefully.
-
-
-
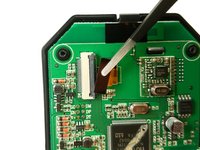
With the ribbon cable free from obstructions, use a Prying Tool to release the circuit board from the guide studs.
-
-
-
With a plastic Prying Tool, separate the screen from the mounting tray.
-
-
-
Once the screen is completely folded away from the mounting tray, release it from the circuit board by hand.
-
-
-
Release the back of the mounting tray using a plastic Pick to unhook the barb from the circuit board.
-
-
-
Now remove the mounting tray complete with camera and ribbon cable attached by sliding away from the screen.
-
-
-
Discard faulty camera and mounting tray.
-


To reassemble your device, follow these instructions in reverse order.
To reassemble your device, follow these instructions in reverse order.
crwdns2935221:0crwdne2935221:0
crwdns2935229:02crwdne2935229:0
crwdns2915084:0crwdne2915084:0

IUPUI, Team 7-7, Wilson Spring 2016 crwdns2935289:0IUPUI, Team 7-7, Wilson Spring 2016crwdne2935289:0
IUPUI-WILSON-S16S7G7
crwdns2931471:05crwdne2931471:0
crwdns2935297:04crwdne2935297:0