crwdns2915892:0crwdne2915892:0
Many people have a sprinkler system and sprinkler heads tend to break occasionally. This guide will help people accomplish the task of replacing broken sprinkler heads themselves. Broken sprinkler heads can be diagnosed by the observance of poor water flow, incorrect water distribution or water shooting out like a geyser. By following the steps laid out in this guide, this project will reduce water usage and brown spots by assuring broken sprinkler heads are replaced properly.
crwdns2942213:0crwdne2942213:0
-
-
Turn off the water supply to the sprinklers.
-
-
-
Dig a hole down to the base of the sprinkler head.
-
-
-
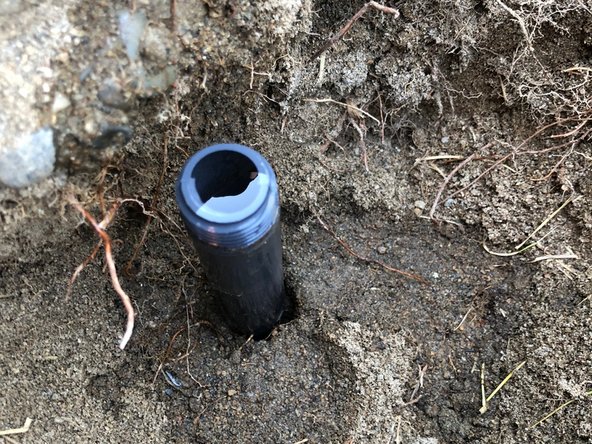
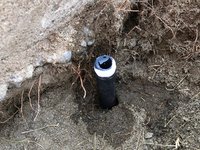
Using your hand or a gardening trowel, finish digging so that the sprinkler head is fully visible and is clear of dirt and debris.
-
-
-
-
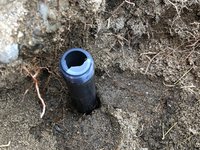
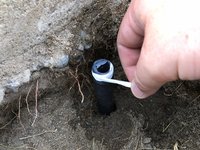
Unscrew the sprinkler head from the line it is attached to.
-
-
-
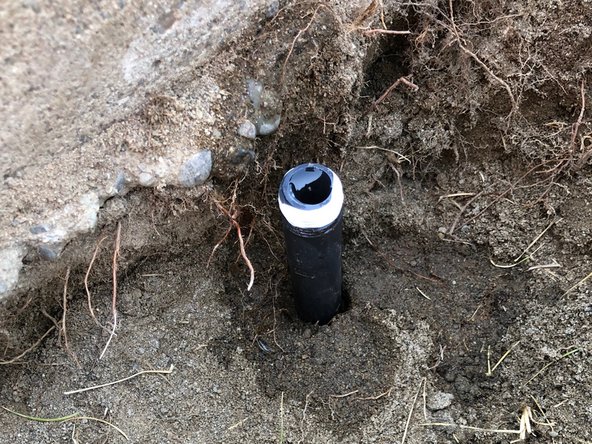
Coat the threads of the water line with teflon tape to avoid leaking.
-
-
-
Using your hand, screw the new sprinkler head on over the teflon tape.
-
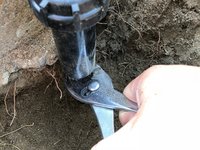
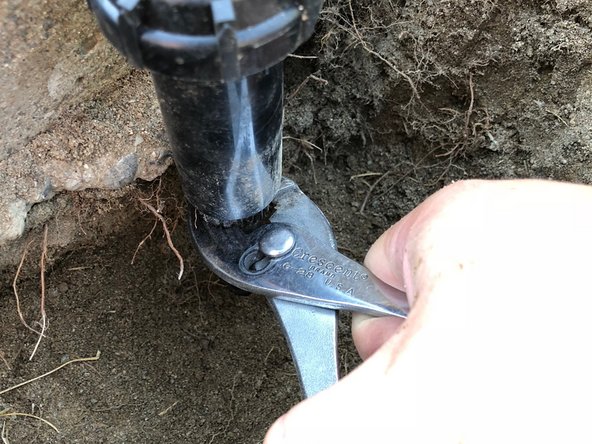
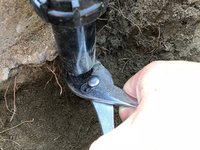
Once the sprinkler head is hand tight, use pliers to tighten it by another half turn.
-
-
-
Fill the hole in and pack it down to avoid unwanted movement of the new sprinkler head.
-
-
-
Twist the top of the sprinkler until it is aimed where you want it.
-
-
-
Use a flat head screwdriver to adjust the flow of water if needed.
-


Enjoy your green lawn and water savings.
crwdns2935221:0crwdne2935221:0
crwdns2935227:0crwdne2935227:0
crwdns2935287:0crwdne2935287:0

Eastern Washington University, Team S2-G4, Crane Summer 2018 crwdns2935289:0Eastern Washington University, Team S2-G4, Crane Summer 2018crwdne2935289:0
EWU-CRANE-SU18S2G4
crwdns2931471:04crwdne2931471:0
crwdns2935297:05crwdne2935297:0