crwdns2915892:0crwdne2915892:0
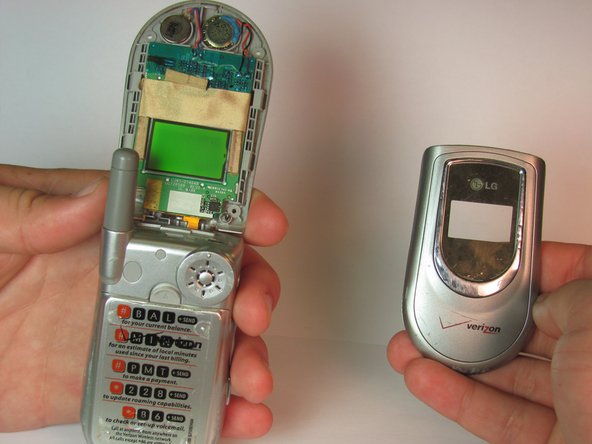
This guide is for replacing the speaker in a LG VX4500 cell phone.
crwdns2942213:0crwdne2942213:0
-
-
Remove grey rubber caps from the four corners of the internal screen.
-
Remove the four 1.3 mm screws, which are directly underneath the grey caps, with a Phillips head screwdriver.
-
-
-
-
Run a pry bar along the seem of the edge of the phone to separate the top screen casing.
-
Work the bar around the edge until the entire top section with the LG logo is removed.
-
-
-
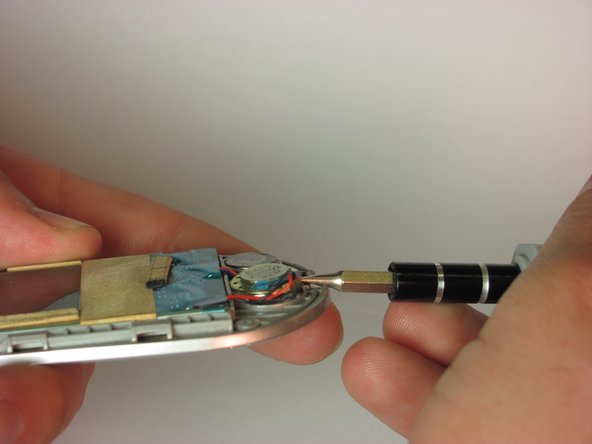
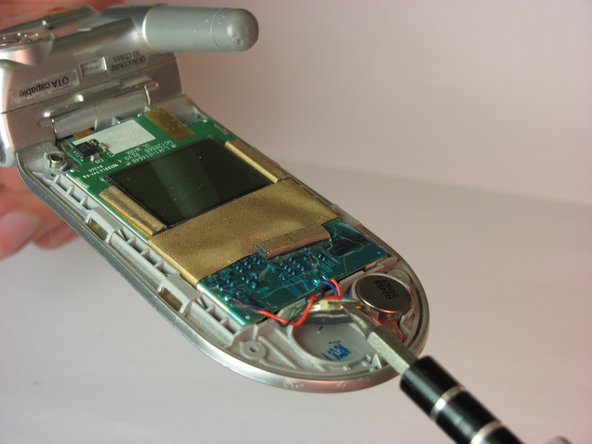
With a flathead screwdriver, lift the speaker from the device.
-


crwdns2935219:0crwdne2935219:0
To reassemble your device, follow these instructions in reverse order.
crwdns2915888:0crwdne2915888:0
To reassemble your device, follow these instructions in reverse order.
