crwdns2915892:0crwdne2915892:0
If the rear camera of your phone is cracked or not functioning correctly, it may be time for a replacement. This guide will walk you through replacing the rear camera on your Sony Xperia XZ2.
For this guide you will need a hair dryer, opening picks, angled tweezers, a spudger, and a Phillips #00 screwdriver.
crwdns2942213:0crwdne2942213:0
-
-
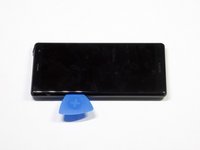
Weaken the glue that is keeping the screen in place by heating up the edges of the phone with a hair dryer or heat gun.
-
-
-
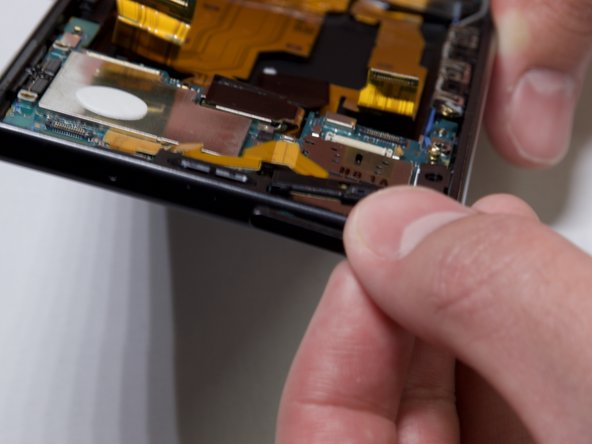
Scrape all the glue from the inside edges by inserting opening picks into the bottom edge of the phone and working your way around the edges.
-
-
-
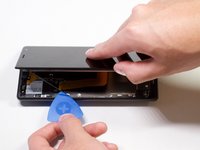
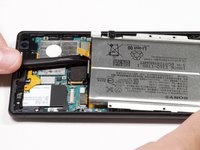
Pry open the phone by inserting an opening pick under one of the edges and removing the screen.
-
-
crwdns2935267:0crwdne2935267:0Tweezers$3.99
-
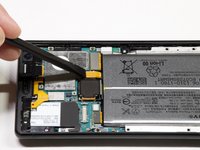
Remove the bracket covering the connector by grabbing one side of the bracket with angled tweezers and gently pulling it off.
-
-
-
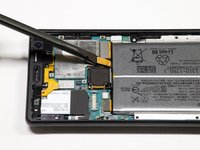
Gently remove the connector by using a spudger to pop it off.
-
-
-
Take out the twelve 3.5mm screws using the Phillips #00 screwdriver.
-
Remove the one 3 mm Phillips #00 screws.
-
Remove the two 1mm Phillips #00 screws.
-
-
-
Lift the metal screen shield out of the phone.
-
-
-
-
Use the spudger to pry up the battery flex connector to pop the battery out.
-
-
-
Pry off the flex connector with a spudger.
-
-
-
Take out the one 3mm screw on the motherboard with the Phillips #00 screwdriver.
-
-
-
Using a spudger, remove the antenna connector.
-
-
-
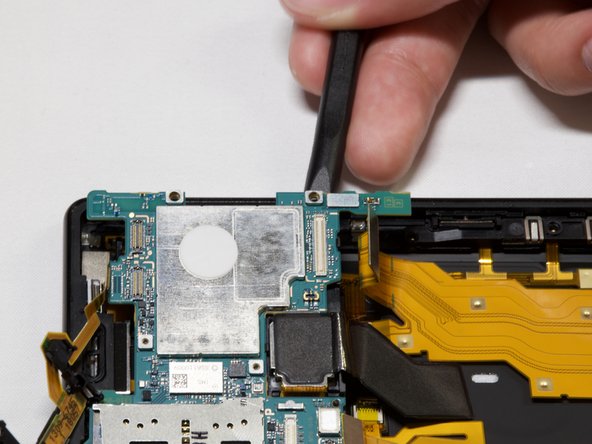
Gently lift the proximity sensor bracket by using a spudger.
-
-
-
Pry off the flex connector using the spudger.
-
-
-
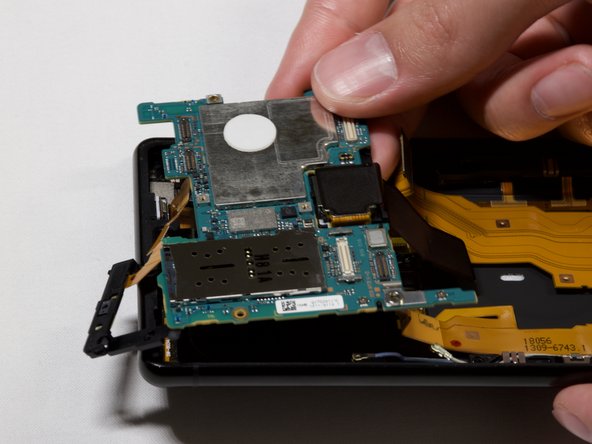
Use the spudger to lift the motherboard out of the phone.
-
-
-
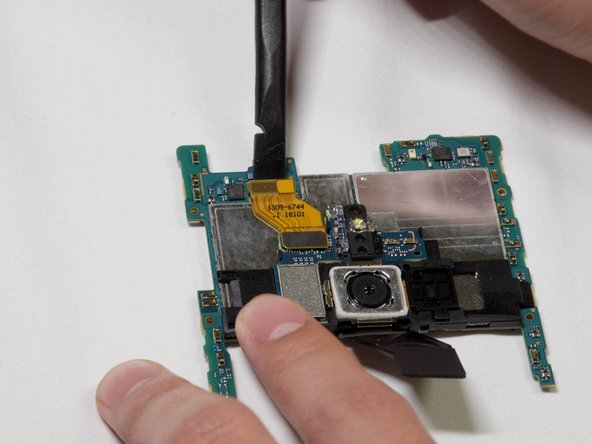
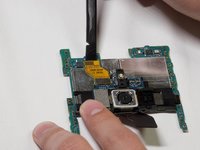
Disconnect the yellow connector by gently prying both sides of it using a spudger.
-
-
-
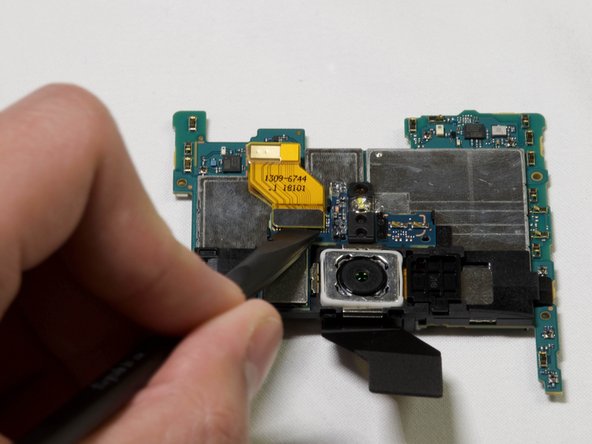
Disconnect the camera module from the motherboard by pulling the module up from the side using a spudger.
-
-
-
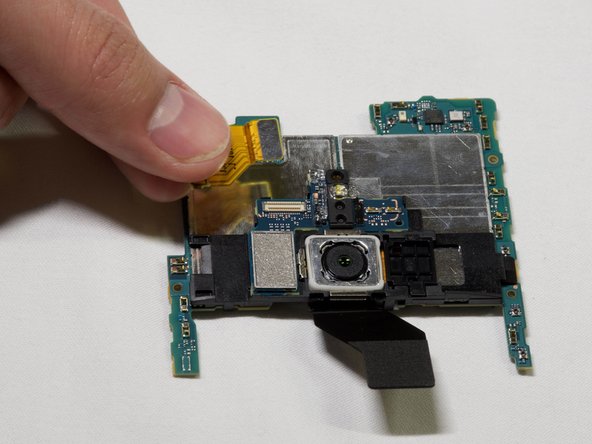
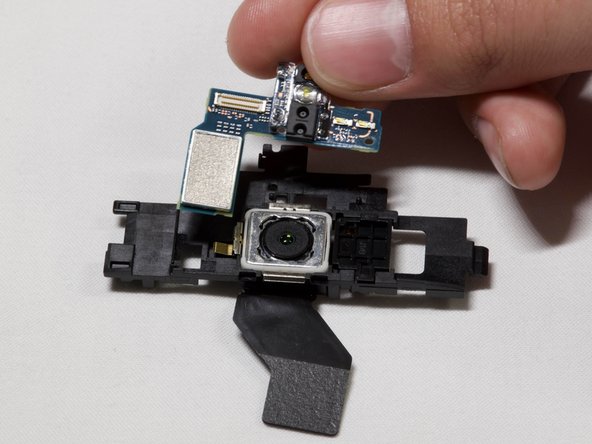
Remove the upper module by gently lifting it with a spudger.
-
-
-
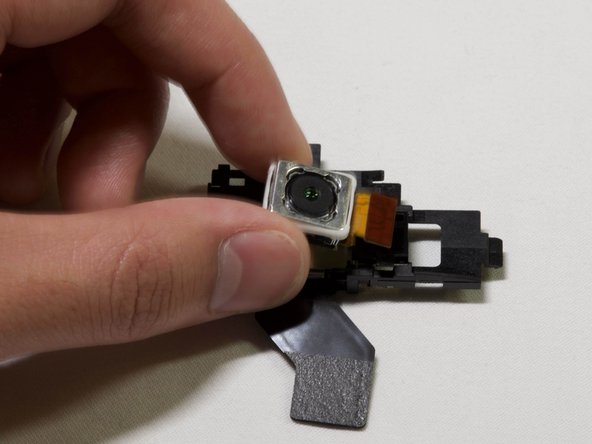
Gently lift up the rear camera by using a spudger under the rear camera.
-
To reassemble your device, follow these instructions in reverse order.
To reassemble your device, follow these instructions in reverse order.
crwdns2935221:0crwdne2935221:0
crwdns2935229:02crwdne2935229:0


