crwdns2933423:0crwdne2933423:0

Sony Xperia XA1 Audio Jack Replacement

crwdns2942213:0crwdne2942213:0

  1. Sony Xperia XA1 Audio Jack Replacement, Phone Back Cover: crwdns2935265:01crwdnd2935265:01crwdnd2935265:03crwdne2935265:0 Sony Xperia XA1 Audio Jack Replacement, Phone Back Cover: crwdns2935265:01crwdnd2935265:02crwdnd2935265:03crwdne2935265:0 Sony Xperia XA1 Audio Jack Replacement, Phone Back Cover: crwdns2935265:01crwdnd2935265:03crwdnd2935265:03crwdne2935265:0
    • Using a hair dryer, apply heat evenly around the edges of the back of the phone. This will loosen the adhesive and allow you to remove the back panel.

    • As you're heating up the phone, begin to pry open the back starting from the middle, and going to the corners.

    • Do not apply heat in one area for too long.

  2. Sony Xperia XA1 Audio Jack Replacement, Audio Jack: crwdns2935265:02crwdnd2935265:01crwdnd2935265:03crwdne2935265:0 Sony Xperia XA1 Audio Jack Replacement, Audio Jack: crwdns2935265:02crwdnd2935265:02crwdnd2935265:03crwdne2935265:0 Sony Xperia XA1 Audio Jack Replacement, Audio Jack: crwdns2935265:02crwdnd2935265:03crwdnd2935265:03crwdne2935265:0
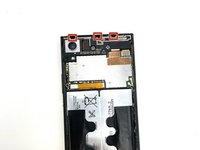
    • Use a Phillips #000 Screwdriver to remove the three 3 mm screws from the top bracket.

  3. Sony Xperia XA1 Audio Jack Replacement: crwdns2935265:03crwdnd2935265:01crwdnd2935265:03crwdne2935265:0 Sony Xperia XA1 Audio Jack Replacement: crwdns2935265:03crwdnd2935265:02crwdnd2935265:03crwdne2935265:0 Sony Xperia XA1 Audio Jack Replacement: crwdns2935265:03crwdnd2935265:03crwdnd2935265:03crwdne2935265:0
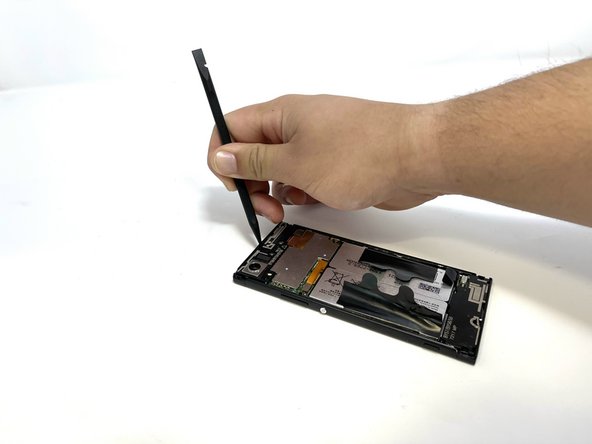
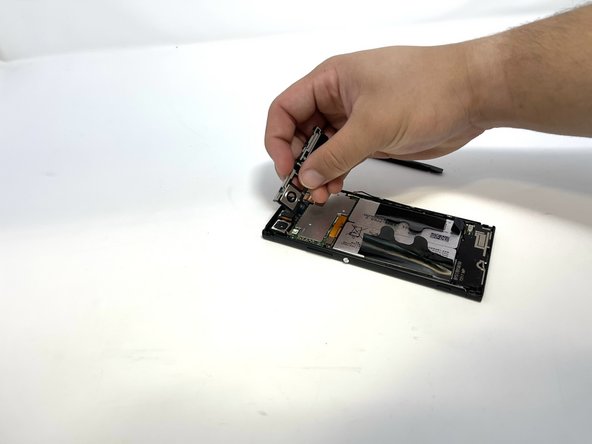
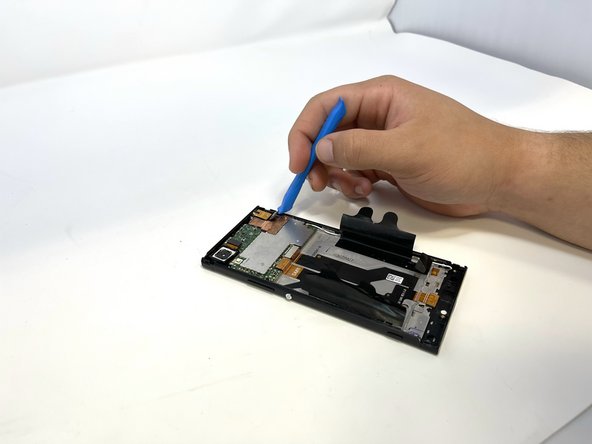
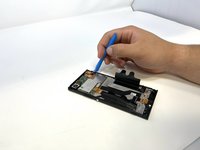
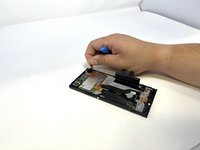
    • Use a spudger to gently pry the three tabs at the top of the phone and release the camera cover.

    • Gently lift the cover.

  4. Sony Xperia XA1 Audio Jack Replacement: crwdns2935265:04crwdnd2935265:01crwdnd2935265:03crwdne2935265:0 Sony Xperia XA1 Audio Jack Replacement: crwdns2935265:04crwdnd2935265:02crwdnd2935265:03crwdne2935265:0 Sony Xperia XA1 Audio Jack Replacement: crwdns2935265:04crwdnd2935265:03crwdnd2935265:03crwdne2935265:0
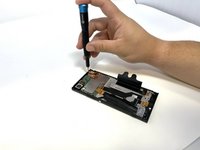
    • Use the Phillips #000 Screwdriver to remove the 3 mm screw to the left of the audio jack component.

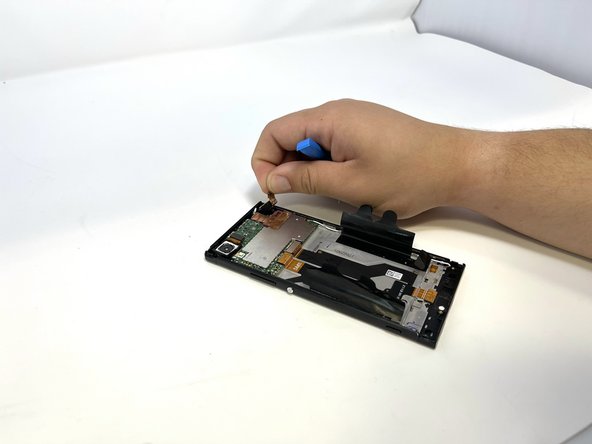
    • Use an opening tool to lift the audio jack connector.

    • Pinch the connector and remove the audio jack.

crwdns2915888:0crwdne2915888:0

To reassemble your device, follow these instructions in reverse order.

Lindsey Taysom

crwdns2935283:002/14/23crwdne2935283:0

205 crwdns2915208:0crwdne2915208:0

crwdns2935297:02crwdne2935297:0

crwdns2915084:0crwdne2915084:0

Utah Tech University, Team 1-4, McMurrin Spring 2023 crwdns2935289:0Utah Tech University, Team 1-4, McMurrin Spring 2023crwdne2935289:0

UTAHTECH-MCMURRIN-S23S1G4

crwdns2931471:03crwdne2931471:0

crwdns2935297:07crwdne2935297:0

crwdns2944067:00crwdne2944067:0

crwdns2917038:0crwdne2917038:0

crwdns2936625:0crwdne2936625:0:

crwdns2936751:024crwdne2936751:0 0

crwdns2936753:07crwdne2936753:0 1

crwdns2936753:030crwdne2936753:0 3

crwdns2942667:0crwdne2942667:0 128