crwdns2915892:0crwdne2915892:0
This guide will take you step by step through the process of replacing your Sony Xperia L2 rear camera. This guide will help with an inoperable or faulty rear camera to provide a fully operable rear camera.
crwdns2942213:0crwdne2942213:0
-
-
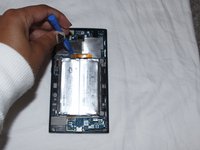
Use the plastic opening tool to pry the back case of the phone off.
-
Disconnect the fingerprint sensor.
-
-
-
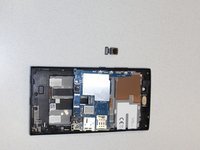
Unscrew all 10 screws from the top and bottom portion of the phone using a T4 Torx screwdriver.
-
Use the plastic opening tool to remove the unscrewed top and bottom portion of the phone.
-
-
-
-
Disconnect the battery cable from the motherboard.
-
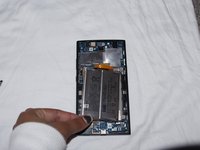
Pry up the battery and remove it from the device.
-
-
-
Unclip circuit connectors from phone to motherboard.
-
-
-
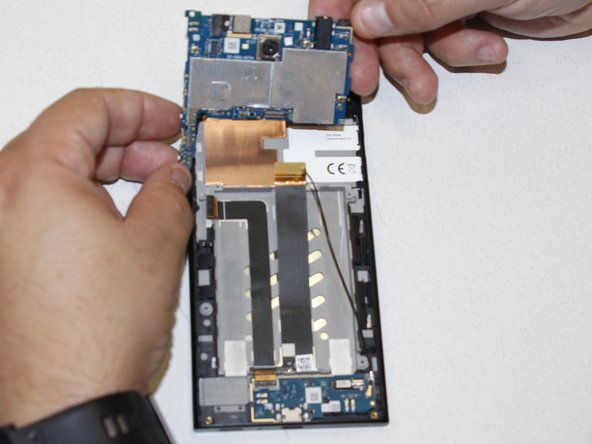
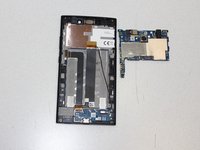
Use blue plastic opening tool to pry off the motherboard.
-
-
-
Detach the rear camera from motherboard and remove it from the device.
-


To reassemble your device, follow these instructions in reverse order.
To reassemble your device, follow these instructions in reverse order.

crwdns2915084:0crwdne2915084:0

University of Alabama, Team S2-G6, Bedsole Fall 2018 crwdns2935289:0University of Alabama, Team S2-G6, Bedsole Fall 2018crwdne2935289:0
UA-BEDSOLE-F18S2G6
crwdns2931471:04crwdne2931471:0
crwdns2935297:05crwdne2935297:0