crwdns2933423:0crwdne2933423:0

Sony XAV-AX100 Display Board Replacement

crwdns2942213:0crwdne2942213:0

  1. Sony XAV-AX100 Display Board Replacement, USB Cable: crwdns2935265:01crwdnd2935265:01crwdnd2935265:03crwdne2935265:0 Sony XAV-AX100 Display Board Replacement, USB Cable: crwdns2935265:01crwdnd2935265:02crwdnd2935265:03crwdne2935265:0 Sony XAV-AX100 Display Board Replacement, USB Cable: crwdns2935265:01crwdnd2935265:03crwdnd2935265:03crwdne2935265:0
    • Place the device on a flat surface, upside down, so the bottom of the screen would be facing upwards.

    • Remove the ten 3.5mm Phillips #0 screws from the back plate.

  2. Sony XAV-AX100 Display Board Replacement: crwdns2935265:02crwdnd2935265:01crwdnd2935265:02crwdne2935265:0 Sony XAV-AX100 Display Board Replacement: crwdns2935265:02crwdnd2935265:02crwdnd2935265:02crwdne2935265:0
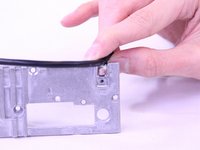
    • Use a plastic opening tool to remove the back plate.

    • Don't remove completely as there will still be cables connected.

  3. Sony XAV-AX100 Display Board Replacement: crwdns2935265:03crwdnd2935265:01crwdnd2935265:01crwdne2935265:0
    • Disconnect the USB cable from the display board.

  4. Sony XAV-AX100 Display Board Replacement: crwdns2935265:04crwdnd2935265:01crwdnd2935265:01crwdne2935265:0
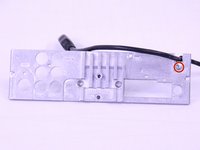
    • Adjust the rubber holders that are keeping the USB cable still on the motherboard, so you can remove the cable entirely from the inner compartment.

    • The rubber holders are extremely sensitive to any applied force. Therefore, be careful while turning them around.

  5. Sony XAV-AX100 Display Board Replacement: crwdns2935265:05crwdnd2935265:01crwdnd2935265:03crwdne2935265:0 Sony XAV-AX100 Display Board Replacement: crwdns2935265:05crwdnd2935265:02crwdnd2935265:03crwdne2935265:0 Sony XAV-AX100 Display Board Replacement: crwdns2935265:05crwdnd2935265:03crwdnd2935265:03crwdne2935265:0
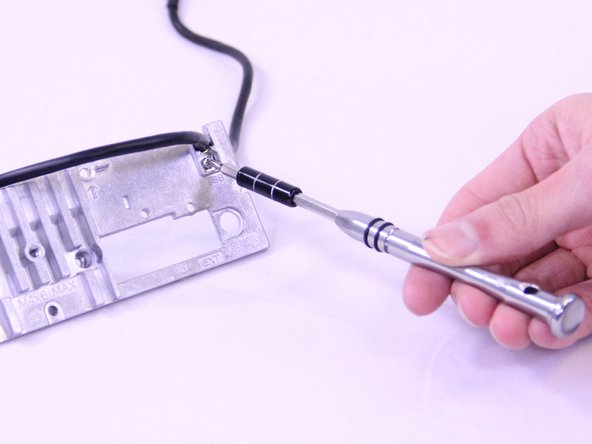
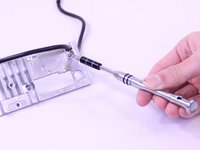
    • Remove the 3.5mm Phillip #0 screw that secures the USB cable to the back panel.

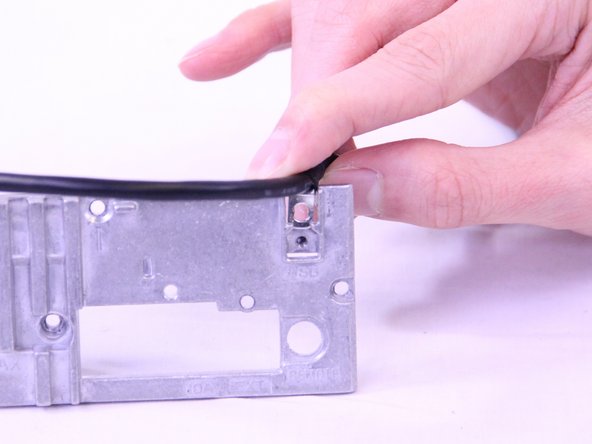
    • Pull the USB cable off of the back plate.

  6. Sony XAV-AX100 Display Board Replacement, Motherboard: crwdns2935265:06crwdnd2935265:01crwdnd2935265:02crwdne2935265:0 Sony XAV-AX100 Display Board Replacement, Motherboard: crwdns2935265:06crwdnd2935265:02crwdnd2935265:02crwdne2935265:0
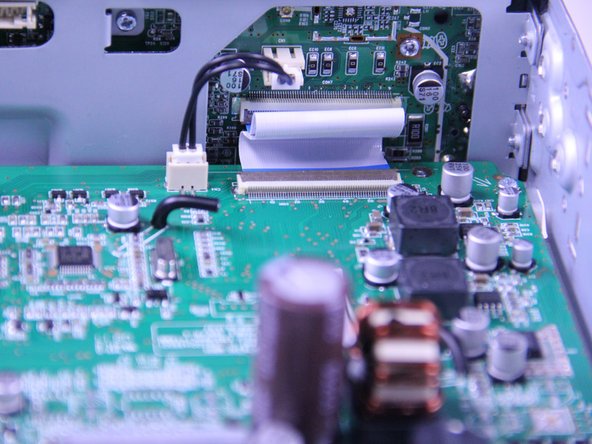
    • Disconnect the display power cable from the motherboard.

    • Use a spudger to flip up the retaining flap on the display ribbon cable ZIF socket.

  7. Sony XAV-AX100 Display Board Replacement: crwdns2935265:07crwdnd2935265:01crwdnd2935265:03crwdne2935265:0 Sony XAV-AX100 Display Board Replacement: crwdns2935265:07crwdnd2935265:02crwdnd2935265:03crwdne2935265:0 Sony XAV-AX100 Display Board Replacement: crwdns2935265:07crwdnd2935265:03crwdnd2935265:03crwdne2935265:0
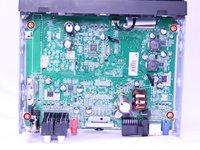
    • Unscrew the four 3.5mm Phillips #0 screws from the motherboard.

    • Use a spudger to gently lift the motherboard up and out of the radio.

  8. Sony XAV-AX100 Display Board Replacement, Display: crwdns2935265:08crwdnd2935265:01crwdnd2935265:01crwdne2935265:0
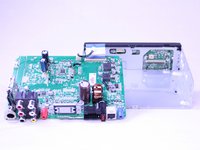
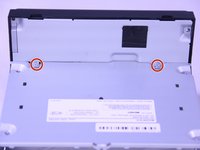
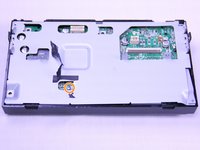
    • Remove the four 3.5mm Phillips #0 screws from the sides of the display.

  9. Sony XAV-AX100 Display Board Replacement: crwdns2935265:09crwdnd2935265:01crwdnd2935265:02crwdne2935265:0 Sony XAV-AX100 Display Board Replacement: crwdns2935265:09crwdnd2935265:02crwdnd2935265:02crwdne2935265:0
    • Remove two 3.5mm Phillips #0 screws from the back of the head unit.

  10. Sony XAV-AX100 Display Board Replacement, Display Board: crwdns2935265:010crwdnd2935265:01crwdnd2935265:03crwdne2935265:0 Sony XAV-AX100 Display Board Replacement, Display Board: crwdns2935265:010crwdnd2935265:02crwdnd2935265:03crwdne2935265:0 Sony XAV-AX100 Display Board Replacement, Display Board: crwdns2935265:010crwdnd2935265:03crwdnd2935265:03crwdne2935265:0
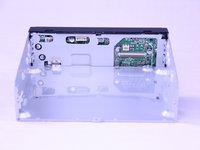
    • Remove the four 3.5mm Phillips #0 screws from the display board.

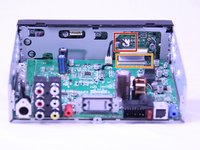
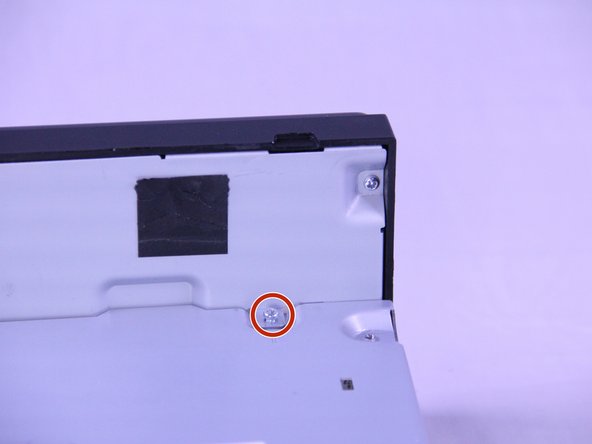
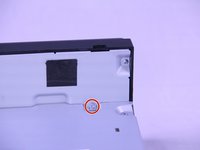
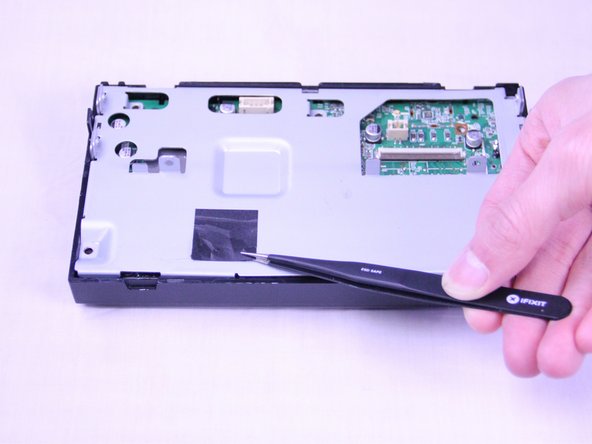
    • Remove the black tape using a precise tweezer.

    • Remove the 3.5mm Phillips #0 screw from underneath the tape.

  11. Sony XAV-AX100 Display Board Replacement: crwdns2935265:011crwdnd2935265:01crwdnd2935265:01crwdne2935265:0
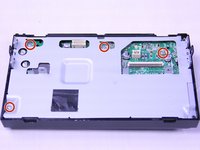
    • Remove the two 2mm Phillips #0 screws from the back plate.

    • Remove the back plate.

  12. Sony XAV-AX100 Display Board Replacement: crwdns2935265:012crwdnd2935265:01crwdnd2935265:01crwdne2935265:0
    • Remove the single 2mm Phillips #0 screw from the motherboard.

    • Use a spudger to flip up the retaining flap on the display ribbon cable ZIF socket.

  13. Sony XAV-AX100 Display Board Replacement: crwdns2935265:013crwdnd2935265:01crwdnd2935265:01crwdne2935265:0
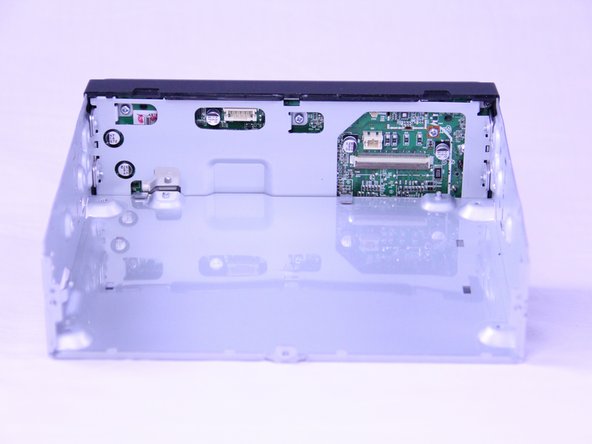
    • Use a plastic opening tool to remove the display board from the radio.

crwdns2915888:0crwdne2915888:0

To reassemble your device, follow these instructions in reverse order.

crwdns2935227:0crwdne2935227:0

Abdulaziz Redha

crwdns2935283:002/22/18crwdne2935283:0

741 crwdns2915208:0crwdne2915208:0

crwdns2935297:05crwdne2935297:0

crwdns2915084:0crwdne2915084:0

USF Tampa, Team S1-G5, Cagle Spring 2018 crwdns2935289:0USF Tampa, Team S1-G5, Cagle Spring 2018crwdne2935289:0

USFT-CAGLE-S18S1G5

crwdns2931471:02crwdne2931471:0

crwdns2935297:05crwdne2935297:0

crwdns2917034:0crwdne2917034:0

Where can I purchase the touch panel glass screen?

Steven olivarez - crwdns2934203:0crwdne2934203:0

crwdns2917038:0crwdne2917038:0

crwdns2936625:0crwdne2936625:0:

crwdns2936751:024crwdne2936751:0 0

crwdns2936753:07crwdne2936753:0 6

crwdns2936753:030crwdne2936753:0 34

crwdns2942667:0crwdne2942667:0 1,925