crwdns2933423:0crwdne2933423:0

Sony WH-CH520 USB-C Charging Port Replacement

crwdns2942213:0crwdne2942213:0

  1. Sony WH-CH520 USB-C Charging Port Replacement, Earpad Cushion: crwdns2935265:01crwdnd2935265:01crwdnd2935265:01crwdne2935265:0
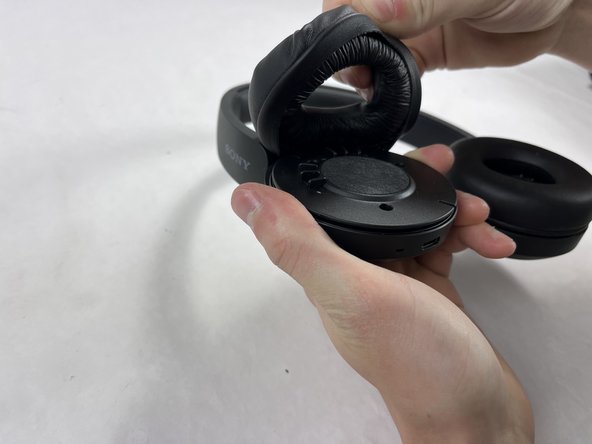
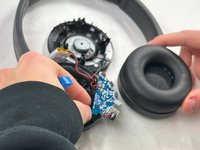
    • Hold the headphones in one hand, and with your other hand lightly pinch the earpad cushion.

  2. Sony WH-CH520 USB-C Charging Port Replacement: crwdns2935265:02crwdnd2935265:01crwdnd2935265:03crwdne2935265:0 Sony WH-CH520 USB-C Charging Port Replacement: crwdns2935265:02crwdnd2935265:02crwdnd2935265:03crwdne2935265:0 Sony WH-CH520 USB-C Charging Port Replacement: crwdns2935265:02crwdnd2935265:03crwdnd2935265:03crwdne2935265:0
    • Pull the pinched portion of the cushion up and towards yourself.

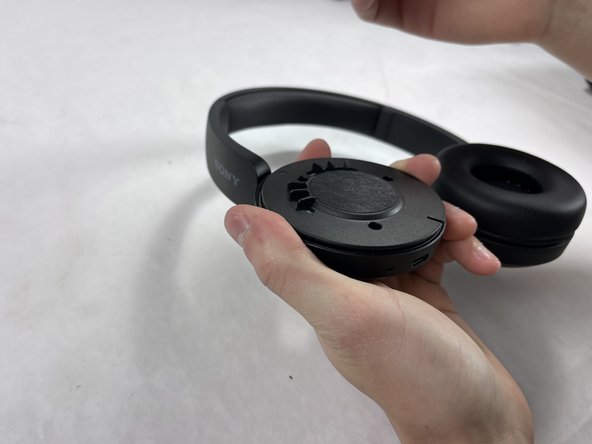
    • Pull part of the cushion off of the lip of the headphones.

    • Fully remove by pulling the earpad cushion down and away from yourself.

  3. Sony WH-CH520 USB-C Charging Port Replacement, USB-C Charging Port: crwdns2935265:03crwdnd2935265:01crwdnd2935265:02crwdne2935265:0 Sony WH-CH520 USB-C Charging Port Replacement, USB-C Charging Port: crwdns2935265:03crwdnd2935265:02crwdnd2935265:02crwdne2935265:0
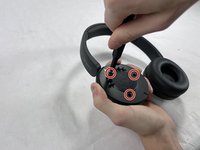
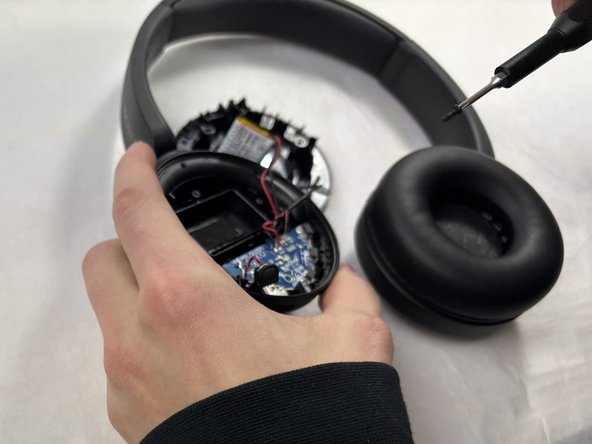
    • Remove the three 2.5 mm screws from the right side of the headphones using a JIS #00 screwdriver.

  4. Sony WH-CH520 USB-C Charging Port Replacement: crwdns2935265:04crwdnd2935265:01crwdnd2935265:03crwdne2935265:0 Sony WH-CH520 USB-C Charging Port Replacement: crwdns2935265:04crwdnd2935265:02crwdnd2935265:03crwdne2935265:0 Sony WH-CH520 USB-C Charging Port Replacement: crwdns2935265:04crwdnd2935265:03crwdnd2935265:03crwdne2935265:0
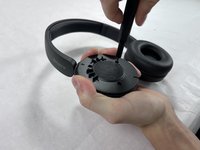
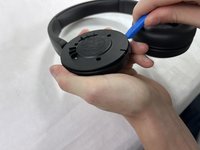
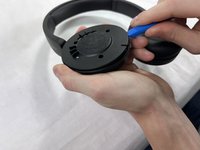
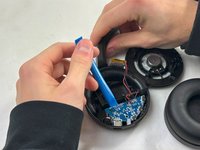
    • Place one end of an opening tool against the edge of the base with the hook-like side pushing up against the covering.

    • Carefully pull the tool down against the edge to lift the covering.

    • Move the tool to different spots around the base of the headphones to pry it up until the covering comes off.

  5. Sony WH-CH520 USB-C Charging Port Replacement: crwdns2935265:05crwdnd2935265:01crwdnd2935265:02crwdne2935265:0 Sony WH-CH520 USB-C Charging Port Replacement: crwdns2935265:05crwdnd2935265:02crwdnd2935265:02crwdne2935265:0
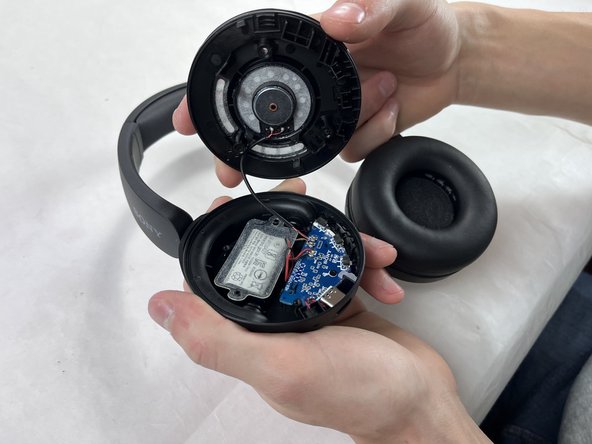
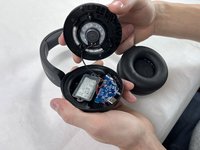
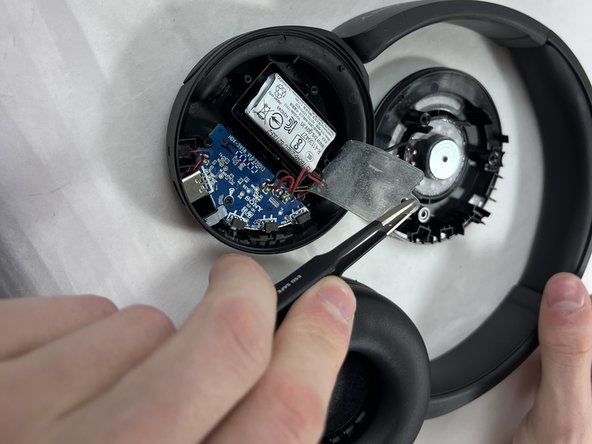
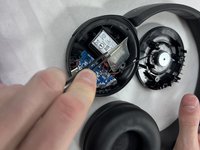
    • Carefully remove the film adhesive on top of the battery using a pair of tweezers.

  6. Sony WH-CH520 USB-C Charging Port Replacement: crwdns2935265:06crwdnd2935265:01crwdnd2935265:02crwdne2935265:0 Sony WH-CH520 USB-C Charging Port Replacement: crwdns2935265:06crwdnd2935265:02crwdnd2935265:02crwdne2935265:0
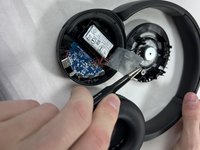
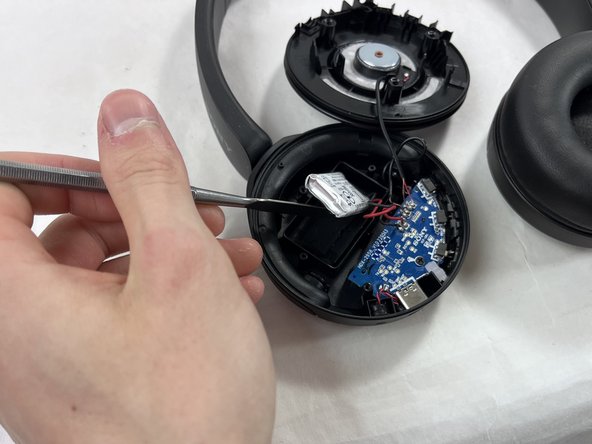
    • Carefully pry the battery up and off of its adhesive using a spudger.

    • You can rest the battery in its well to prevent it from getting in the way later

  7. Sony WH-CH520 USB-C Charging Port Replacement: crwdns2935265:07crwdnd2935265:01crwdnd2935265:02crwdne2935265:0 Sony WH-CH520 USB-C Charging Port Replacement: crwdns2935265:07crwdnd2935265:02crwdnd2935265:02crwdne2935265:0
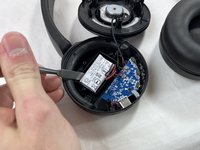
    • Remove the 2.5 mm screw from the center of the motherboard using a Phillips #00 screwdriver.

  8. Sony WH-CH520 USB-C Charging Port Replacement: crwdns2935265:08crwdnd2935265:01crwdnd2935265:02crwdne2935265:0 Sony WH-CH520 USB-C Charging Port Replacement: crwdns2935265:08crwdnd2935265:02crwdnd2935265:02crwdne2935265:0
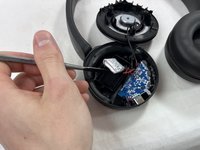
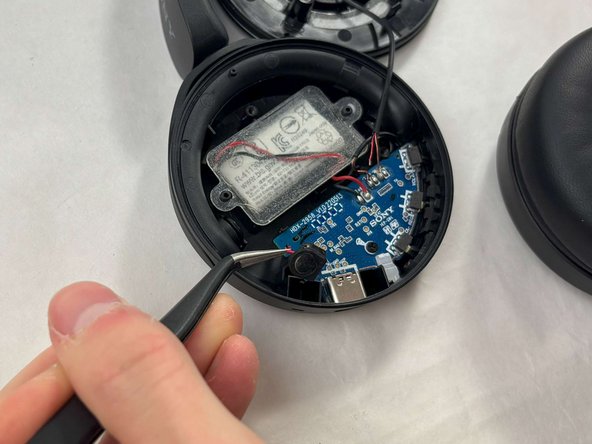
    • Use the tweezers to pinch the silicone casing surrounding the microphone.

    • Pull it up and out from the headphone casing.

  9. Sony WH-CH520 USB-C Charging Port Replacement: crwdns2935265:09crwdnd2935265:01crwdnd2935265:03crwdne2935265:0 Sony WH-CH520 USB-C Charging Port Replacement: crwdns2935265:09crwdnd2935265:02crwdnd2935265:03crwdne2935265:0 Sony WH-CH520 USB-C Charging Port Replacement: crwdns2935265:09crwdnd2935265:03crwdnd2935265:03crwdne2935265:0
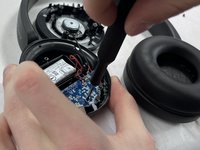
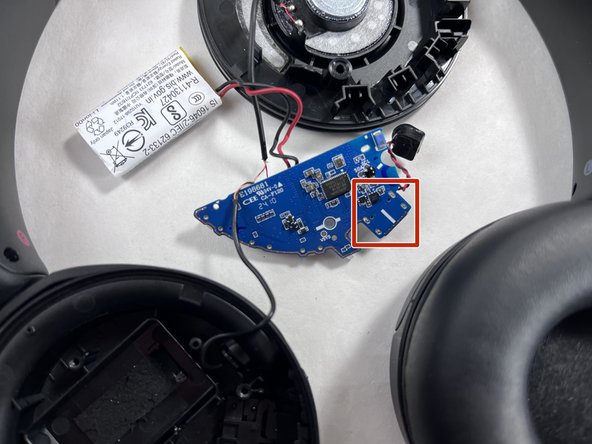
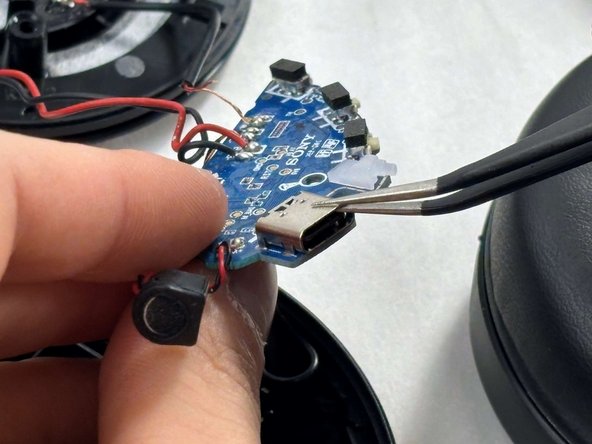
    • Use the opening tool to lift the motherboard out of the headphone casing.

    • Isolate all wires and electronic components from the plastic pieces.

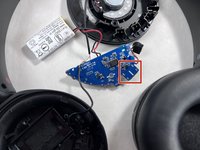
    • Flip the motherboard such that the back pins of the charging port are exposed.

  10. Sony WH-CH520 USB-C Charging Port Replacement: crwdns2935265:010crwdnd2935265:01crwdnd2935265:02crwdne2935265:0 Sony WH-CH520 USB-C Charging Port Replacement: crwdns2935265:010crwdnd2935265:02crwdnd2935265:02crwdne2935265:0
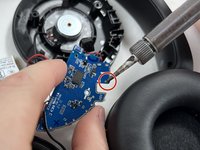
    • Heat your soldering iron to around 350-450°F (175°C-230°C).

    • Reheat the solder on each pin one by one.

    • After reheating, use the tweezers to pull up on the charging port, releasing each pin from its place.

    • The soldering iron and metal components will be HOT; use caution when handling.

crwdns2915888:0crwdne2915888:0

To reassemble your device, follow these instructions in reverse order.

Emma Warn

crwdns2935283:010/18/24crwdne2935283:0

207 crwdns2915208:0crwdne2915208:0

crwdns2935295:0crwdne2935295:0

crwdns2915084:0crwdne2915084:0

UMass Dartmouth, Team 2-2, Konn Fall 2024 crwdns2935289:0UMass Dartmouth, Team 2-2, Konn Fall 2024crwdne2935289:0

UMASSD-KONN-F24S2G2

crwdns2931471:04crwdne2931471:0

crwdns2935297:05crwdne2935297:0

crwdns2947412:00crwdne2947412:0

crwdns2917038:0crwdne2917038:0

crwdns2936625:0crwdne2936625:0:

crwdns2936751:024crwdne2936751:0 1

crwdns2936753:07crwdne2936753:0 2

crwdns2936753:030crwdne2936753:0 37

crwdns2942667:0crwdne2942667:0 145