crwdns2915892:0crwdne2915892:0
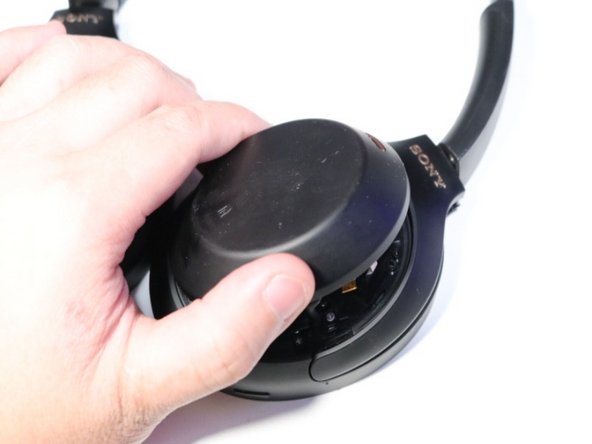
If your Sony WH-1000XM4's earmuff doesn't want to stay attached anymore, it means that your headphone's swivel is broken and needs to be replaced. This guide will show you how to replace your headphone swivel for the Sony WH-1000XM4. Before beginning, make sure to power off the headphones and disconnect from any external power source.
Right and Left side steps are separated, for left side jump to step 13, for right side follow steps 1-12 and common steps 19-25.
crwdns2942213:0crwdne2942213:0
-
-
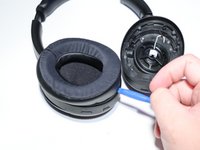
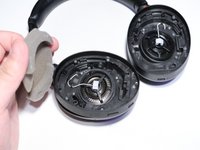
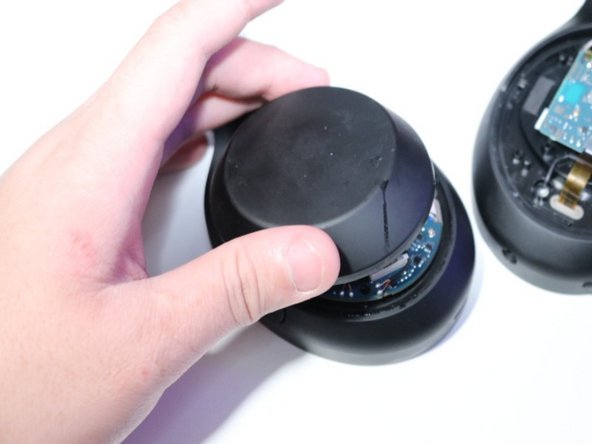
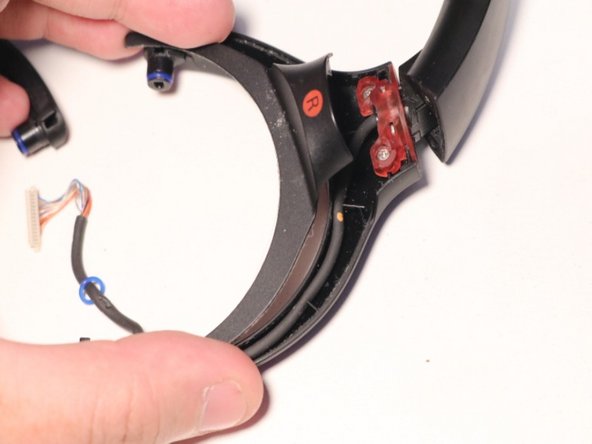
Using an opening tool, pry off the right ear muff and remove the underlying foam.
-
-
-
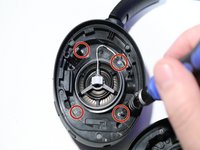
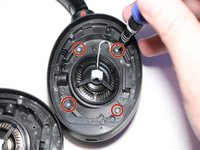
Remove the four silver screws on right side of the headphones using a Phillips #000 screwdriver.
-
-
-
Flip the headphones.
-
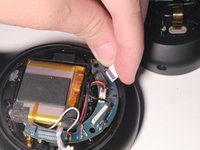
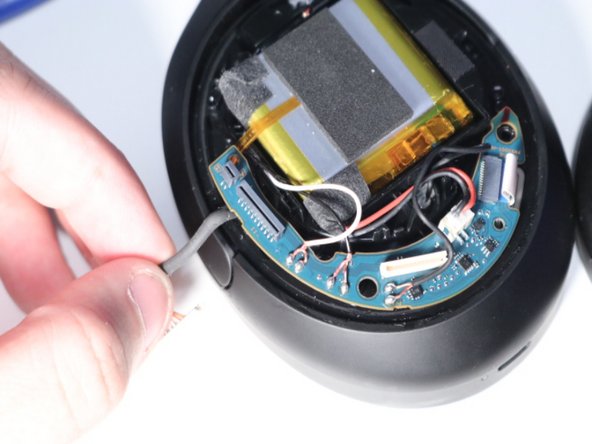
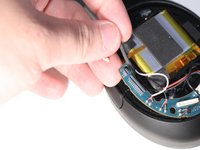
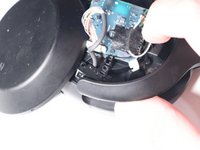
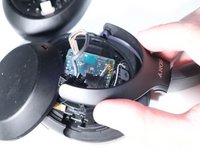
Lift up and flip the right ear cup cover.
-
-
-
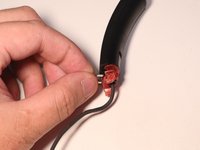
Detach the ribbon cable connecting the backplate to the right ear.
-
-
-
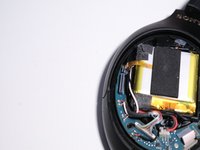
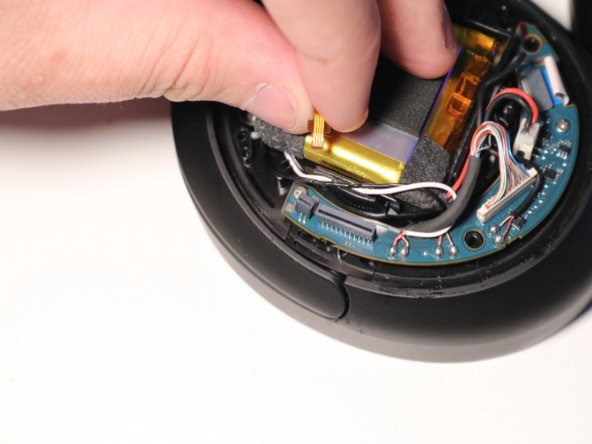
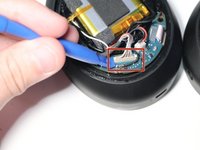
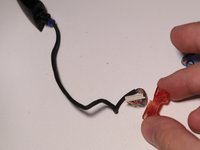
Detach the yellow thermal sensor ribbon cable from the motherboard.
-
-
-
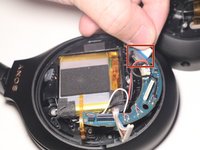
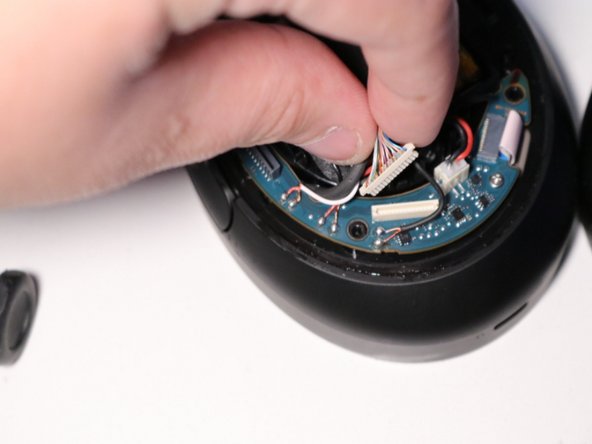
Disconnect the white ribbon cable.
-
-
-
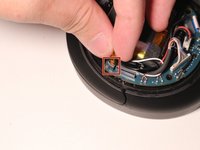
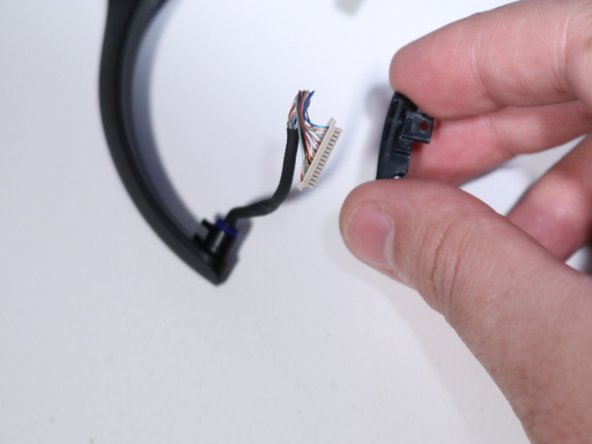
Detach the data/pwr connector from the motherboard using an opening tool.
-
-
-
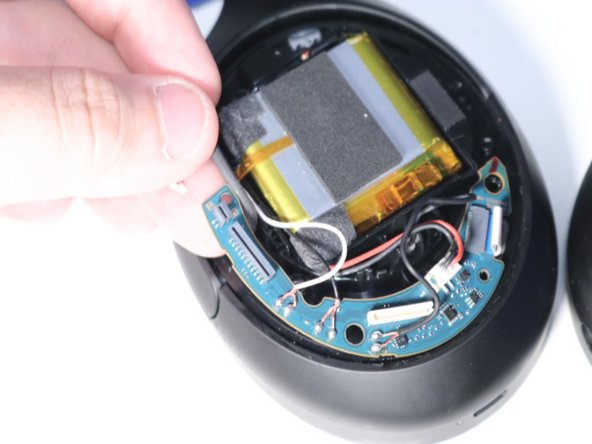
Remove the two screws from the motherboard using a Phillips #000 screwdriver.
-
-
-
Move the data/pwr cable from the inside of the board to the outside.
-
-
-
-
Remove the data/ pwr connector from board.
-
-
-
On the right ear, rotate the motherboard and remove the two screws from the hinge using a Phillips #000 screwdriver.
-
-
-
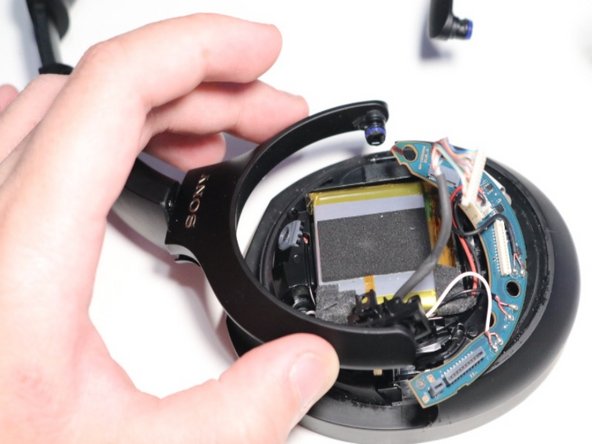
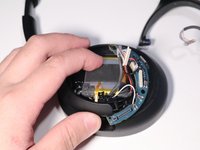
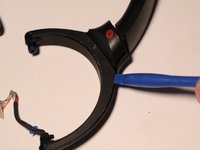
On the right ear, lift the hinge and push it out.
-
-
-
Using an opening tool, pry off the left ear muff and remove the underlying foam.
-
-
-
Remove the four silver screws on left side of the headphones using a Phillips #000 screwdriver.
-
-
-
Flip the headphones.
-
Lift up and flip the left ear cup cover.
-
-
-
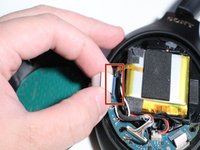
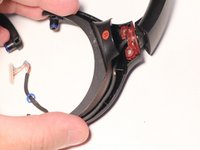
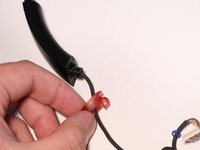
On the left ear, detach the ribbon cable attaching the nfc from the back panel to the motherboard.
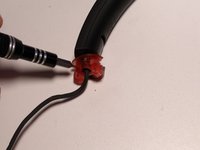
Missed removal of data/pwr cable
When putting the PWR cable back, keep track of the blue wire. You can see it in the picture.
-
-
-
On the left ear, remove the two screws from the hinge using a Phillips #000 screwdriver.
-
-
-
On the left ear, lift the hinge and push it out.
-
-
-
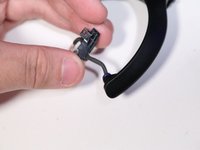
Remove the black hinge piece from the data/ pwr cable.
-
-
-
Using a screwdriver, remove the rubber band.
-
-
-
Use an opening tool to remove the cover.
-
-
-
Remove the two screws from the swivel using a Phillips #000 screwdriver.
-
-
-
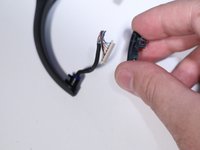
Push out the metal bit from the swivel piece using a spudger.
-
Pull out the metal bit.
-
-
-
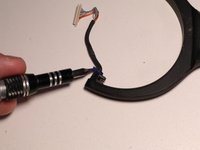
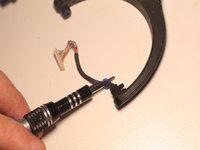
Remove the old swivel.
What if when right cup broke off the metal bit fell out and two tiny pieces of black plastic? Does that mean my xm-4's are not repairable?
I am in a similar situation to Winfred. The metal bit and some (broken) black plastic fell out when mine broke. I still have the metal bit and after dismantling, I can see the broken plastic is just the little hinge swivel highlighted in this guide (and not the larger hinge swivel arm, or the upper headband assembly). I think the vast majority of cases will be the same.
Every single piece is available for almost nothing on alibaba (including the metal bit, in case you lost that). There are also plenty of photos there, which I found useful.
-


To reassemble your device, follow these instructions in reverse order.
To reassemble your device, follow these instructions in reverse order.
crwdns2935221:0crwdne2935221:0
crwdns2935229:013crwdne2935229:0

crwdns2915084:0crwdne2915084:0

CSU Los Angeles, Team 4-13, Kershman Fall 2023 crwdns2935289:0CSU Los Angeles, Team 4-13, Kershman Fall 2023crwdne2935289:0
CSULA-KERSHMAN-F23S4G13
crwdns2934841:01crwdne2934841:0
crwdns2935297:05crwdne2935297:0
crwdns2947412:012crwdne2947412:0
really helpful, thank you! my swivel snapped. I started from Step 18 and removed the cover halfway. re-inserted the swivel then locked the metal bit back. i don't have the replacement piece and it will snap again if twisted too far, but this works for now. thanks!!
Here are a few suggestions:
1) Do a google search for 'sony headphones wh1000xm4 replacement plastics'
2) SONY Replacement Parts Website (what they offer) I found at this site.
3) Joe's SONY WH-1000XM4 Repair Parts I found at this site.
- The individual part you needed is offered along with a replacement metal clip.⏎
4) Check eBay - Currently (2/9/24) I see the part you need along with the two piece that attaches from the swivel joint to the speaker for about $11.99 USD
I hear a creaking sound on my left earcup and have tried everything to remove it (tape, lube, opening the sides up) but to no avail. Should I do this guide and check if the creaking is in the hinge part? Thanks.
I think you should because mine were making that sound for a while before they broke
ok, got it all off!.....how do i put on a replacement?
i got the headphone part off of encompass (sony's official part store)
wish there was a "how to put it all back together" part to this guide.
Hi Liz! It's easy to miss and I almost did. Look at the very end of the instructions and it says to go in reverse back through to put it together again. Don't give up as they say and save your $350 pair of headphones. I hope I helped! I'm going to try if they respond to tell me if in my case my phones are not repairable. I wish there was a way to contact the instructor direct.
Winfred -
Does Sony fix it? I don't trust myself doing all of that. I suppose if they do they charge a big fee, right? Has anyone gone that route, asking Sony to fix it? Such an expensive pair of headphones and mine broke very easily. I use them every day and always handle with care. Such cheap plastic but I like the performance. So now as backup I'm using my 1975 still in perfect condition Pioneer SE-20A headphones that will last another 50 or so years because the swivel and padded structure is all stainless steal. I also have to think... no such thing as noise cancelling headphones in those days, but a very expensive pair of headphones are rendered useless breaking like this. Some basic should-be product construction designs are sadly of the past. Planned obsolescence by Sony.
I hope you see this note as I need to fix my headphones ASAP. What a great series of excellent photos and visual instructions, plus a tools list and easy to buy! I haven't tried it yet but I'm hoping you see my note as I use my xm-4's every day. I'm holding on buying all the tools and part until you let me know if in my case my xm-4's are repairable or not. Too bad such expensive headphones break so easily. I'm low budget and your instructions give me confidence to repair this! THANK YOU!!
I hope others see this, but I repaired my Sony xm-4's today with two pieces of the semi-hard plastic I cut off of a plastic piece I found. I cut the pieces about 1/4 inch wide and 2 inches long. I pulled hard as I wound the tape and being careful not to get tape where the phone cup closely externally fits into the two prong armature they pivot horizontally on. There was no answer to my previous comments so I needing my phones did that an hour ago and so far it works. I'll have to figure out some kind of carrying case now as they won't fit into the original case because the cup now taped won't pivot on the vertical axis. The original padding makes up, with my anatomy, for the cup not pivoting. I'm also going to buy the much more comfortable "Wicked" brand of pad that is breathable and thicker
https://www.amazon.com/WC-Cushions-Repla...
I just might make a double layer cardboard box cut to fit and carry them in that. My reason is no answers about if the black plastic pieces and "U" shaped steel part that fell out in my case means they are not repairable per the instructions given here. Any advice is appreciated very much. I hope I helped in some small way.
I can't thank you enough. With this guide, I was able to fix my WH-1000XM4 relatively easily thanks to the toolset I bought previously from here. Awesome!