crwdns2915892:0crwdne2915892:0
Prerequisite-only guide! This guide is part of another procedure and is not meant to be used alone.
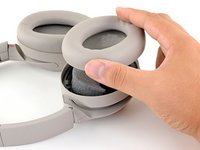
Follow this guide to replace the left ear pad on the Sony WH-1000XM4 wireless headphones.
The procedure to remove the right ear pad is the same, but the standalone guide can be found here.
crwdns2942213:0crwdne2942213:0
-
-
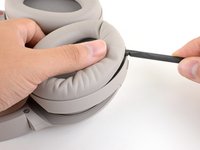
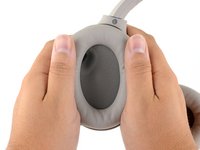
Use your thumb to depress the LEFT ear pad near the long outer edge, creating a gap between the cushion and the frame.
-
-
-
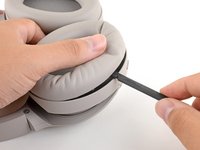
Insert the flat end of a spudger into the gap you've created, between the edge of the cushion and the frame.
-
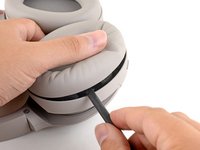
Pivot the spudger down to unclip the long edge of the ear pad.
-
-
-
-
Repeat the previous step around the perimeter of the ear cup to disconnect the remaining clips.
-
-
-
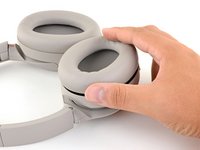
Remove the left ear pad.
-
-
-
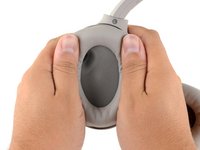
Align the cushion over the speaker and press them firmly together to snap it into place.
-
Press around the entire edge of the cushion, making sure all the clips have engaged.
-
Compare your new replacement part to the original part—you may need to transfer remaining components or remove adhesive backings from the new part before installing.
To reassemble your device, follow the above steps in reverse order.
Repair didn’t go as planned? Try some basic troubleshooting or search our Answers community for help.
crwdns2935221:0crwdne2935221:0
crwdns2935227:0crwdne2935227:0


