crwdns2915892:0crwdne2915892:0
This dissasembly guide was made in the process of changing out a faulty fan unit. To access this fan the motherboard needs to be removed, as well as most other parts of the laptop. If you need to repair or replace the keyboard, this guide should get you most of the way there.
I had initially changed the fan out, but not put the thermal paste on the CPU correctly. This resulted in high fan speeds, as the laptop was compensating for the poor heat dispersion.
Before you start this project, I would suggest reading this whole guide through. Understanding what things look like on the inside will make it much easier to take the laptop apart.
crwdns2942213:0crwdne2942213:0
-
crwdns2935267:0crwdne2935267:0Anti-Static Wrist Strap$7.95
-
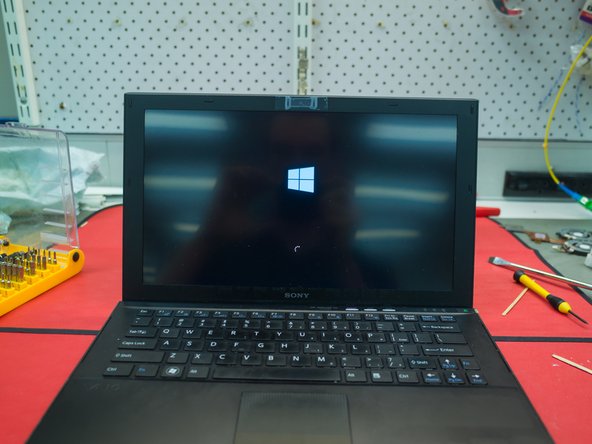
This laptop had been recently upgraded from Windows 7 to Windows 10. This process was fairly straightforward, and the laptop works perfectly now. A key element of this was finding and installing the various drivers to suit.
-
In particular, the Intel RAID driver needs to be downloaded from the Intel website, and also the fingerprint drivers need to be found and installed.
-
-
-
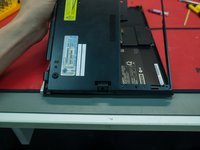
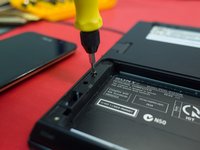
Remove the 8 screws holding in the battery
-
Remove the battery
-
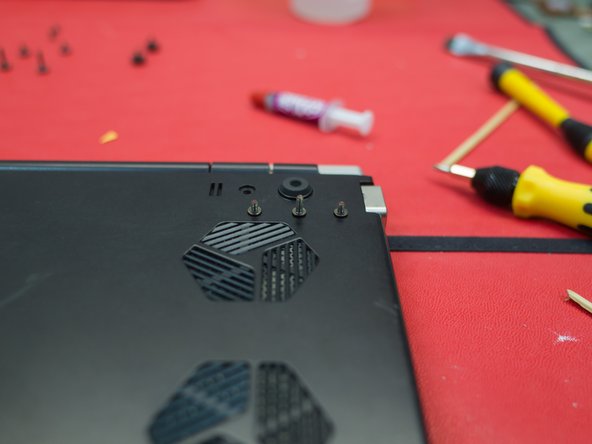
Remove all other screws on the underside of the laptop
-
Under the battery there are three more screws to remove
-
-
-
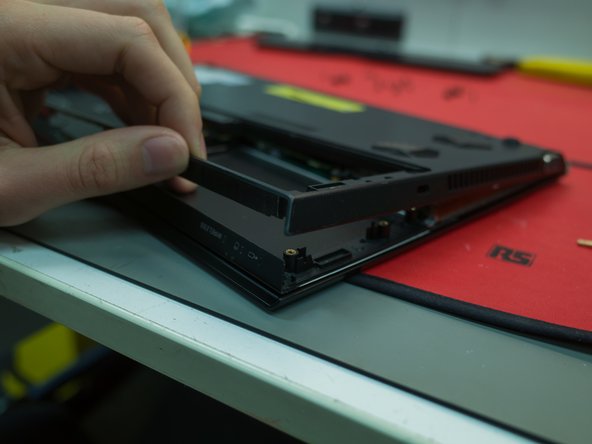
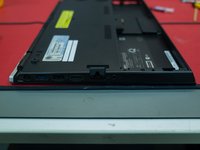
Pry the housing apart using something maliable (I used a bamboo stick)
-
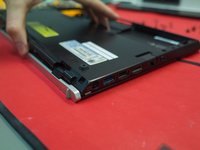
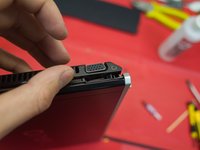
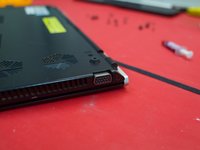
Start at the front edge on the side with the VGA port & fan hole
-
The VGA port is not fixed to the chassis, and can be lifted up to assist with removing the case
-
I have shown the VGA port in more detail later in this guide
-
-
-
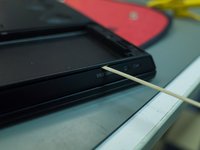
Work your way around the back edge of the laptop. The case is held in by small clips which should pop away from the chassis easily.
-
I recommend using the same maliable piece of bamboo or plastic spudger for this task.
-
-
-
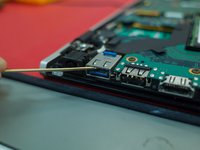
Working your way around the other side of the laptop, the case should slide easily over the ports (HDMI/USB etc.)
-
You may need to lift the Ethernet port flap
-
The headphone port, USB 3.0 port, and A/C jack should move freely, and are not directly fixed to the chassis.
-
-
-
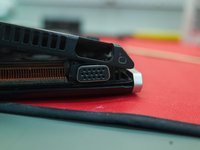
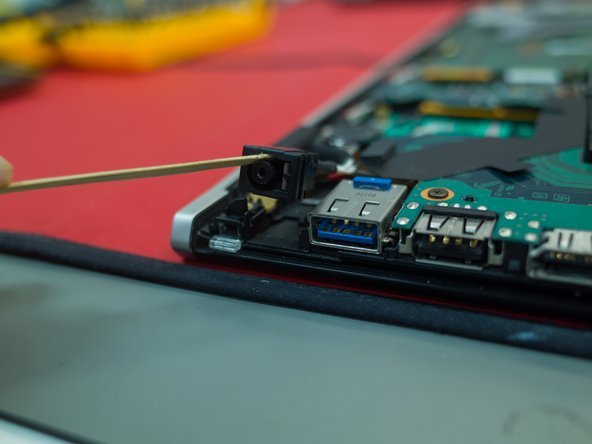
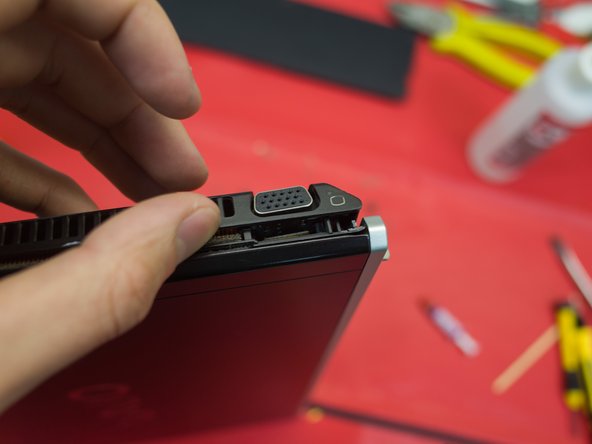
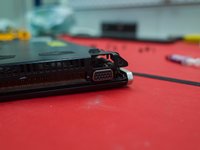
As you can see, the VGA port sits in a slot which allows it to move up and down. It is necessary to lift this port when taking the cover off.
-
-
-
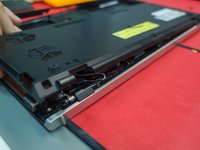
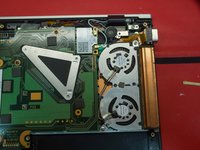
Note that screws are marked with an arrow. This is useful when reassembling the laptop, as some screws are not entirely obvious.
-
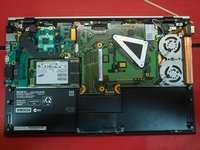
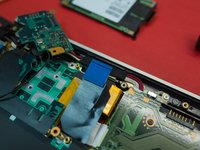
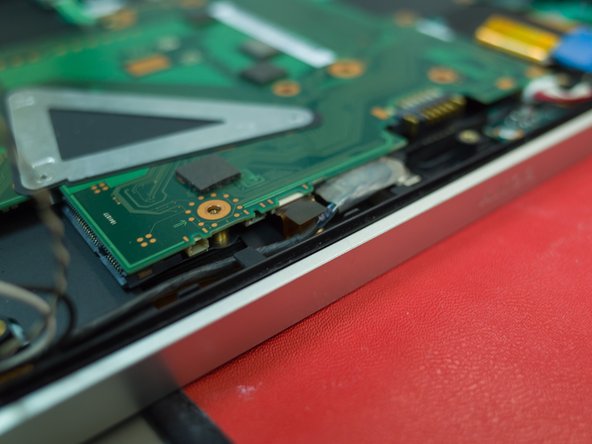
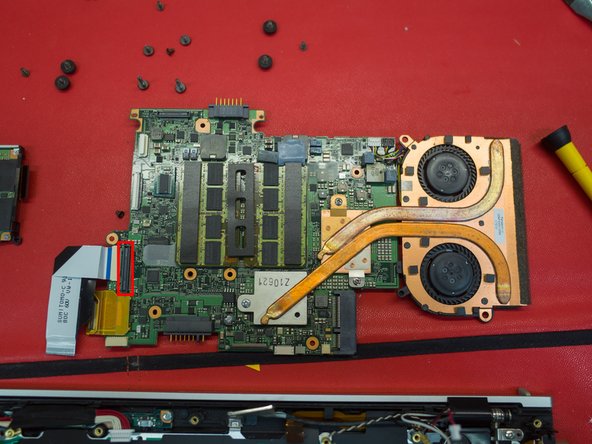
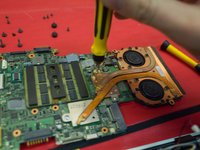
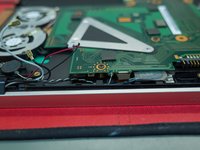
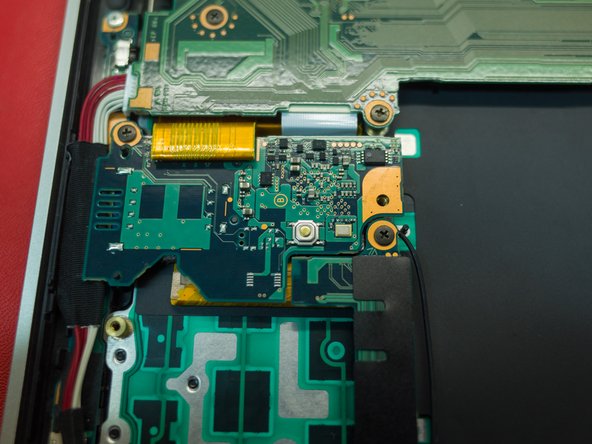
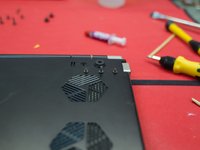
On the right is the fan & heatsink
-
The triangle bracket holds in the CPU (accessed from the under side of the motherboard)
-
The SSD is to the left of the motherboard
-
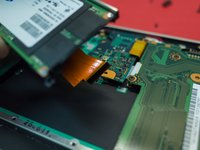
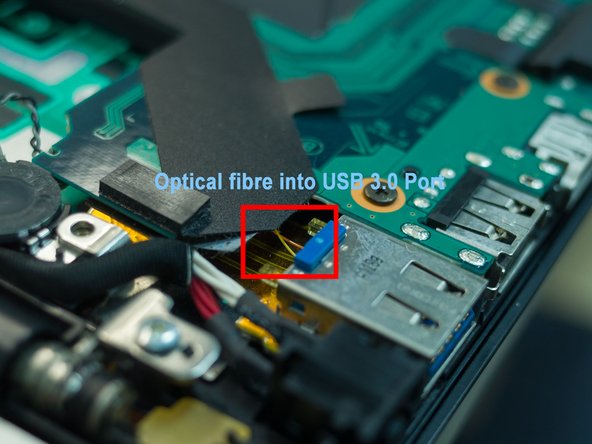
Above the SSD is the optical board. This handles the signal for the external dock (PMD), and is responsible for transfering data fast enough to power an external GPU.
-
-
-
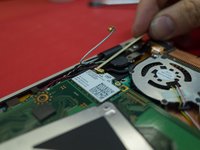
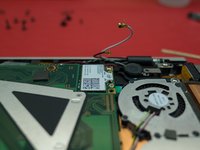
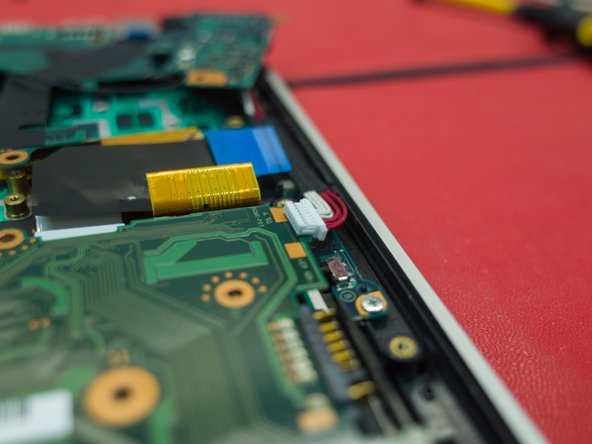
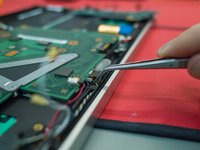
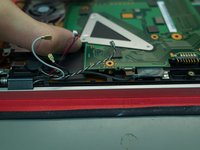
Un-plug the two cables holding in the wifi board
-
-
-
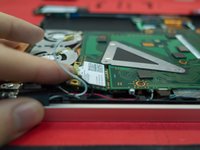
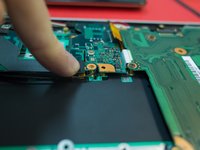
Remove the covering for the trackpad to access the plugs attached to the motherboard. This should just slide off.
-
-
-
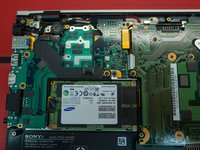
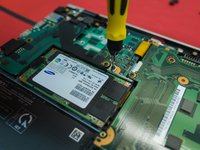
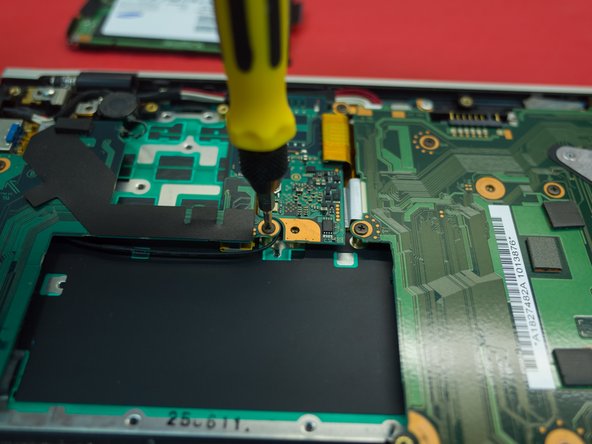
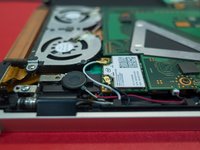
Remove the two screws holding in the SSD.
-
-
-
The SSD is attached to the motherboard with a flat ribbon cable. This should just pull out.
-
-
-
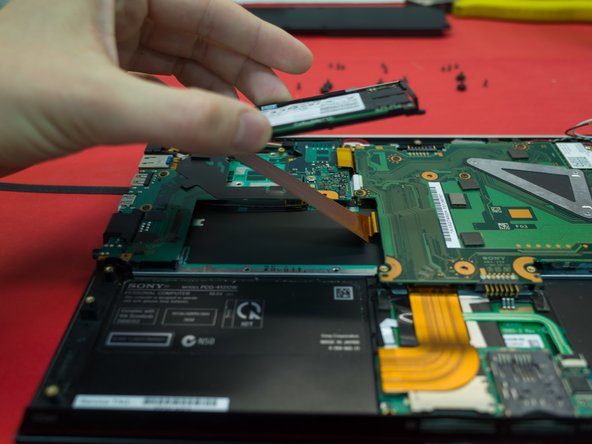
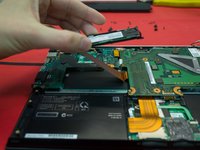
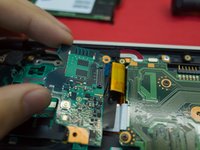
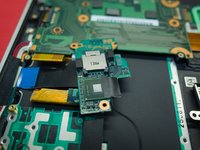
Remove the optical board (2 screws)
-
Remove the plug from the optical board to the motherboard (should pull directly up)
-
-
-
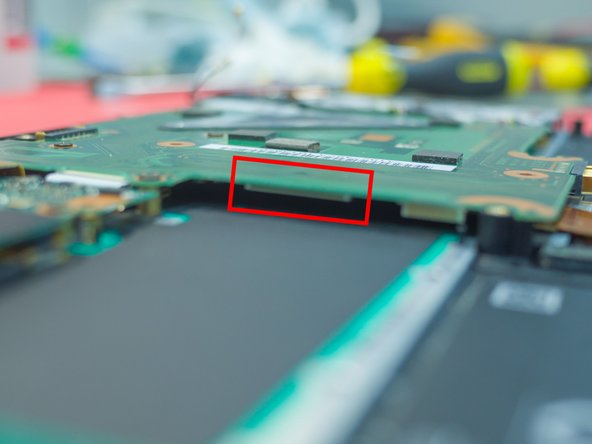
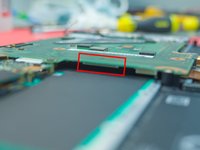
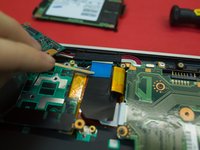
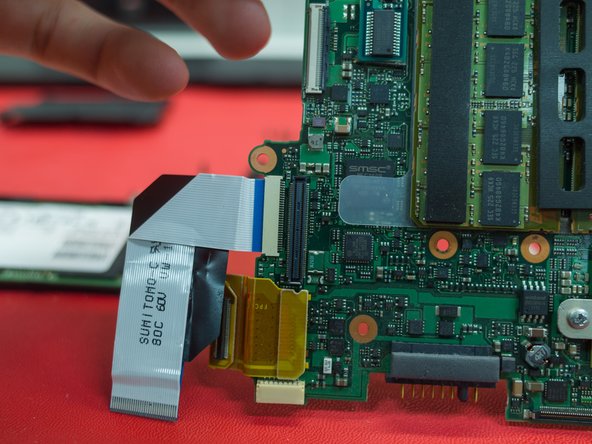
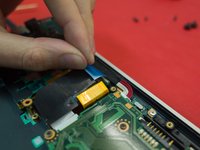
Hold the blue plastic tab to remove the flat ribbon cable to the motherboard. This should pull straight out horizontally.
-
-
-
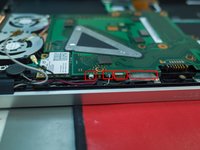
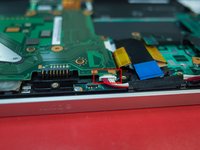
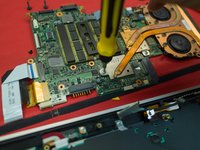
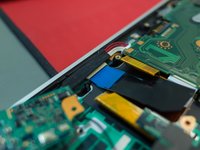
On the back edge there are 4 plugs going into the back of the motherboard.
-
I'm not 100% sure, but from the top of my head these are (left to right); speakers (red/black & black/white), VGA (ribbon), and main (flat plug type)
-
There is also a power connector plug on the far side (red/white)
-
-
-
The red/white and black/white plugs are obvious to pull out
-
The VGA cable has a flat plastic tab - pull on this tab to remove/install
-
The red/white power cables are also obvious
-
To remove the main plug, push it straight down towards the keyboard. This is easier to do once the motherboard is free, so I would suggest leaving it in place for now.
-
-
-
-
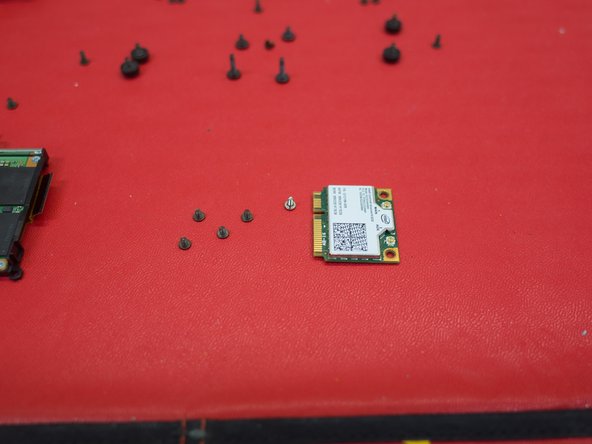
Remove the screws holding in the motherboard (6, including the wifi board)
-
-
-
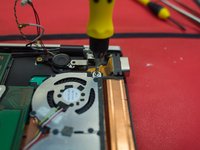
Remove the two screws holding in the fan and heatsink
-
-
-
The heatsink and fan and connected directly to the motherboard by 3 screws. These screws are attached to the triangle bracket, and are accessible from the under side of the motherboard.
-
This means that the entire motherboard needs to be disconnected to remove the CPU, fan, and heatsink.
-
-
-
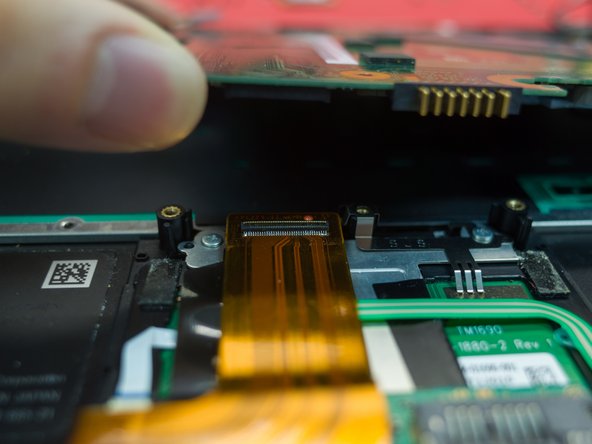
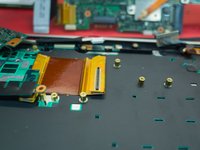
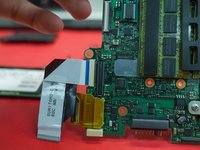
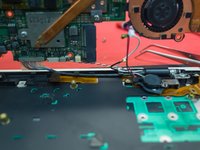
Lift up the edge of the heatsink/fan assembly and identify the remaining connections for the motherboard.
-
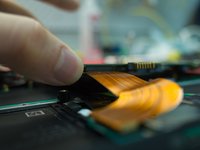
Disconnect the trackpad (flat cable, seperates vertically from the board)
-
-
-
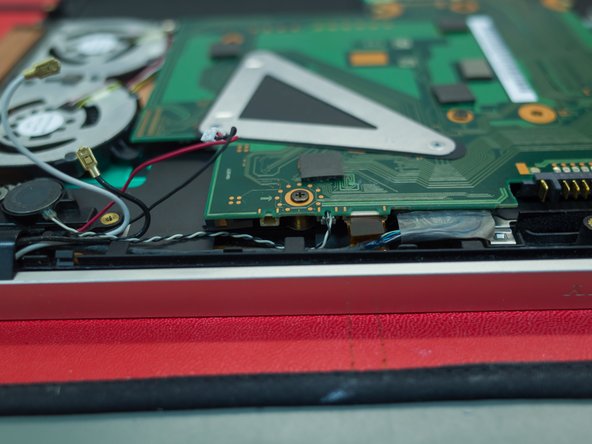
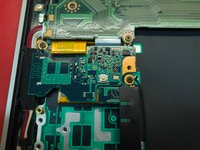
You can see the remaining connectors on the motherboard
-
-
-
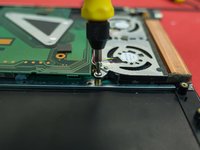
Remove the three screws holding on the heatsink and fan assembly.
-
-
-
Unplug the two fan connector (one white, one black)
-
-
-
Once the fan assembly is disconnected, you can lift it up.
-
-
-
Using a clean microfibre cloth and rubbing alcohol, wipe the old thermal paste off the CPU
-
-
-
New Cooler Master thermal paste
-
It's worth spending the extra couple of bucks on a good brand of paste. It really isn't worth the trouble of having to re-do this (trust me!)
-
-
-
Clean the remaining paste of the heatsink side of the assembly (far right in the picture)
-
Small strip of paste going lengthways on the CPU. You want to avoid air bubbles in the thermal paste.
-
-
-
Carefully place the heatsink and fan assembly onto the CPU and attach the three screws.
-
Plug the fan power cables back in (as I mentioned earlier, these should slot straight down into the socket)
-
-
-
I attached the main motherboard cable first, as it was the most dificult in my opinion. You could plug these back up in whichever order suits you.
-
-
-
Plug up the large flat cable to the motherboard
-
-
-
Attach the motherboard power
-
Put the 5 screws back in for the motherboard
-
Put the 2 screws back in for the heatsink and fan assembly
-
-
-
Attach the speaker cables & VGA port
-
-
-
Replace the wifi card and plug up the white and black cables
-
-
-
Replace the SSD cable (slides straight into the port on the motherboard)
-
-
-
Replace the flat ribbon cable to the connector, using the blue plastic strip to push it into the port.
-
-
-
Replace the two screws holding the optical board.
-
-
-
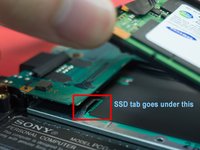
The SSD caddy has a notch on the left side. This needs to sit under the housing on the chassis.
-
-
-
Everything all plugged back up and screwed in.
-
As with before, check the components for the arrows which indicate where the screws go. Those screws in the laptop case actually go through the case into the chassis.
-
-
-
Start reassembly from the USB side of the laptop.
-
-
-
Around the otherside, lift the VGA port up and align it in the case before lowering the case onto the chassis
-


To reassemble your device, follow these instructions in reverse order.
To reassemble your device, follow these instructions in reverse order.
crwdns2935221:0crwdne2935221:0
crwdns2935229:08crwdne2935229:0
crwdns2947412:012crwdne2947412:0
Hi- How difficult is it to replace the lcd? can i just unclip the bezel or would i need to take it off the hinges and follow this guide?
I think you need to take the case off, then take the lcd off. I haven't done it on the z2, but I did do it on the z1.
zacxzac -
Thanks for the response, i cant for the life of me find a guide anywhere for the Z2. Was the bezel clipped on or glued on for the Z1?
any support would be hugely appreciated :)
Sorry to be pain, can i detach and re-attach the main motherboard cable for the right hinge without taking the motherboard off? Also are the there any cables from the left hinge i need to be aware of?