crwdns2915892:0crwdne2915892:0
This step-by-step guide will lead you through the process of removing the back panel of a Sony Vaio VPCEG26FX Laptop. The back panel would need to be replaced if cracked or broken. Removing the back panel requires very little force should be needed to remove the back panel. If difficult to remove, ensure that all the screws have been removed.
crwdns2942213:0crwdne2942213:0
-
-
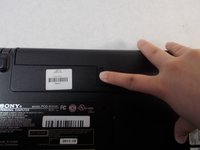
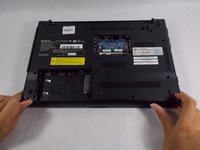
Flip the laptop so the bottom is facing up with the model number visible.
-
-
-
Slide the lock switch down until you hear a click to unlock the battery.
-
-
-
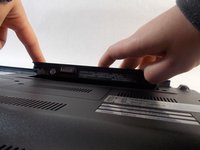
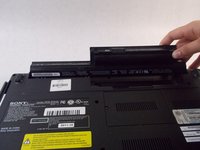
Slide the release slider up and simultaneously push the battery upwards away from the device until it falls out of place.
-
-
-
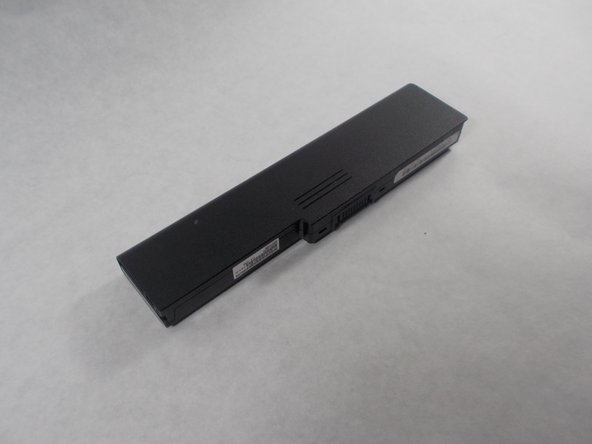
Remove the battery from the battery compartment.
-
-
-
Loosen the two (7mm) screws that hold the hard drive panel in place with a JIS #0 screwdriver.
-
-
-
-
Remove the plastic and unscrew the screw on the hard drive using the JIS #0 screwdriver.
-
-
-
Push the hard drive towards the optical reader to unlock it.
-
-
-
Remove the hard drive from the device.
-
-
-
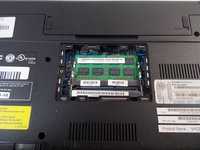
After you remove the battery, there is a small rectangular panel underneath where the battery was housed.
-
-
-
Remove the single screw holding the panel in place using the JIS #0 screwdriver.
-
-
-
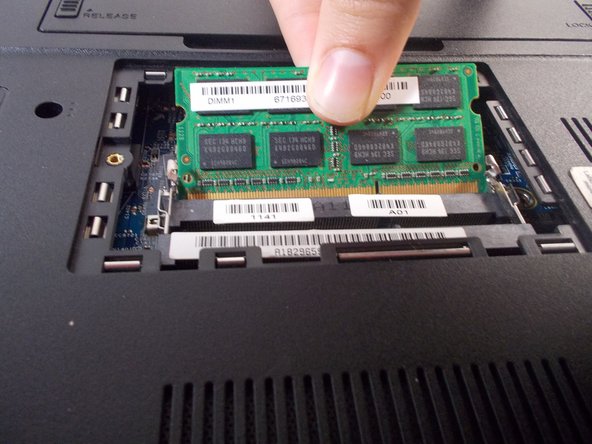
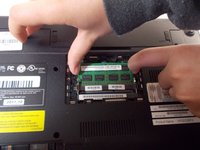
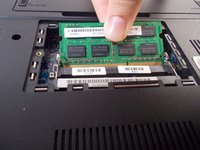
Remove the green circuit board by dislodging the circuit it is attached to.
-
Unhook it and remove it from the device.
-
-
-
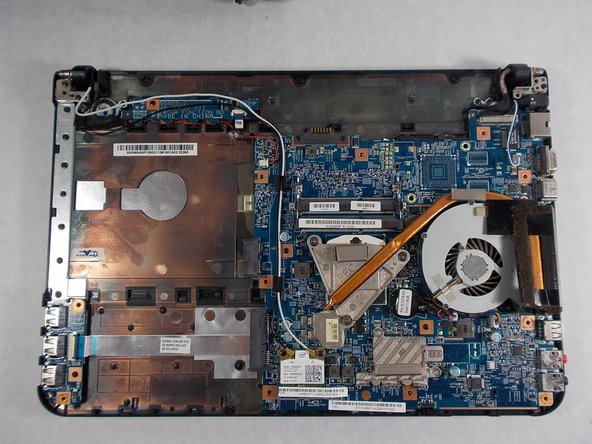
Remove the remaining eleven 7mm screws from back panel using the JIS #0 screwdriver.
-
-
-
Remove the back panel from the device.
-


To reassemble your device, follow these instructions in reverse order.
crwdns2935221:0crwdne2935221:0
crwdns2935227:0crwdne2935227:0
crwdns2935287:0crwdne2935287:0

UMass Dartmouth, Team S1-G4, Botvin Spring 2019 crwdns2935289:0UMass Dartmouth, Team S1-G4, Botvin Spring 2019crwdne2935289:0
UMASSD-BOTVIN-S19S1G4
crwdns2931471:04crwdne2931471:0
crwdns2935297:010crwdne2935297:0
crwdns2947410:01crwdne2947410:0
English:
Hello, I don't know if anyone still answers but I need to know something about my Sony Vaio laptop Model PCG-61A14L, Product name:VPCEG34FX there is no information about this laptop
Spanish:
Hola no sé si aún alguien responde pero necesito saber algo sobre mi laptop Sony Vaio Modelo PCG-61A14L, Product name:VPCEG34FX no hay ninguna información de este portátil