crwdns2915892:0crwdne2915892:0
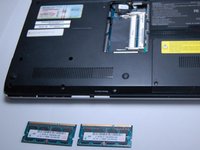
In order to remove the RAM safely, be sure to take out the battery first. The RAM is under a panel on the laptop and can be ejected by hand.
crwdns2942213:0crwdne2942213:0
-
-
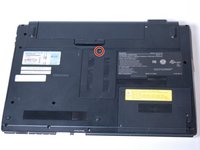
Turn the laptop over and orient it as shown.
-
-
-
Slide both latches to the center of the laptop in order to release the battery.
-
-
-
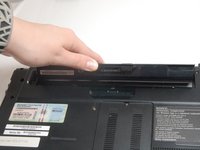
Use your fingernail or a plastic tool to lift the battery. Rotate the battery up and away to remove from the laptop.
-
-
-
-
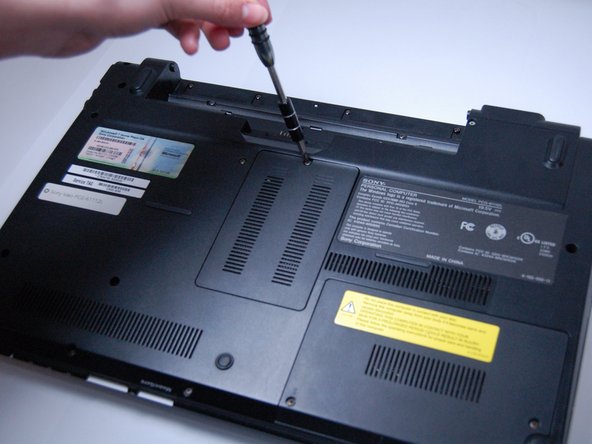
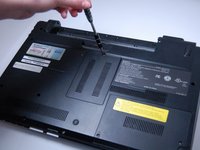
Using a Phillips #0 screwdriver, remove the one screw (Length: 7.7 mm) that is covering the RAM.
-
-
-
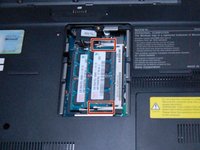
Lift the black plastic cover to assess the RAM.
-
-
-
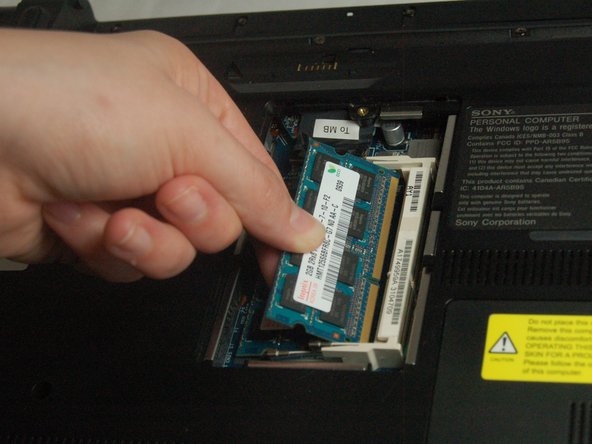
Apply light, outward pressure to the locks on both sides of the RAM.
-
Rotate the RAM up and slowly pull towards you to remove it.
-
-
-
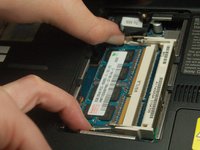
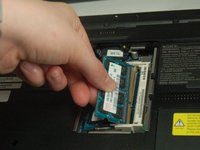
In order to remove the secondary RAM, use the same outward pressure on the locks.
-
Lift and slide out the RAM to remove it from the slot.
-


To reassemble your device, follow these instructions in reverse order.
crwdns2935287:0crwdne2935287:0

Texas Tech, Team S8-G5, Bennett Spring 2017 crwdns2935289:0Texas Tech, Team S8-G5, Bennett Spring 2017crwdne2935289:0
TTU-BENNETT-S17S8G5
crwdns2931471:04crwdne2931471:0
crwdns2935297:010crwdne2935297:0