crwdns2915892:0crwdne2915892:0
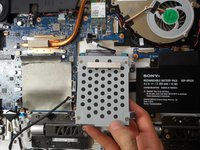
Use this guide to replace the hard drive on a Sony Vaio Tap 21 all-in-one. The hard drive is covered by a circle pattern metal grill. It is located in between the battery and the motherboard.
crwdns2942213:0crwdne2942213:0
-
-
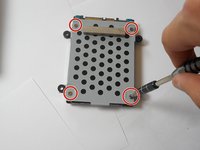
Locate the 13mm screws for the hard drive and use the JIS 0 screwdriver to unscrew.
-
-
-
-
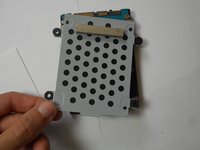
Gently lift the hard drive upwards.
-
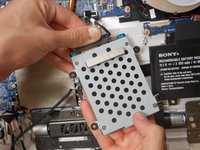
Ensure you have a gentle hold on the hard drive cable.
-
Gently pull the cable from the base where the cable header meets the hard drive.
-
-
-
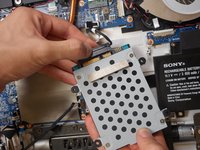
Locate the screws.
-
Using the JIS 0 screwdriver, unscrew the 4mm screws.
-
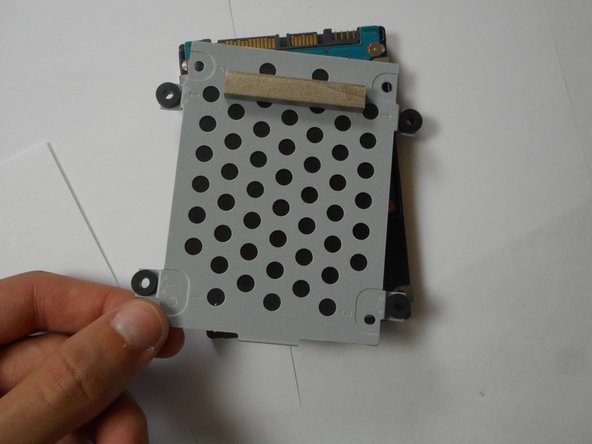
Gently lift the frame after screws have been taken out.
-


To reassemble your device, follow these instructions in reverse order.
crwdns2935221:0crwdne2935221:0
crwdns2935229:02crwdne2935229:0

crwdns2935287:0crwdne2935287:0

Cal Poly, Team S4-G4, Livingston Fall 2017 crwdns2935289:0Cal Poly, Team S4-G4, Livingston Fall 2017crwdne2935289:0
CPSU-LIVINGSTON-F17S4G4
crwdns2931471:04crwdne2931471:0
crwdns2935297:012crwdne2935297:0
crwdns2947412:012crwdne2947412:0
Is that a M.2 SSD Slot on the motherboard?
Nope, that’s an mPCIE/mSATA slot, not an m.2 slot. Look at the retention screw position: m.2 uses a centre screw, mPCIE/mSATA uses a corner screw.
Yes, there is an M.2 SSD slot on the left side of the motherboard. I’ve installed a 256GB SSD in the slot on my VT21
No, it’s clearly an mPCIE/mSATA slot, not m.2. The pin/notch configuration and retention screw position make it easy to identify.
You must be using a mPCIE or mSATA SSD.
Spencer Martin Navarra Chew is correct about this slot. My mistake.