crwdns2915892:0crwdne2915892:0
If you want to upgrade the GPU, the graphics card or even the storage capacity, you might also need to upgrade the motherboard.
Follow this guide to safety remove and replace the motherboard.
crwdns2942213:0crwdne2942213:0
-
-
Turn the laptop facedown.
-
Locate the battery compartment at the top of the laptop base. You will see two tabs on it.
-
Push the two tabs up to release the battery. Set it aside.
-
-
-
Rotate the laptop so the empty battery compartment is now at the bottom.
-
Remove the two screws that secure the hard drive cover using a T5 Torx screwdriver. Set it aside.
-
-
-
-
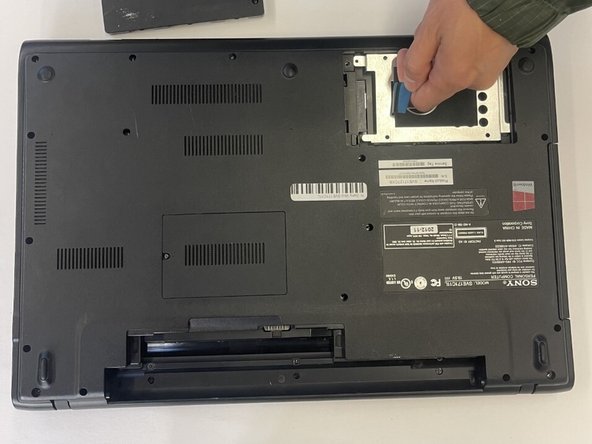
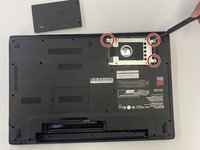
Remove the three screws securing the hard drive disk in place.
-
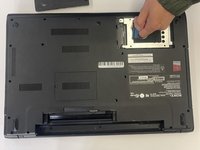
Use the blue ribbon attached to the hard drive disk to carefully remove it from laptop. Set it aside.
-
-
-
Remove all screws holding the back panel from the laptop.
-
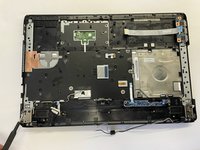
Carefully pull up the back panel to remove it.
-
-
-
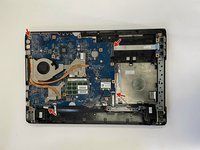
Remove the cables from the fan and unscrew the heatsink.
-
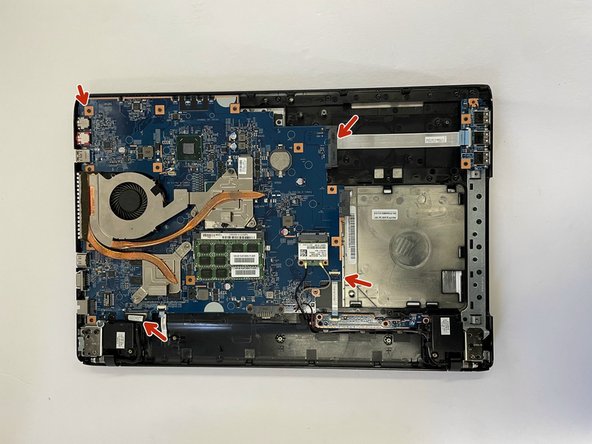
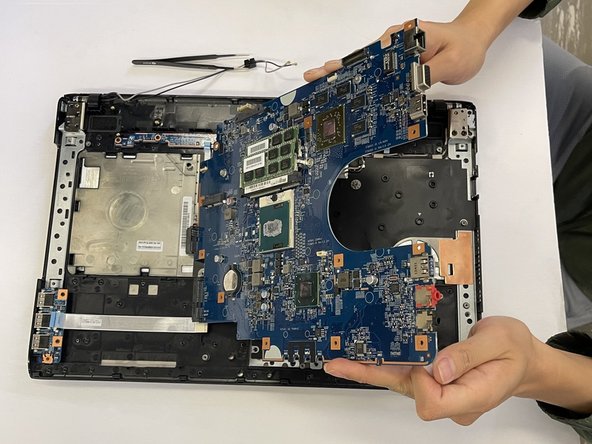
Carefully disconnect the tabs on the edges of the motherboard.
-
Unscrew the screws holding the motherboard in place. Set them aside.
-
On the underside of the motherboard, disconnect the keyboard from the motherboard.
-
Once ALL cables are disconnected, carefully remove the motherboard.
-


To reassemble your device, follow these instructions in reverse order.

crwdns2935287:0crwdne2935287:0

CSU Los Angeles, Team 6-3, Adachi Fall 2022 crwdns2935289:0CSU Los Angeles, Team 6-3, Adachi Fall 2022crwdne2935289:0
CSULA-ADACHI-F22S6G3
crwdns2931471:03crwdne2931471:0
crwdns2935297:013crwdne2935297:0