crwdns2915892:0crwdne2915892:0
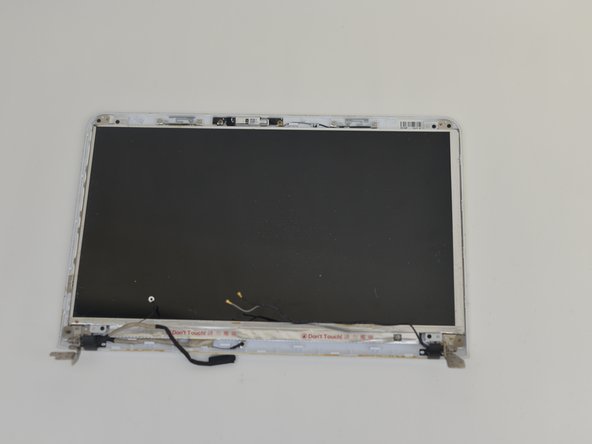
The webcam sits at the top of the display and connects to the motherboard with a small ribbon cable. If the camera is dead, loose, or the cable is damaged, replacing the webcam board can restore video.
This guide shows how to remove the display bezel, disconnect the webcam cable, and lift out the camera board. Shut down the laptop and disconnect the battery before you begin.
crwdns2942213:0crwdne2942213:0
-
-
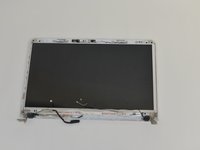
Use the pointed tip of a spudger to lift the rubber screw covers along the screen bezel.
-
Set the covers aside for re-use.
-
-
-
Remove the exposed bezel screws with a Phillips screwdriver.
-
Keep the screws organized they’re small and easy to lose.
-
-
-
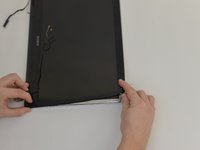
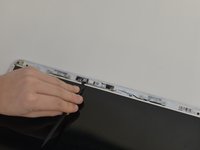
Starting at a corner, insert a plastic opening tool between the bezel and the back cover.
-
Work along the edge to pop the plastic clips free.
-
-
-
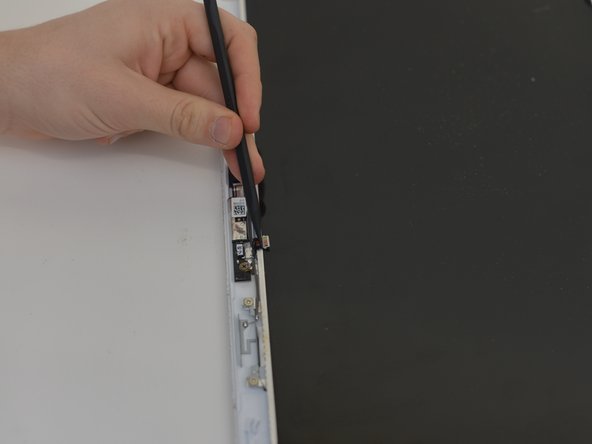
At the top of the display, locate the webcam cable connector.
-
Use a spudger to lift the locking tab (if present) and pull the cable straight out of the socket.
-
-
-
Remove the two screws securing the webcam board with a Phillips screwdriver.
-
Support the board while removing the second screw so it doesn’t drop.
-
-
-
Use a spudger to lift the webcam board from its recess.
-
If it feels stuck, check for any remaining screws or tape.
-
-
-
The webcam board is now removed. Transfer any brackets or foam pads to the replacement part before installation.
-


To reassemble your device, follow these instructions in reverse order. Make sure the webcam cable is fully seated and the bezel clips are engaged along the entire top edge.
crwdns2935287:0crwdne2935287:0

UMass Dartmouth, Team S9-G9, Valliere Fall 2018 crwdns2935289:0UMass Dartmouth, Team S9-G9, Valliere Fall 2018crwdne2935289:0
UMASSD-VALLIERE-F18S9G9
crwdns2931471:04crwdne2931471:0
crwdns2935297:012crwdne2935297:0