crwdns2933423:0crwdne2933423:0

Sony Vaio SVE151G11L Hard Disk Drive Replacement

crwdns2942213:0crwdne2942213:0

  1. Sony Vaio SVE151G11L Hard Disk Drive Replacement, Hard Disk Drive: crwdns2935265:01crwdnd2935265:01crwdnd2935265:01crwdne2935265:0
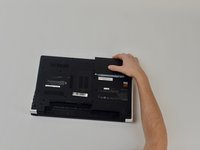
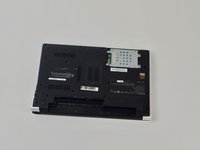
    • Flip laptop over so the bottom is facing upwards.

  2. Sony Vaio SVE151G11L Hard Disk Drive Replacement: crwdns2935265:02crwdnd2935265:01crwdnd2935265:01crwdne2935265:0
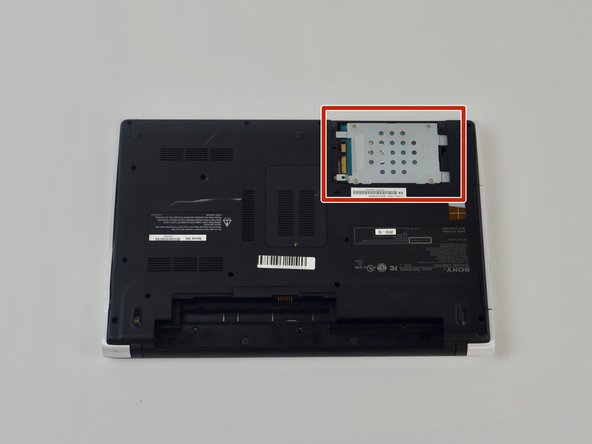
    • Remove 2 bottom screws in the top right on the HDD cover, with a size P000 screwdriver.

  3. Sony Vaio SVE151G11L Hard Disk Drive Replacement: crwdns2935265:03crwdnd2935265:01crwdnd2935265:02crwdne2935265:0 Sony Vaio SVE151G11L Hard Disk Drive Replacement: crwdns2935265:03crwdnd2935265:02crwdnd2935265:02crwdne2935265:0
    • Pop open the cover to the HDD.

  4. Sony Vaio SVE151G11L Hard Disk Drive Replacement: crwdns2935265:04crwdnd2935265:01crwdnd2935265:01crwdne2935265:0
    • Remove the screws on the HDD with a Phillips #000 screwdriver.

  5. Sony Vaio SVE151G11L Hard Disk Drive Replacement: crwdns2935265:05crwdnd2935265:01crwdnd2935265:02crwdne2935265:0 Sony Vaio SVE151G11L Hard Disk Drive Replacement: crwdns2935265:05crwdnd2935265:02crwdnd2935265:02crwdne2935265:0
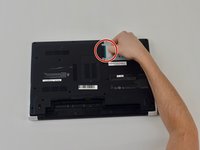
    • Pull plastic tab away from the laptop.

    • Lift HDD away from laptop.

crwdns2915888:0crwdne2915888:0

To reassemble your device, follow these instructions in reverse order.

crwdns2935227:0crwdne2935227:0

Alex Theg

crwdns2935283:010/15/18crwdne2935283:0

758 crwdns2915208:0crwdne2915208:0

crwdns2935297:04crwdne2935297:0

crwdns2915084:0crwdne2915084:0

UMass Dartmouth, Team S9-G9, Valliere Fall 2018 crwdns2935289:0UMass Dartmouth, Team S9-G9, Valliere Fall 2018crwdne2935289:0

UMASSD-VALLIERE-F18S9G9

crwdns2931471:04crwdne2931471:0

crwdns2935297:012crwdne2935297:0

crwdns2944067:00crwdne2944067:0

crwdns2917038:0crwdne2917038:0

crwdns2936625:0crwdne2936625:0:

crwdns2936751:024crwdne2936751:0 0

crwdns2936753:07crwdne2936753:0 5

crwdns2936753:030crwdne2936753:0 17

crwdns2942667:0crwdne2942667:0 1,172