crwdns2915892:0crwdne2915892:0
The device screen may start displaying glitches, or the screen may fail to initialize. In these circumstances, it may be necessary to replace the screen.
crwdns2942213:0crwdne2942213:0
-
-
Remove the covers for the two 3mm Phillips head screws at the base of the screen.
-
-
-
Use a metal spudger to separate the top cover on the back of the screen. It will be a long, thin plastic section that has the SONY logo in the middle of it. This enables the disassembly of the rest of the screen frame.
-
-
-
-
Use the metal spudger on the sides of the frame to remove it from the screen.
-
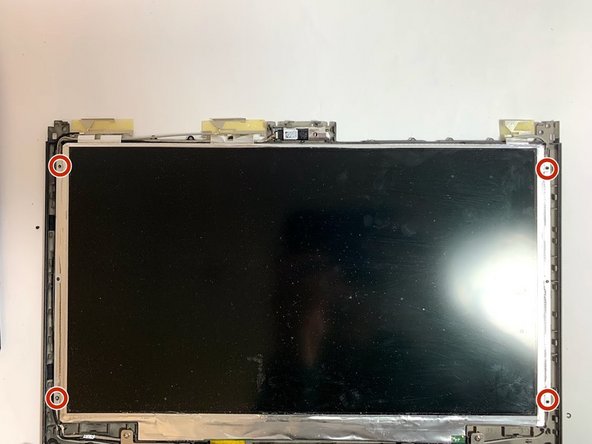
Remove the four 3mm Phillips head screws that secure the screen to the exterior of the laptop.
-
-
-
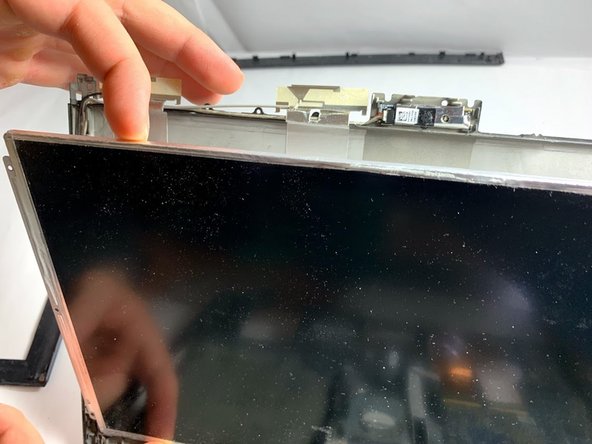
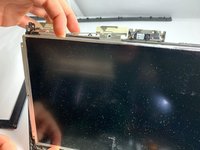
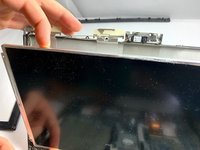
Carefully remove the screen from the supporting frame and lay it down on the keyboard of the laptop.
-
-
-
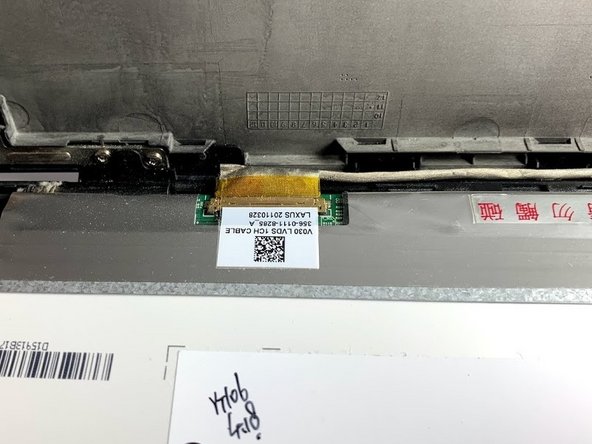
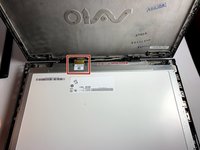
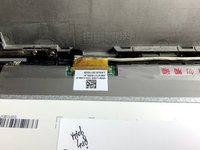
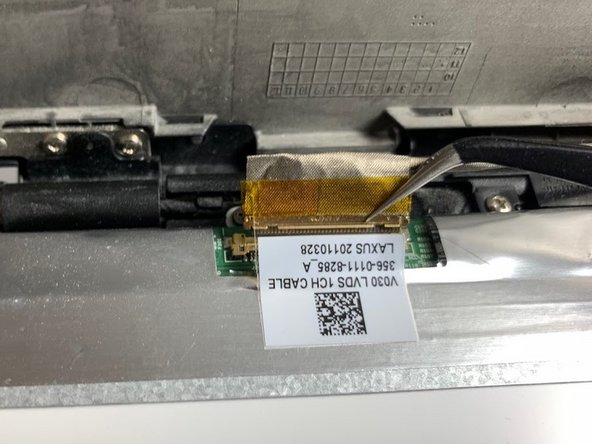
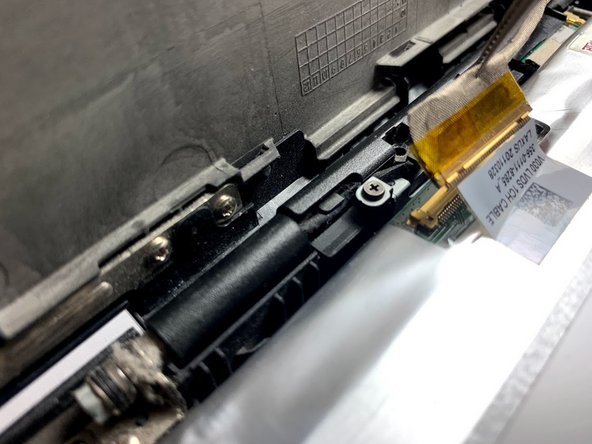
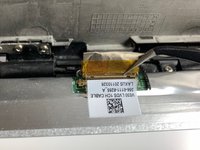
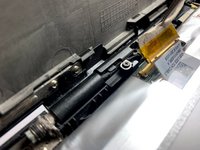
Locate the ribbon cable connecting the screen to the rest of the laptop.
-
-
crwdns2935267:0crwdne2935267:0Tweezers$4.99
-
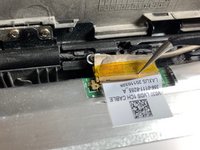
Use a pair of tweezers to remove the ribbon cable from the screen.
-
To reassemble your device, follow these instructions in reverse order.
crwdns2935221:0crwdne2935221:0
crwdns2935227:0crwdne2935227:0
crwdns2947410:01crwdne2947410:0
content de voir qu'il ne faut pas démonter l arrière du pc pour retirer la broche de l'écran merci pour ce topic


