crwdns2915892:0crwdne2915892:0
This guide will show you how to identify and properly remove the hard drive for the Sony Vaio Fit SVF15N26CXB. Use the project mat to keep the screws organized.
crwdns2942213:0crwdne2942213:0
-
-
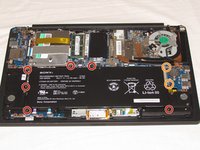
Remove the following ten screws from the bottom case of the laptop:
-
Two 6.5mm Phillips #00 Phillips screws.
-
Four 8.95mm Phillips #00 screws.
-
Four 6.25mm Phillips #00 screws.
-
-
-
Use a plastic opening tool to separate the bottom cover from the laptop.
-
Lift the lower cover and pull away from the laptop.
-
-
-
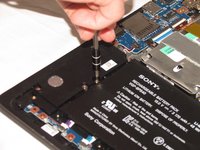
Remove the eight Phillips #00 screws from the battery:
-
Six 4.65mm screws.
-
Two 4.65mm screws.
-
-
-
-
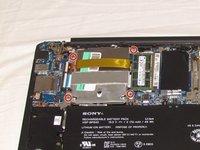
Lift the battery up and pull it out of the laptop.
-
-
-
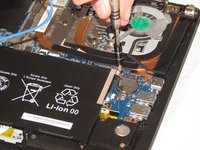
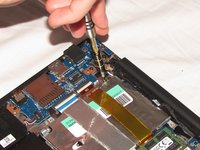
Remove the four 3.20mm Phillips #00 screws from the hard drive.
-
-
-
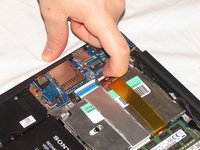
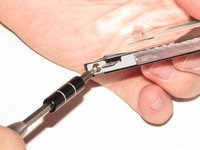
Use a spudger to flip up the black latch on the ZIF connectors.
-
Pull the ribbon cables out of the ZIF connectors and fold them over the hard drive.
-
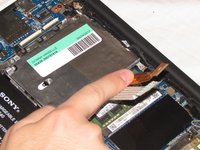
Disconnect the hard drive and remove.
-
-
-
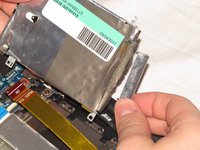
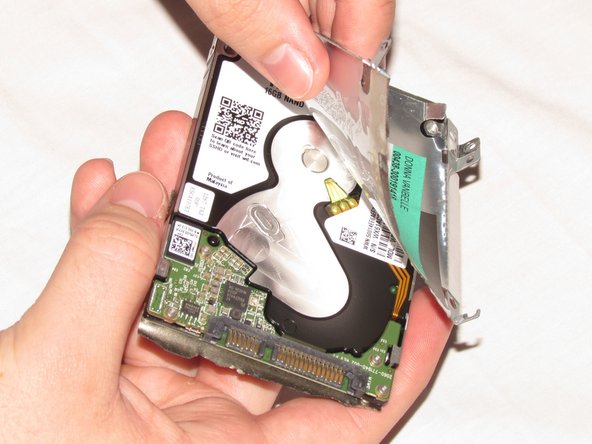
Remove the four 3.70mm Phillips #00 screws from the hard drive mounting case.
-
Carefully peel foil tray off of hard drive.
-


To reassemble your device, follow these instructions in reverse order.
crwdns2935221:0crwdne2935221:0
crwdns2935229:02crwdne2935229:0
crwdns2935287:0crwdne2935287:0

USF Tampa, Team S2-G4, Nance Spring 2018 crwdns2935289:0USF Tampa, Team S2-G4, Nance Spring 2018crwdne2935289:0
USFT-NANCE-S18S2G4
crwdns2931471:04crwdne2931471:0
crwdns2935297:012crwdne2935297:0