crwdns2915892:0crwdne2915892:0
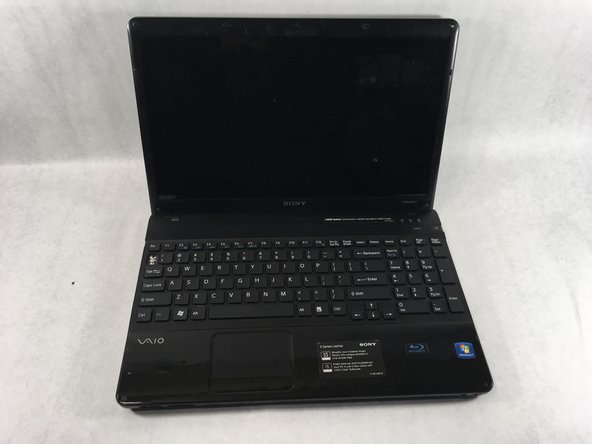
This guide shows how to remove/replace the keyboard on the Sony VAIO VPCEE26FX laptop computer.
crwdns2942213:0crwdne2942213:0
-
-
Flip the laptop over so the underside of the laptop is facing up.
-
-
-
Slide the two tabs towards each other until the battery disconnects slightly from its position.
-
Carefully lift the battery out of its position away from the laptop.
-
-
-
Flip the laptop back over so it is face up.
-
Open up the laptop.
-
-
-
-
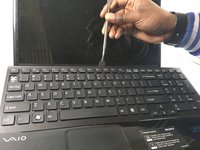
Using a plastic opening tool, pry along the seam between the keyboard and case to help in separating the two.
-
Continue to lift up gently using the plastic opening tool until the keyboard begins to separate from the case.
-
-
-
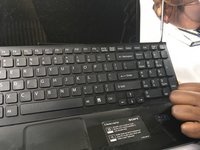
Continue lifting up and moving down starting on the left side of the keyboard moving towards the right side of the computer.
-
-
crwdns2935267:0crwdne2935267:0Tweezers$4.99
-
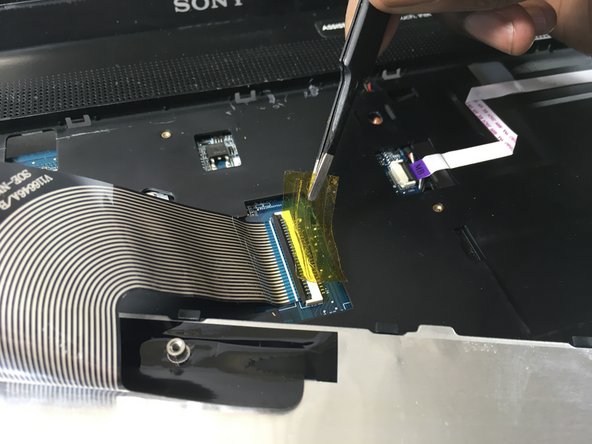
Use a pair of tweezers to help remove the plastic adhesive film covering the adapter/port for the ribbon cable.
-
-
-
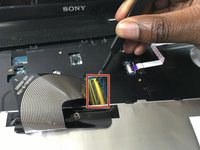
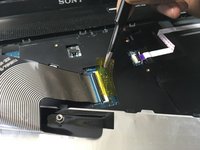
Flip up the small black tab locking the ribbon cable to the Zero Insertion Force (ZIF) connector.
-
The ribbon cable should now be free from the adapter/port.
-
-
-
Lift the keyboard up and away from the computer.
-


To reassemble your device, follow these instructions in reverse order.
crwdns2935287:0crwdne2935287:0

UMass Dartmouth, Team S2-G3, Bailey Spring 2019 crwdns2935289:0UMass Dartmouth, Team S2-G3, Bailey Spring 2019crwdne2935289:0
UMASSD-BAILEY-S19S2G3
crwdns2931471:03crwdne2931471:0
crwdns2935297:010crwdne2935297:0