crwdns2915892:0crwdne2915892:0
POV: It's 2000 and you bring your VAIO in the car with hopes you could get away from the madness by driving to the cafe and playing Half-Life. You can't read the disc.
crwdns2942213:0crwdne2942213:0
-
-
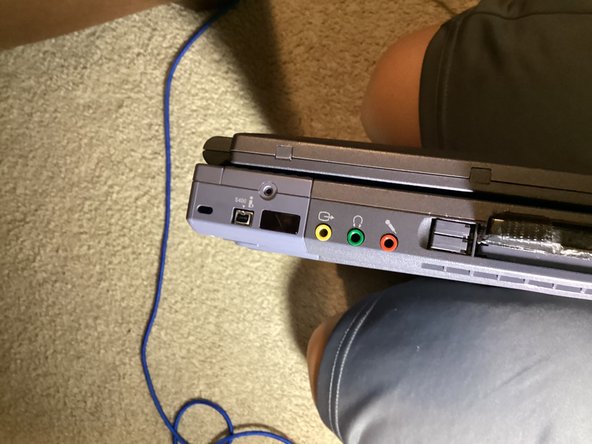
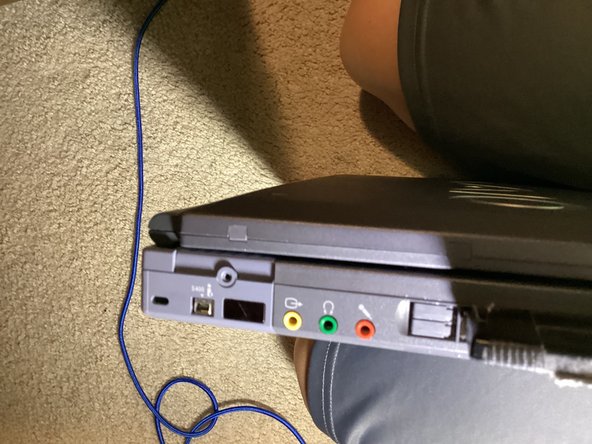
On the side with the audio ports, there is a Philips screw. Unscrew it.
-
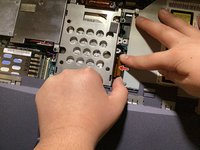
Push the loose plastic piece, this will loosen the daughterboard from the main case.
-
-
-
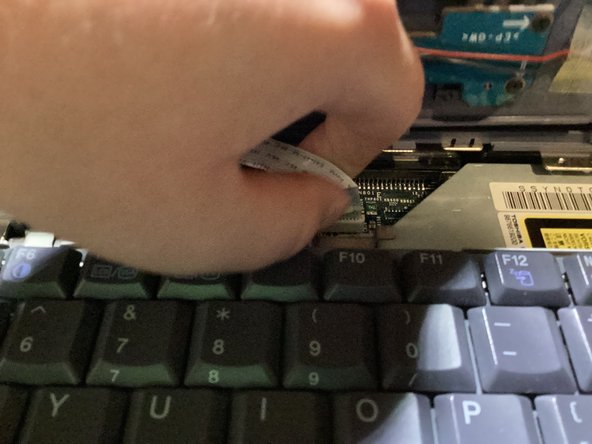
Open the lid, and pull up on the daughterboard enough to see the ribbon cable.
-
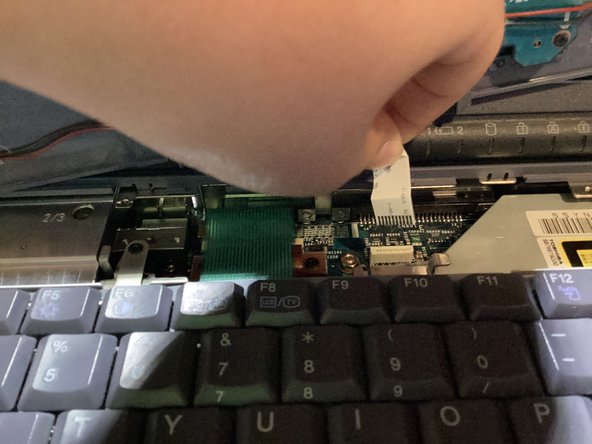
Pull up on the ribbon cable to release it. Don't worry, if you pull it straight up, there will be no damage.
-
Set the daughterboard to the side for now.
-
-
-
-
Unscrew the Philips screw at the top of the keyboard.
-
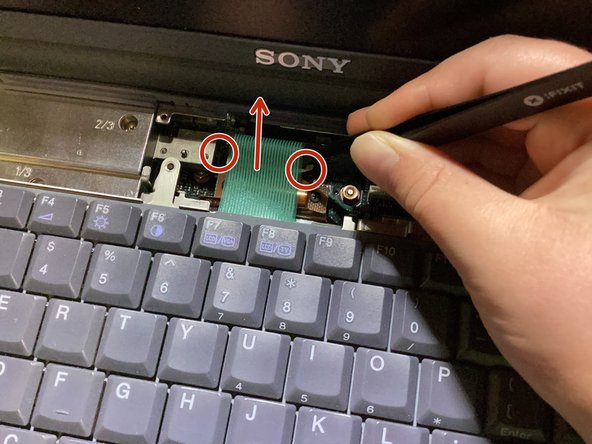
Remove the ribbon cable by pulling up on the plastic tabs on either sides of the socket with tweezers, then lifting it straight out.
-
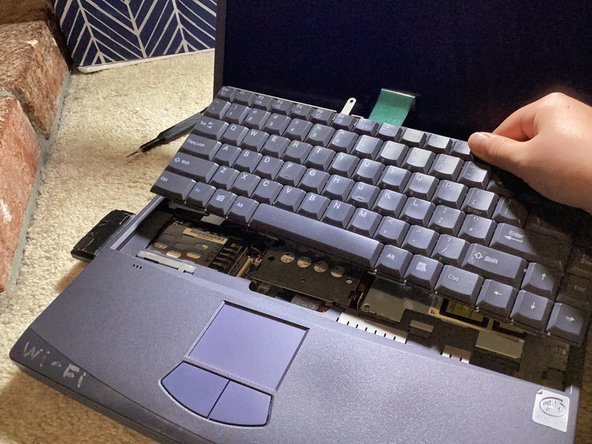
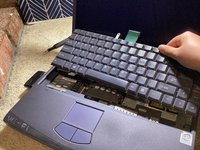
Lift the keyboard up at an angle, towards the screen.
-
Note: If you hear what sounds like peeling, that's normal.
-
-
-
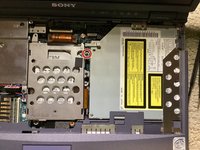
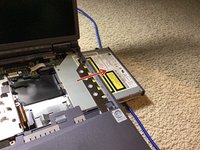
Unscrew the screw highlighted.
-
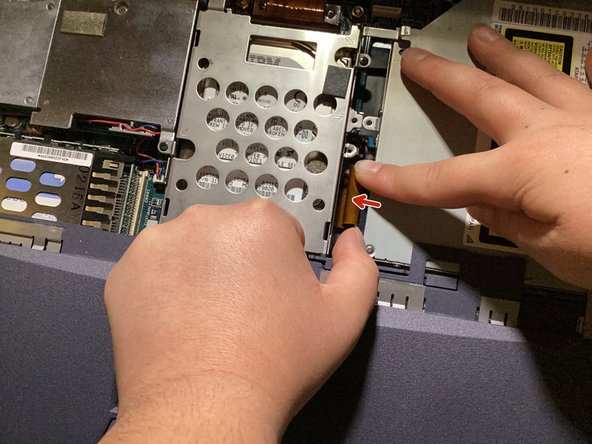
Pull the connector out of the end of the optical drive.
-
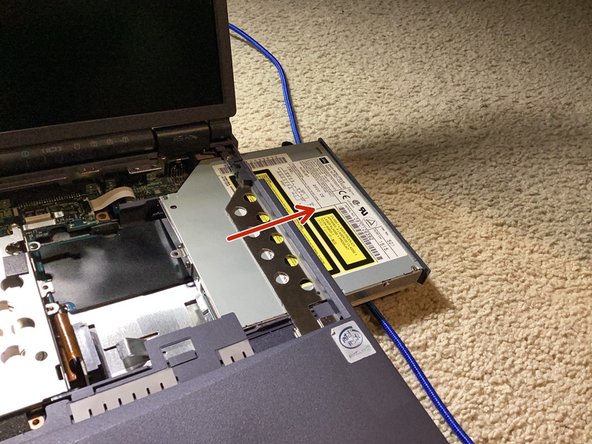
Push the drive right.
-
To reassemble your device, follow these instructions in reverse order. If you have any problems, please let me know in the comments.

