crwdns2933423:0crwdne2933423:0

Sony VAIO PCG-933A RAM Replacement

crwdns2942213:0crwdne2942213:0

  1. Sony VAIO PCG-933A RAM Replacement, Battery: crwdns2935265:01crwdnd2935265:01crwdnd2935265:02crwdne2935265:0 Sony VAIO PCG-933A RAM Replacement, Battery: crwdns2935265:01crwdnd2935265:02crwdnd2935265:02crwdne2935265:0
    • Turn the laptop upside down so that the top is sitting on a flat surface.

    • If you are looking at the bottom of the laptop the battery is located on the front right side of the laptop; the opposite side from the floppy disk drive.

  2. Sony VAIO PCG-933A RAM Replacement: crwdns2935265:02crwdnd2935265:01crwdnd2935265:03crwdne2935265:0 Sony VAIO PCG-933A RAM Replacement: crwdns2935265:02crwdnd2935265:02crwdnd2935265:03crwdne2935265:0 Sony VAIO PCG-933A RAM Replacement: crwdns2935265:02crwdnd2935265:03crwdnd2935265:03crwdne2935265:0
    • As shown by the arrow, slide the plastic cover up and then pull out and downwards.

    • You should now be able to pull the battery out.

  3. Sony VAIO PCG-933A RAM Replacement, RAM: crwdns2935265:03crwdnd2935265:01crwdnd2935265:01crwdne2935265:0
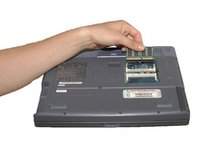
    • With the laptop facing you, flip the laptop upside down.

  4. Sony VAIO PCG-933A RAM Replacement: crwdns2935265:04crwdnd2935265:01crwdnd2935265:03crwdne2935265:0 Sony VAIO PCG-933A RAM Replacement: crwdns2935265:04crwdnd2935265:02crwdnd2935265:03crwdne2935265:0 Sony VAIO PCG-933A RAM Replacement: crwdns2935265:04crwdnd2935265:03crwdnd2935265:03crwdne2935265:0
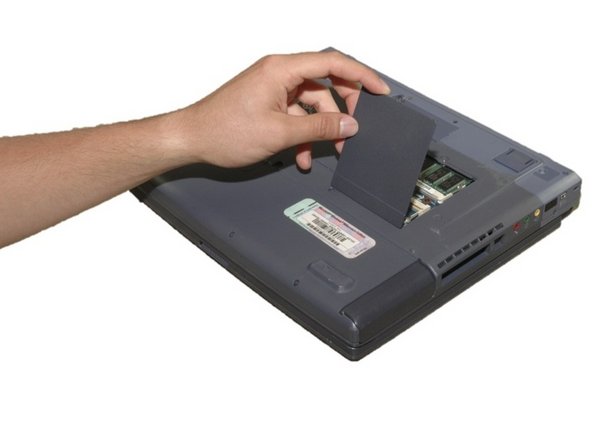
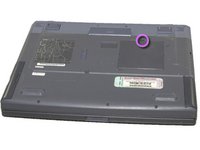
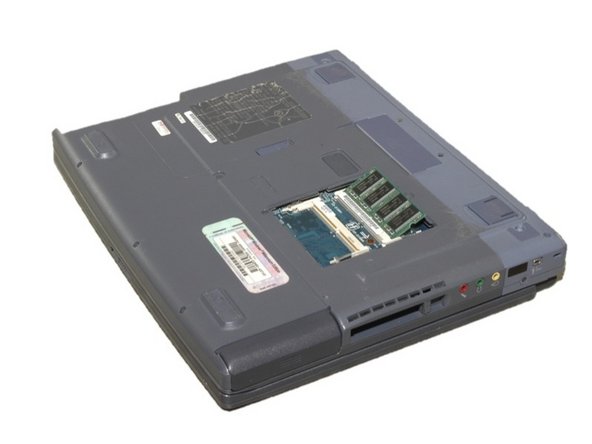
    • Remove the 4mm Phillips screw that holds the small panel in the center of the laptop in place.

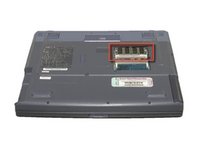
    • Then remove the panel covering the RAM.

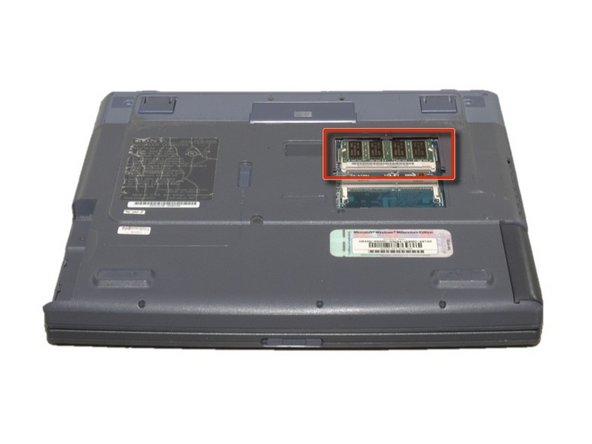
    • The RAM should now be visible.

  5. Sony VAIO PCG-933A RAM Replacement: crwdns2935265:05crwdnd2935265:01crwdnd2935265:03crwdne2935265:0 Sony VAIO PCG-933A RAM Replacement: crwdns2935265:05crwdnd2935265:02crwdnd2935265:03crwdne2935265:0 Sony VAIO PCG-933A RAM Replacement: crwdns2935265:05crwdnd2935265:03crwdnd2935265:03crwdne2935265:0
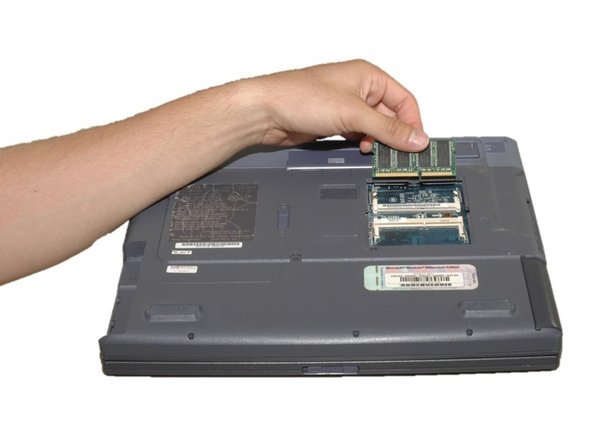
    • Release the plastic switches on each side of the stick of RAM.

    • Carefully slide the stick of RAM out at an angle.

    • DO NOT FORCE OUT.

crwdns2915888:0crwdne2915888:0

To reassemble your device, follow these instructions in reverse order.

crwdns2935227:0crwdne2935227:0

Sara Lillard

crwdns2935283:004/11/11crwdne2935283:0

165 crwdns2915208:0crwdne2915208:0

crwdns2935297:08crwdne2935297:0

crwdns2915084:0crwdne2915084:0

Cal Poly, Team 12-36, Maness Spring 2011 crwdns2935289:0Cal Poly, Team 12-36, Maness Spring 2011crwdne2935289:0

CPSU-MANESS-S11S12G36

crwdns2931471:04crwdne2931471:0

crwdns2935297:016crwdne2935297:0

crwdns2944067:00crwdne2944067:0

crwdns2917038:0crwdne2917038:0

crwdns2936625:0crwdne2936625:0:

crwdns2936751:024crwdne2936751:0 0

crwdns2936753:07crwdne2936753:0 2

crwdns2936753:030crwdne2936753:0 16

crwdns2942667:0crwdne2942667:0 1,941