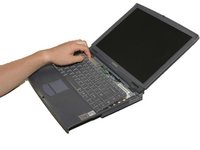
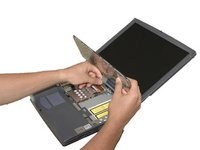
crwdns2915892:0crwdne2915892:0
The Sony VAIO PCG-933A keyboard is an important component of your laptop, and if it's not functioning well, it might need to be replaced. Possible reasons for needing a keyboard replacement include:
- Keys that are stuck, loose, uneven, unresponsive, or producing the wrong character
- Faded or worn letters on keys
- Missing keys
- General wear and tear
If you encounter a problem with your keyboard, this guide can be used to walk you through the replacement process.
Before you begin the repair, make sure to power off your laptop and unplug it from the power adaptor and all peripherals.
crwdns2942213:0crwdne2942213:0
-
-
Turn the laptop upside down so that the top is sitting on a flat surface.
-
If you are looking at the bottom of the laptop the battery is located on the front right side of the laptop; the opposite side from the floppy disk drive.
-
-
-
As shown by the arrow, slide the plastic cover up and then pull out and downwards.
-
You should now be able to pull the battery out.
-
-
-
Remove the four 16 mm screws bordering the edge of the laptop using a Phillips #0 screwdriver.
-
-
-
-
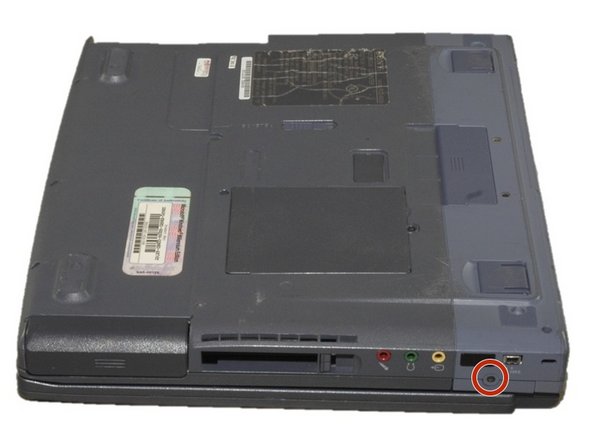
Remove the 4mm screw on the right rear side of the laptop next to the audio ports using a Phillips #0 screwdriver.
-
-
-
Flip the computer so the key board is facing up.
-
-
-
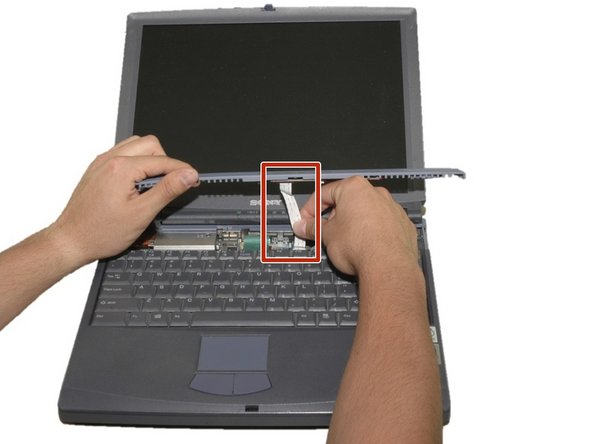
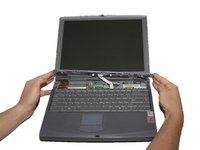
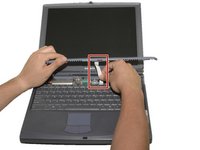
Slide the blue speaker grille (located above the keyboard) to the right and gently pull upward. The grille will still be connected by a white electrical strip.
-
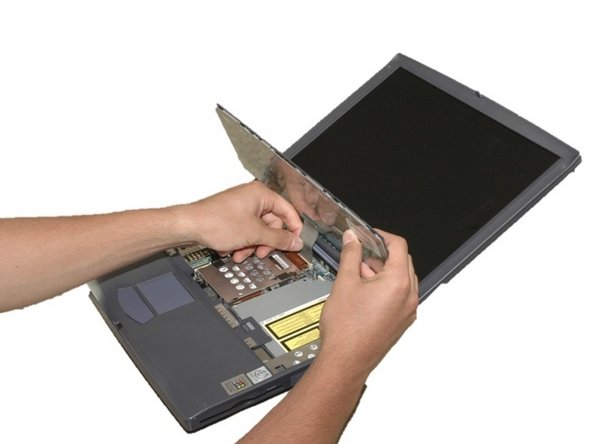
Carefully pull out the white electrical strip. By doing this you will remove the speaker grille.
-
-
-
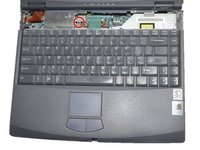
Remove the 4mm screw in the center using a Phillips screwdriver.
-
Carefully and slowly pull the green strip straight up (away from the laptop) to disconnect it. Make sure not to pull too hard to avoid breaking.
-
The keyboard can now be removed.
-
To reassemble your device, follow these instructions in reverse order.


