crwdns2942213:0crwdne2942213:0
-
-
To remove the speaker grill, insert the big spudger underneath it in each corner.
-
-
-
With the Sony logo facing towards you, use the medium spudger to lift the side plates from the internal frame.
-
-
-
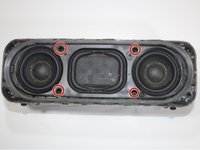
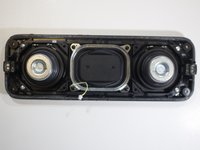
Locate the four screws on the now exposed front panel.
-
-
-
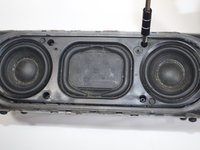
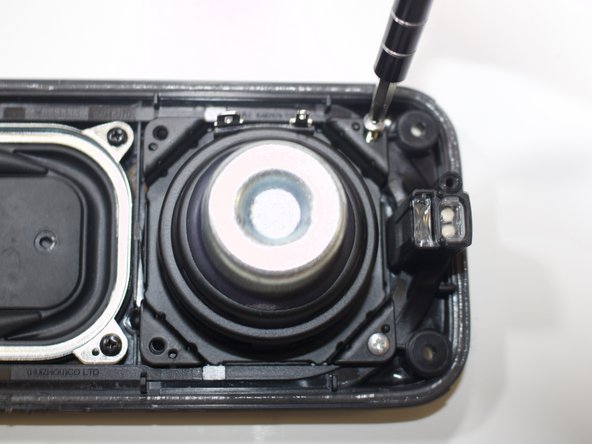
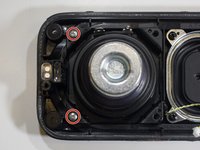
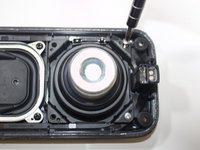
Next, remove the four outer edge screws, located on each corner of the speaker. The outer edge of the speaker is a clear plastic.
-
Remove each of the four corner screws (15.0 mm long).
-
-
-
With a little force, carefully lift the lid of the speaker.
-
-
-
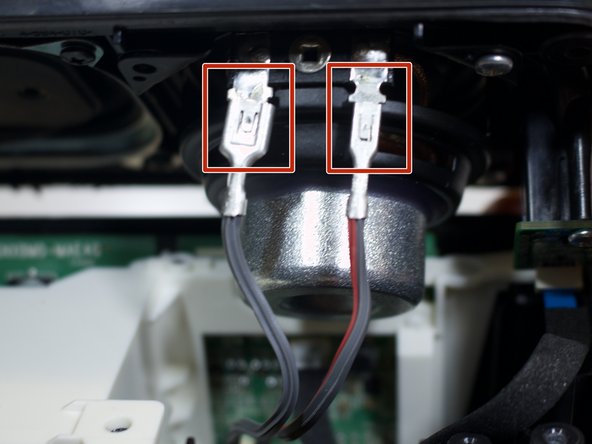
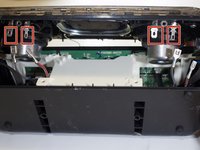
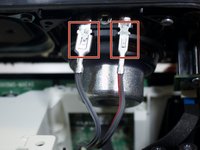
Unclip the four wire connectors (that are attached to the speaker lid).
-
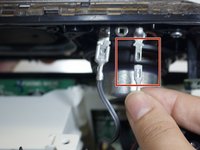
Disconnect the thin yellow wire (attached to the speaker lid) from its port.
-
-
-
-
Separate the speaker lid from the bottom frame.
-
-
-
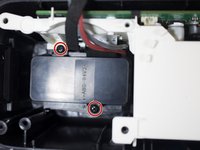
Locate the two silver screws (9 mm) attached to the two LED-light-chips on the speaker lid.
-
-
-
Separate the speaker lid entirely from the bottom frame.
-
-
-
Locate and remove the three black screws (10.0 mm) within the internal frame. Use bit T7.
-
-
-
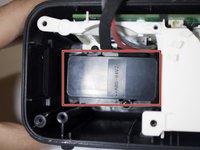
Slightly lift the white box with all the wires still attached.
-
-
-
Take the big spudger and pry the black casing up from the circuit box.
-
-
-
Locate the blue film attached to the circuit box containing the charging port.
-
-
-
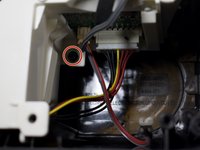
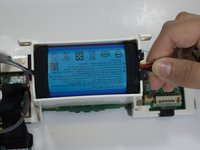
Detach the yellow, black and red wires by pulling them directly up.
-
-
-
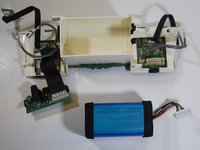
Insert the spudger along the battery edge and firmly hold the wires. Lift both sides up. The battery will pop out from its encasement.
-
-
-
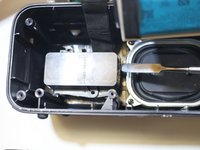
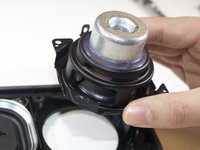
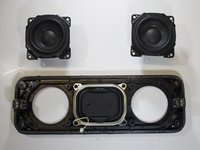
Locate two silver screws (9mm) attached to each speaker shield.
-
Remove the two silver screws on each speaker shield using the screwdriver with the PH1 head.
-
To reassemble your device, follow these instructions in reverse order.
To reassemble your device, follow these instructions in reverse order.
crwdns2935221:0crwdne2935221:0
crwdns2935229:03crwdne2935229:0
crwdns2947412:02crwdne2947412:0
Are there any replacement drivers for this or the XB31?


