crwdns2915892:0crwdne2915892:0
This Sony SRS-XB23 Black Bluetooth Wireless Speaker has been in pretty much constant use since its purchase around 5 years ago. Suddenly, the speaker said "please charge" but it would not take charge and died within a few moments. It's sad to think how many perfectly good speakers are rotting in landfills for the sake of a new battery!
I am fixing this speaker and hope it encourages other to do the same!
crwdns2942213:0crwdne2942213:0
-
-
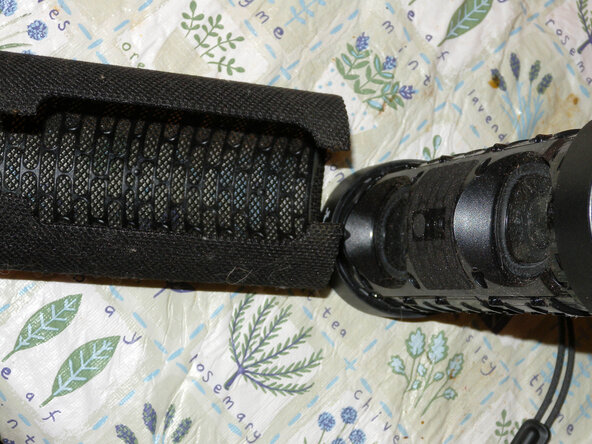
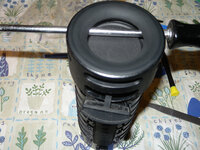
First, insert a flat-blade screwdriver or similar tool between the seam of the cover at the rear and twist it to separate the cover as you can see in the first picture. The cover will open, then use the same tool to pry along the sides.
-
The cover hinges at the front and will come straight off as seen in the second photograph.
-
-
-
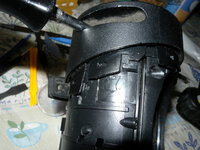
Remove the two screws of the front top and bottom end caps and put them in a container or other safe place.
-
-
-
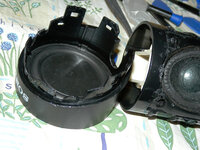
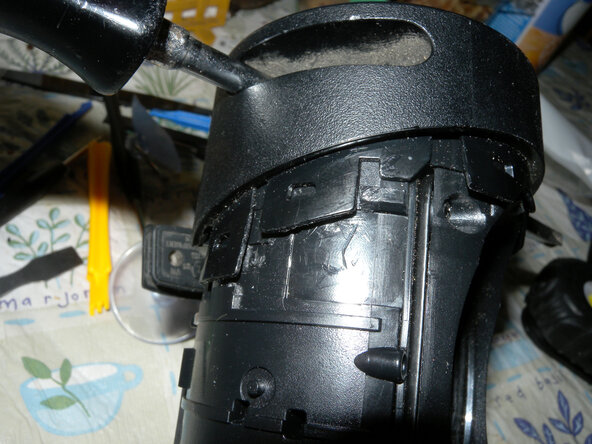
The end caps are retained by clips all the way around. Because it is a small round top, it can be difficult to open all the clips at once. For the top, you can open up the rear clips and lever the top up a little over those clips using the point where the carrying strap ties.
-
Although when I photographed the speaker, I had a blue shim in place, they came out pretty easily. I had more success with the metal prying tool. You will probably arrive at a technique to open the clips. It is very important to take your time. I may take 5 minutes or 20 minutes, depending on your technique and how lucky you are!
-
-
-
-
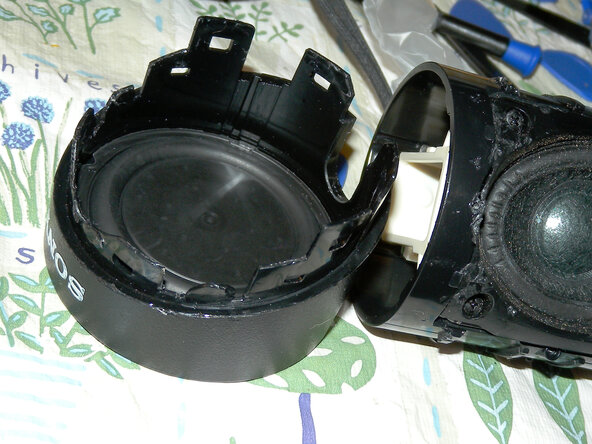
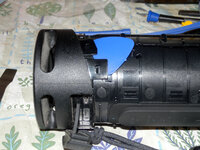
The Bottom Cap is a little more difficult to remove as there is no point to lever the body against the top. I put a long handled Phillips No2 screw driver through the gaps in the bottom and when I had all the clips open I held the speaker body in my hand and used my feet gently on the screwdriver.
-
The last Photograph shows the clips in an open position.
-
-
-
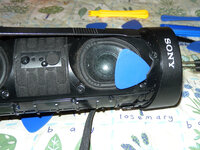
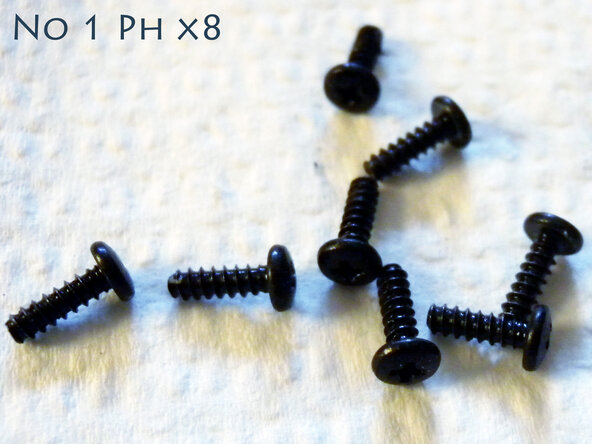
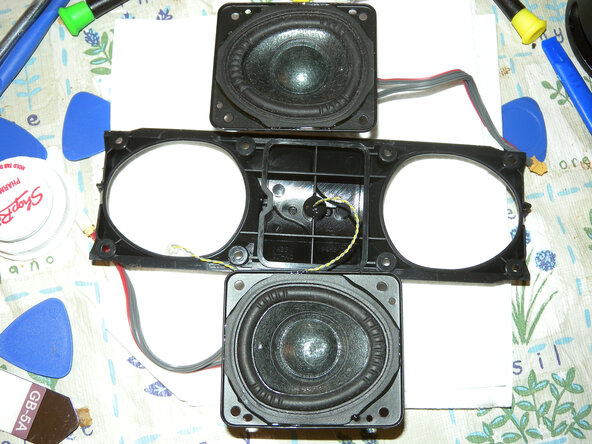
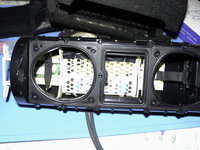
Remove the 8 No1 Phillips speaker retaining screws. This will also unscrew the front cover plastics, as shown in the third photograph.
-
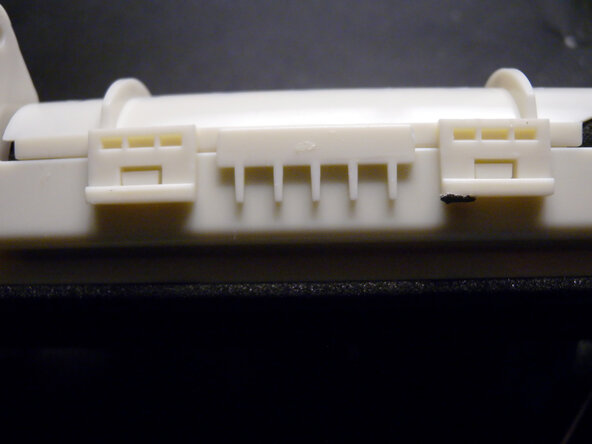
Be careful removing the cover plastics, as there is a pair of wires running to the main board. I do not know what this is for. I would have guessed an IR sensor, but there is no remote!
-
Place the screws in your screw container and put you parts in a safe place.
-
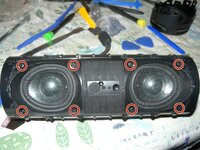
You may notice I dented one of the speaker domes. This will not affect the sound quality, but it demonstrates that extreme care must be taken when opening the top and bottom clips!
-
-
-
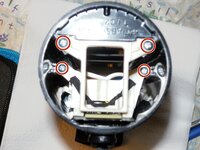
Remove the 4 x No. 1 Phillips screws from the top of the speaker as highlighted in the first photograph. Place the screws in your screw container.
-
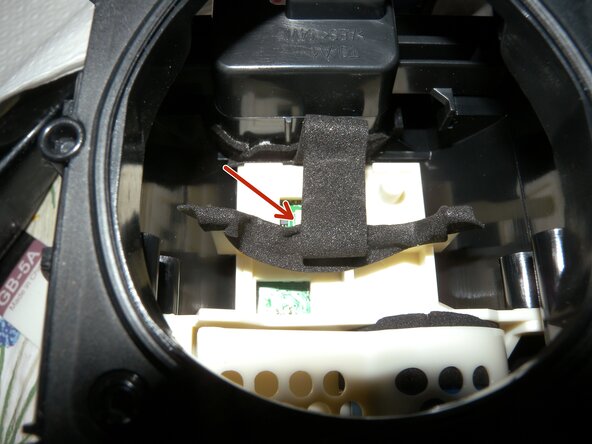
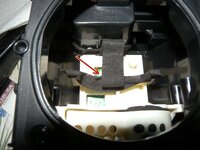
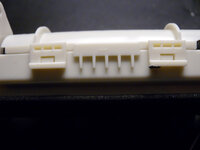
Turn the speaker over and carefully unplug the USB connector cable shown in the second photograph.
-
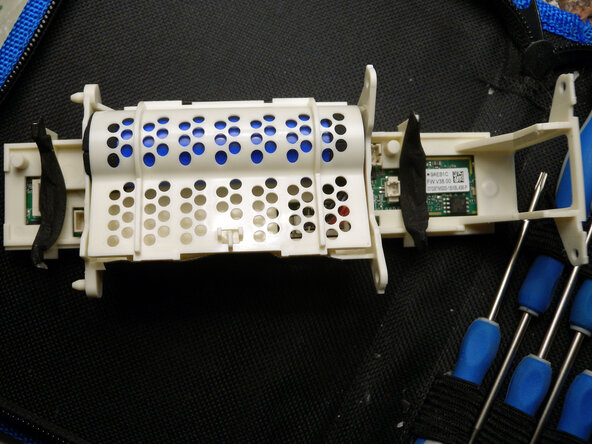
Turn the speaker over again and gently pull out the cream coloured plastic frame that holds the electronics, (shown in the third photograph).
-
-
-
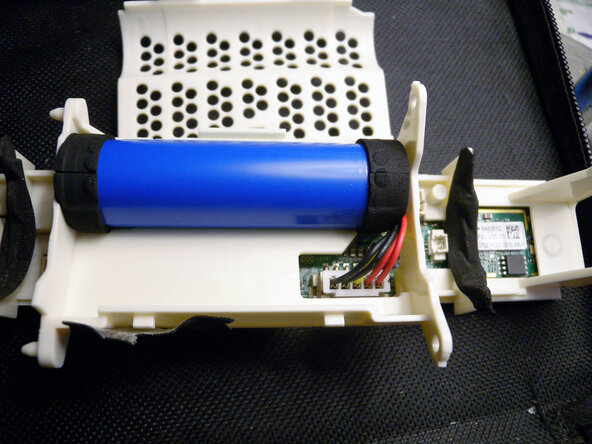
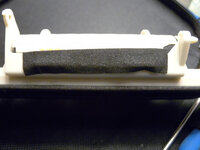
The Battery is held in its own compartment. As shown in the first photograph, both sides have tape over them that has to be peeled off.
-
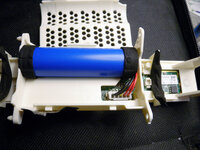
Once the tape is removed, unclip the 4 clips and remove the plastic top cover. This will expose the battery as shown in the third photograph.
-
The Battery can then be unplugged and removed.
-
If you already have your replacement battery, you can fit it and reassemble in reverse order. Otherwise, store all of your parts safely whilst you source a replacement battery.
-
-
-
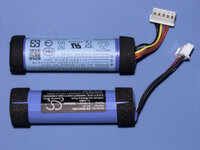
The first photograph shows the original Sony battery (top) and the replacement battery Sino Cameron from eBay (bottom)\
-
The second photograph is the only Tip you will need for reassembly! The ribbon cable will not go into its connector when the electronics assembly is screwed back in place! As you can see, you set the assembly away from the bottom so the ribbon is fully extended and can be plugged in relatively easily. Again, take your time!
-
Once the ribbon cable is in place, reassemble. Slide in the electronics and screw it in place with the four silver screws. Then fit the speakers plugging them in putting them in place. Plugin the front cover cable, put the cover over the speakers and screw it down with the eight retaing screws. fit the end caps, with two screws.Fit the cover, done.
-
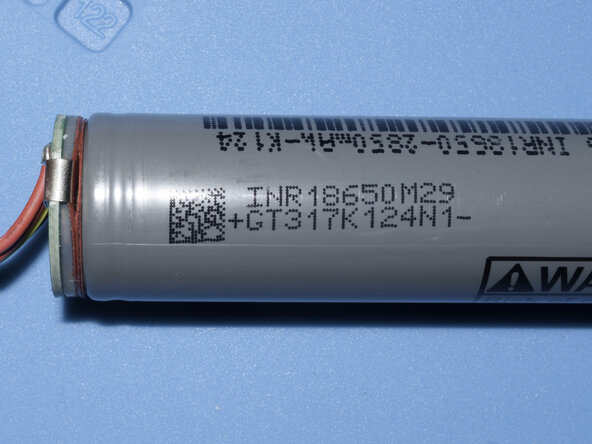
The third and final picture shows the original battery with the cover removed! It's a INR18650 3.7V battery with a charge controller PCB mounted on top. Theoretically, you could break off the zinc-plated connectors and use a battery spot welder to weld them and the PCB to a new battery, then Heat shrink cover it!
-


To reassemble your device, follow these instructions in reverse order, note the tip on the last page!
To reassemble your device, follow these instructions in reverse order, note the tip on the last page!
