crwdns2933423:0crwdne2933423:0

Sony Reader Touch Edition PRS-600 Power Button Replacement

crwdns2942213:0crwdne2942213:0

  1. Sony Reader Touch Edition PRS-600 Power Button Replacement, Back Panel: crwdns2935265:01crwdnd2935265:01crwdnd2935265:01crwdne2935265:0
    • Using the Phillips head screwdriver PH000, remove the two 1.4 mm screws that are located on the backside of the device.

  2. Sony Reader Touch Edition PRS-600 Power Button Replacement: crwdns2935265:02crwdnd2935265:01crwdnd2935265:01crwdne2935265:0
    • Slide the back cover off by pushing it to the left, away from the side that held the screws.

    • Remove the cover.

  3. Sony Reader Touch Edition PRS-600 Power Button Replacement: crwdns2935265:03crwdnd2935265:01crwdnd2935265:01crwdne2935265:0
    • This is what the device should look like once the back cover panel has been removed.

  4. Sony Reader Touch Edition PRS-600 Power Button Replacement, Battery: crwdns2935265:04crwdnd2935265:01crwdnd2935265:01crwdne2935265:0
    • Once the back cover has been removed locate the battery in the bottom right corner of the device.

    • Using the pointed end of the spudger, push out the white plug that is connected to the battery from its beige base.

  5. Sony Reader Touch Edition PRS-600 Power Button Replacement: crwdns2935265:05crwdnd2935265:01crwdnd2935265:01crwdne2935265:0
    • Use the flat end of the spudger to pry the battery out of its holder. There may be glue holding it in place.

  6. Sony Reader Touch Edition PRS-600 Power Button Replacement, Power Button: crwdns2935265:06crwdnd2935265:01crwdnd2935265:01crwdne2935265:0
    • Remove the stylus from the device.

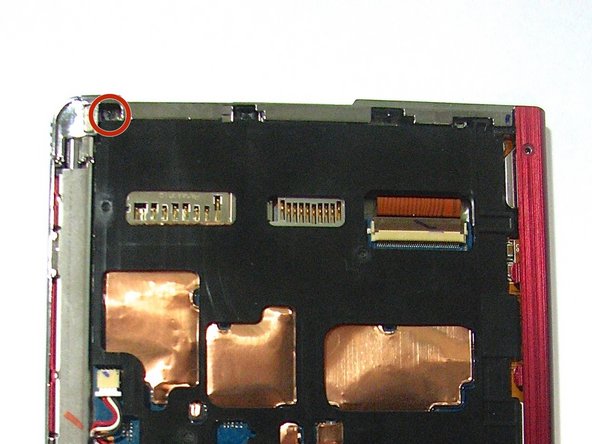
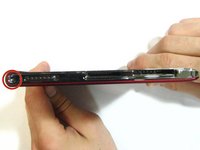
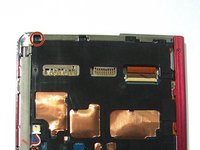
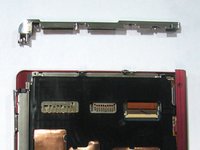
  7. Sony Reader Touch Edition PRS-600 Power Button Replacement: crwdns2935265:07crwdnd2935265:01crwdnd2935265:03crwdne2935265:0 Sony Reader Touch Edition PRS-600 Power Button Replacement: crwdns2935265:07crwdnd2935265:02crwdnd2935265:03crwdne2935265:0 Sony Reader Touch Edition PRS-600 Power Button Replacement: crwdns2935265:07crwdnd2935265:03crwdnd2935265:03crwdne2935265:0
    • Using the Phillips screwdriver remove the 1.4 mm screw from the top panel.

    • Using the same screwdriver, remove the 1.4 mm screw from the back of the device.

    • Pry apart off the top panel of the device.

crwdns2915888:0crwdne2915888:0

To reassemble your device, follow these instructions in reverse order.

Zachary Jeffers

crwdns2935283:010/13/14crwdne2935283:0

412 crwdns2915208:0crwdne2915208:0

crwdns2935297:04crwdne2935297:0

crwdns2915084:0crwdne2915084:0

Clemson, Team 1-4, Benson Fall 2014 crwdns2935289:0Clemson, Team 1-4, Benson Fall 2014crwdne2935289:0

CLEM-BENSON-F14S1G4

crwdns2931471:04crwdne2931471:0

crwdns2935297:022crwdne2935297:0

crwdns2944067:00crwdne2944067:0

crwdns2917038:0crwdne2917038:0

crwdns2936625:0crwdne2936625:0:

crwdns2936751:024crwdne2936751:0 0

crwdns2936753:07crwdne2936753:0 2

crwdns2936753:030crwdne2936753:0 7

crwdns2942667:0crwdne2942667:0 553