crwdns2915892:0crwdne2915892:0
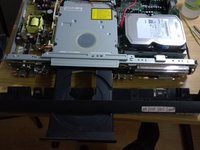
This guide will show how to remove the hard drive and the optical drive for the Sony RDR HX.
crwdns2942213:0crwdne2942213:0
-
-
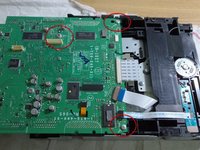
Remove the screws from the back and sides of the top cover.
-
-
-
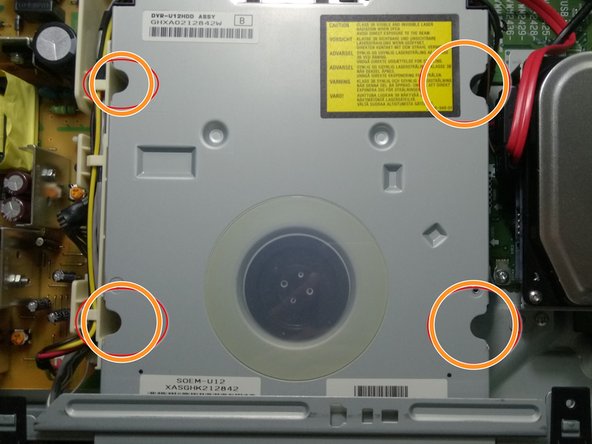
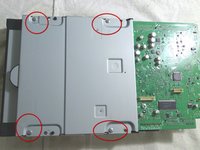
Remove the four screws that secure the hard drive mounting bracket to the bottom of the unit.
-
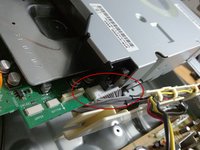
Unplug the two cables from the rear of the hard drive.
-
Remove the four screws from the bottom of the hard drive mounting bracket.
-
-
-
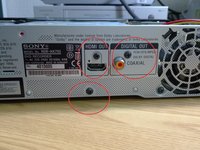
Remove the screws from the back
-
Remove the screws from the DVD cover
-
Remove the screws from the plastic cable holder
-
-
-
-
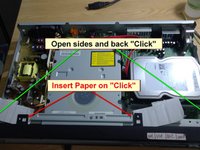
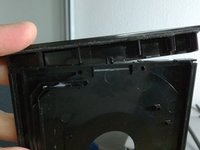
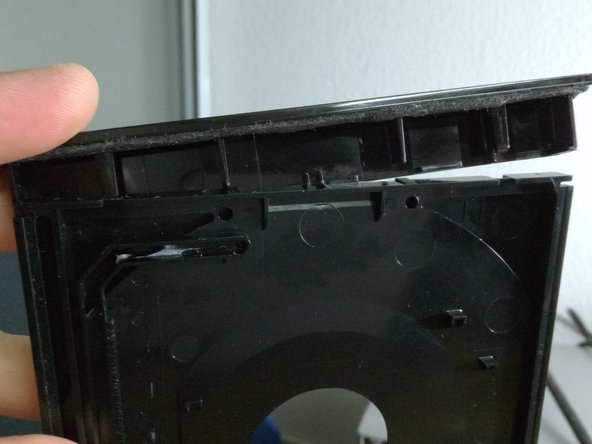
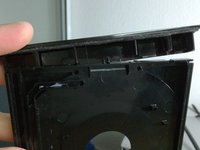
Insert the paper under each "click" to remove the front panel.
-
Once each "click" is loose, push the front panel gently.
-
The table of the compact disk has a little plastic piece in front that goes up to come out with a "click"
-
-
-
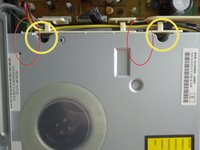
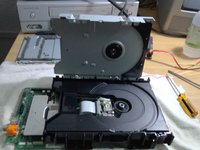
Unplug the cables show in photo.
-
Disconnect the cable hidden on the side.
-
Remove the piece on the cd reader
-
-
-
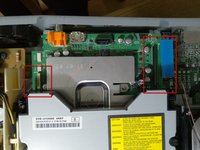
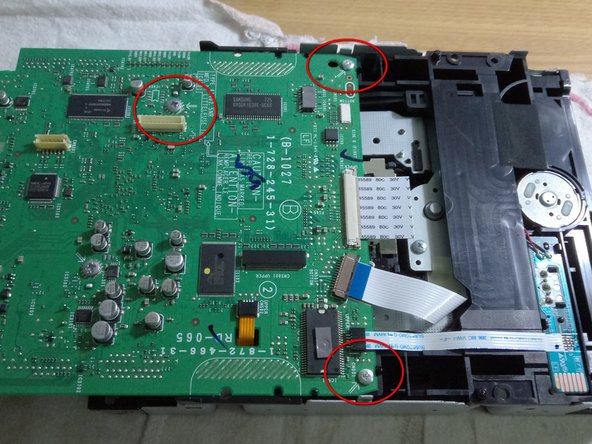
Under the DVD block, remove the screws as shown.
-
Remove the screws on the board.
-
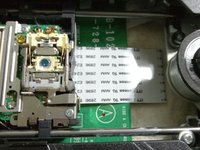
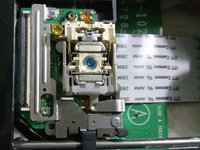
Now the laser can be accessed.
-
-
-
Inserir instruções aqui.
-


To open this dvd recorder folow this tutorial
To open this dvd recorder folow this tutorial
crwdns2935221:0crwdne2935221:0
crwdns2935229:02crwdne2935229:0

crwdns2947410:01crwdne2947410:0
Hello,HX950 work only with hdd 250Gb,or another,with 500 or 1000Gb ???