crwdns2933423:0crwdne2933423:0

Sony NWZ-E473 Front Button Replacement

crwdns2942213:0crwdne2942213:0

  1. Sony NWZ-E473 Front Button Replacement, Back Panel: crwdns2935265:01crwdnd2935265:01crwdnd2935265:01crwdne2935265:0
    • Use a Phillips #00 screwdriver to unscrew the two 5 mm screws located on the bottom of the back of the device.

  2. Sony NWZ-E473 Front Button Replacement: crwdns2935265:02crwdnd2935265:01crwdnd2935265:01crwdne2935265:0
    • Use a plastic opening tool to loosen the bottom portion of device.

  3. Sony NWZ-E473 Front Button Replacement: crwdns2935265:03crwdnd2935265:01crwdnd2935265:01crwdne2935265:0
    • Use a plastic opening tool to loosen the top panel of the device.

  4. Sony NWZ-E473 Front Button Replacement: crwdns2935265:04crwdnd2935265:01crwdnd2935265:01crwdne2935265:0
    • Use a Phillips #00 screwdriver to remove the two 3 mm screws located on the portion under the top panel of the device.

  5. Sony NWZ-E473 Front Button Replacement: crwdns2935265:05crwdnd2935265:01crwdnd2935265:03crwdne2935265:0 Sony NWZ-E473 Front Button Replacement: crwdns2935265:05crwdnd2935265:02crwdnd2935265:03crwdne2935265:0 Sony NWZ-E473 Front Button Replacement: crwdns2935265:05crwdnd2935265:03crwdnd2935265:03crwdne2935265:0
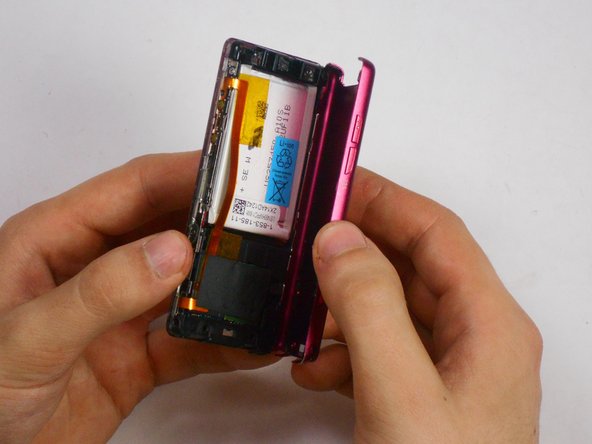
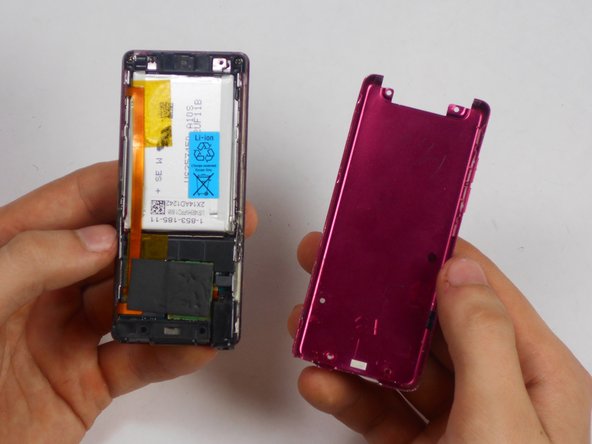
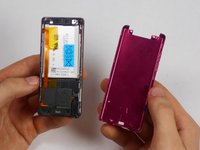
    • Remove the back plate from the device.

  6. Sony NWZ-E473 Front Button Replacement, Battery: crwdns2935265:06crwdnd2935265:01crwdnd2935265:02crwdne2935265:0 Sony NWZ-E473 Front Button Replacement, Battery: crwdns2935265:06crwdnd2935265:02crwdnd2935265:02crwdne2935265:0
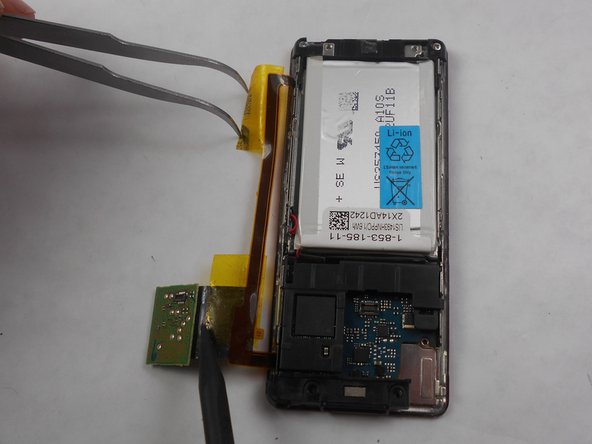
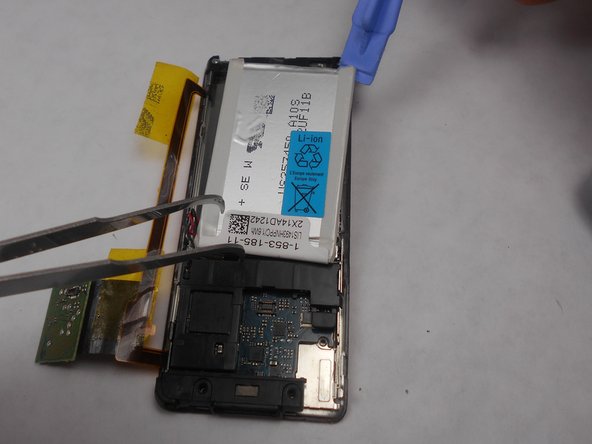
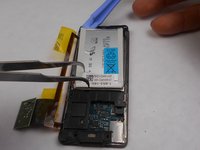
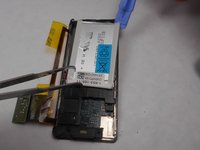
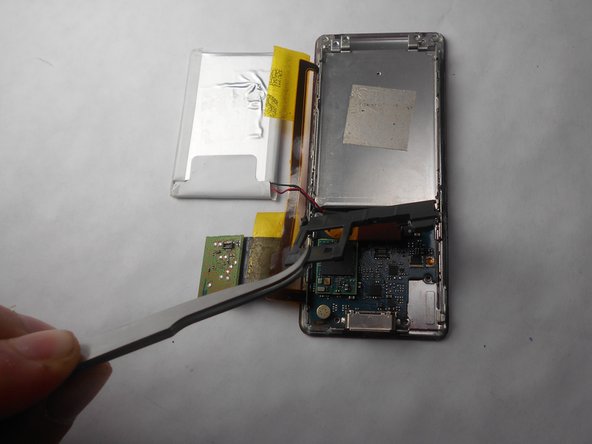
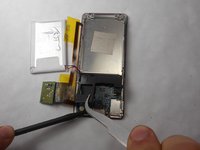
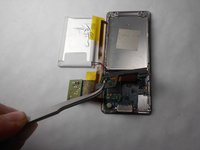
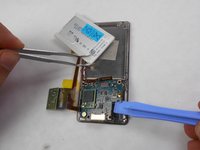
    • Peel back the layer of tape along with the processor, which is located just below the battery, using the tweezers and the spudger.

  7. Sony NWZ-E473 Front Button Replacement: crwdns2935265:07crwdnd2935265:01crwdnd2935265:02crwdne2935265:0 Sony NWZ-E473 Front Button Replacement: crwdns2935265:07crwdnd2935265:02crwdnd2935265:02crwdne2935265:0
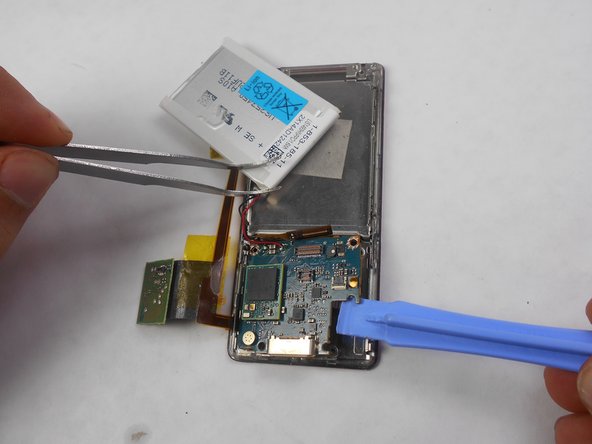
    • Slide a prying tool underneath the top portion of the battery and lift it from the case.

  8. Sony NWZ-E473 Front Button Replacement: crwdns2935265:08crwdnd2935265:01crwdnd2935265:01crwdne2935265:0
    • Remove the stickers from the battery terminals, which are on the underside of the battery.

  9. Sony NWZ-E473 Front Button Replacement: crwdns2935265:09crwdnd2935265:01crwdnd2935265:01crwdne2935265:0
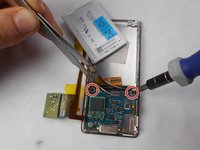
    • Use a soldering iron to remove the wires from the red and the black terminals.

  10. Sony NWZ-E473 Front Button Replacement, Screen: crwdns2935265:010crwdnd2935265:01crwdnd2935265:01crwdne2935265:0
    • Use a nylon spudger or tweezers to remove the plastic USB cover.

  11. Sony NWZ-E473 Front Button Replacement: crwdns2935265:011crwdnd2935265:01crwdnd2935265:01crwdne2935265:0
    • Use a Phillips #00 screwdriver to unscrew two 2 mm screws located on the top corners of the device.

  12. Sony NWZ-E473 Front Button Replacement: crwdns2935265:012crwdnd2935265:01crwdnd2935265:01crwdne2935265:0
    • Use a nylon spudger or tweezers to remove the plastic protective plate at the top of device.

  13. Sony NWZ-E473 Front Button Replacement: crwdns2935265:013crwdnd2935265:01crwdnd2935265:02crwdne2935265:0 Sony NWZ-E473 Front Button Replacement: crwdns2935265:013crwdnd2935265:02crwdnd2935265:02crwdne2935265:0
    • Remove the plastic protective frame located over the motherboard with tweezers and a spudger.

  14. Sony NWZ-E473 Front Button Replacement: crwdns2935265:014crwdnd2935265:01crwdnd2935265:01crwdne2935265:0
    • Remove screen connection from motherboard using tweezers and spudger.

  15. Sony NWZ-E473 Front Button Replacement: crwdns2935265:015crwdnd2935265:01crwdnd2935265:01crwdne2935265:0
    • Use a Phillips #00 screwdriver to remove two 3 mm screws at the bottom sides and two 1 mm screws at top sides of the device.

  16. Sony NWZ-E473 Front Button Replacement: crwdns2935265:016crwdnd2935265:01crwdnd2935265:02crwdne2935265:0 Sony NWZ-E473 Front Button Replacement: crwdns2935265:016crwdnd2935265:02crwdnd2935265:02crwdne2935265:0
    • Use a Phillips #00 screwdriver to unscrew two 2 mm screws, and remove the motherboard from the device with tweezers and a plastic opening tool.

  17. Sony NWZ-E473 Front Button Replacement: crwdns2935265:017crwdnd2935265:01crwdnd2935265:02crwdne2935265:0 Sony NWZ-E473 Front Button Replacement: crwdns2935265:017crwdnd2935265:02crwdnd2935265:02crwdne2935265:0
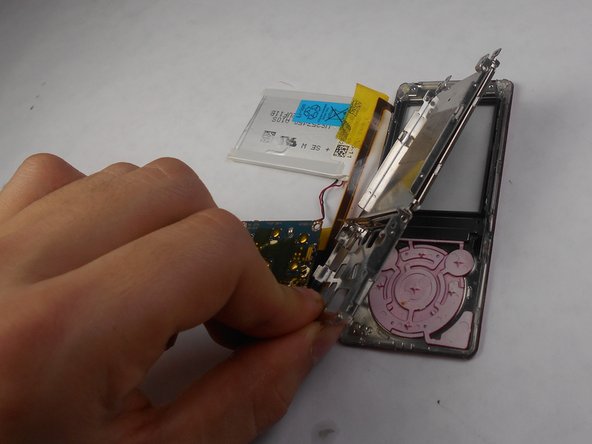
    • Disconnect the metal shielding plate from the front panel with tweezers or a plastic opening tool.

  18. Sony NWZ-E473 Front Button Replacement: crwdns2935265:018crwdnd2935265:01crwdnd2935265:02crwdne2935265:0 Sony NWZ-E473 Front Button Replacement: crwdns2935265:018crwdnd2935265:02crwdnd2935265:02crwdne2935265:0
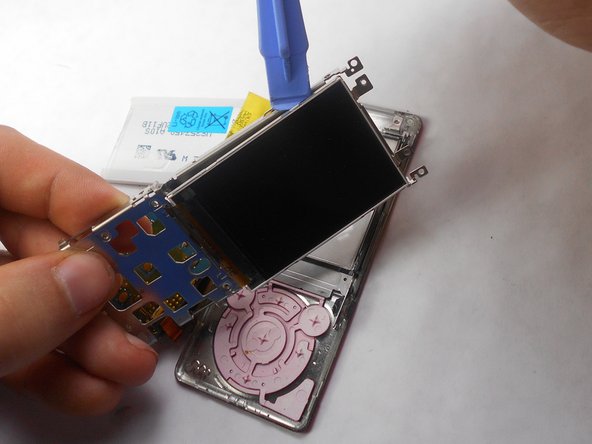
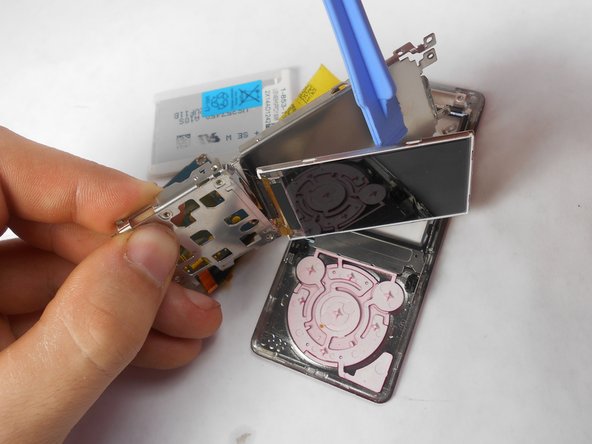
    • Use a plastic opening tool to remove the screen from metal back plate.

  19. Sony NWZ-E473 Front Button Replacement, Front Button: crwdns2935265:019crwdnd2935265:01crwdnd2935265:01crwdne2935265:0
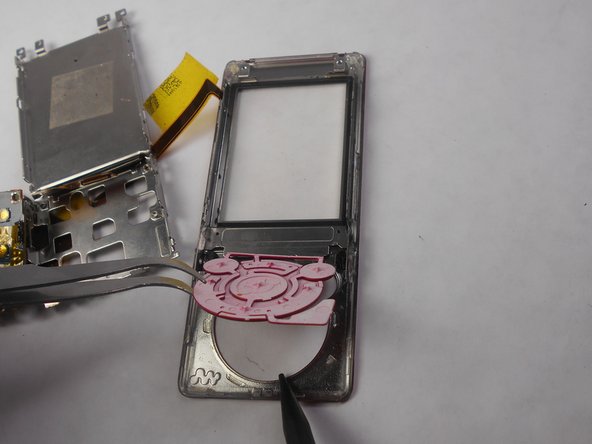
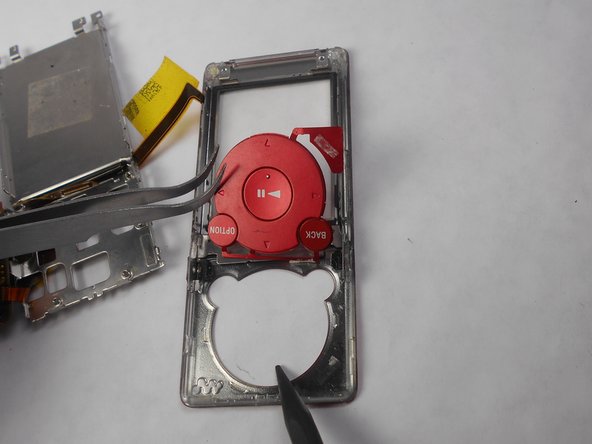
    • Ensure that button connection is completely separated from the buttons.

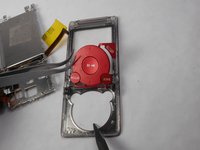
  20. Sony NWZ-E473 Front Button Replacement: crwdns2935265:020crwdnd2935265:01crwdnd2935265:03crwdne2935265:0 Sony NWZ-E473 Front Button Replacement: crwdns2935265:020crwdnd2935265:02crwdnd2935265:03crwdne2935265:0 Sony NWZ-E473 Front Button Replacement: crwdns2935265:020crwdnd2935265:03crwdnd2935265:03crwdne2935265:0
    • Remove buttons from front display panel by pushing button display from the front of the device

crwdns2915888:0crwdne2915888:0

To reassemble your device, follow these instructions in reverse order.

Matthew Hintz

crwdns2935283:001/16/15crwdne2935283:0

327 crwdns2915208:0crwdne2915208:0

crwdns2935297:03crwdne2935297:0

crwdns2915084:0crwdne2915084:0

USF Tampa, Team 17-6, Watkins Winter 2015 crwdns2935289:0USF Tampa, Team 17-6, Watkins Winter 2015crwdne2935289:0

USFT-WATKINS-W15S17G6

crwdns2931471:04crwdne2931471:0

crwdns2935297:07crwdne2935297:0

crwdns2944067:00crwdne2944067:0

crwdns2917038:0crwdne2917038:0

crwdns2936625:0crwdne2936625:0:

crwdns2936751:024crwdne2936751:0 0

crwdns2936753:07crwdne2936753:0 5

crwdns2936753:030crwdne2936753:0 8

crwdns2942667:0crwdne2942667:0 1,777