crwdns2915892:0crwdne2915892:0
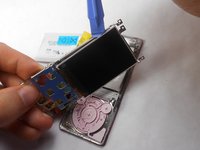
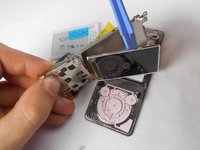
When removing the screen, you may want to use gloves so that no glass shards cut your hands.
crwdns2942213:0crwdne2942213:0
-
-
Use a Phillips #00 screwdriver to unscrew the two 5 mm screws located on the bottom of the back of the device.
-
-
-
Use a plastic opening tool to loosen the bottom portion of device.
-
-
-
Use a plastic opening tool to loosen the top panel of the device.
-
-
-
Use a Phillips #00 screwdriver to remove the two 3 mm screws located on the portion under the top panel of the device.
-
-
-
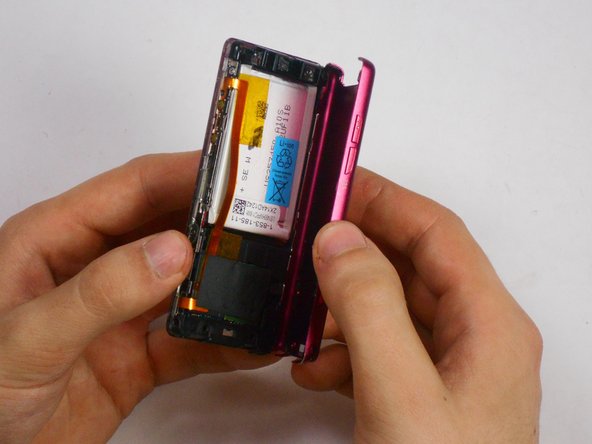
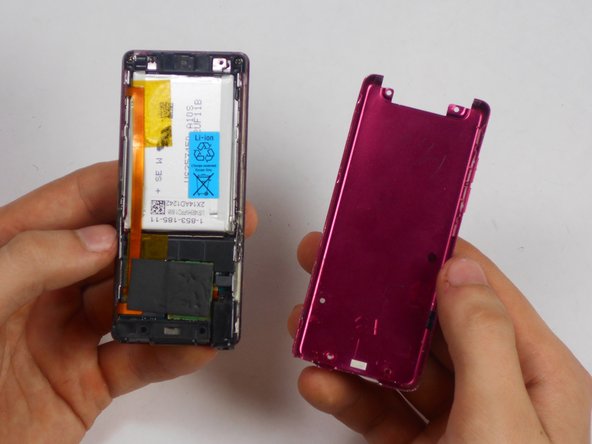
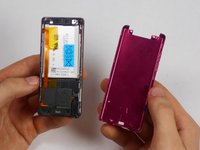
Remove the back plate from the device.
-
-
-
crwdns2935267:0crwdne2935267:0Tweezers$4.99
-
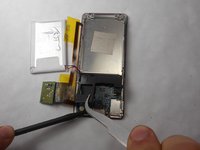
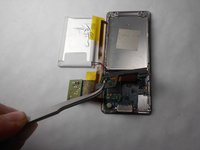
Use a nylon spudger or tweezers to remove the plastic USB cover.
-
-
-
Use a Phillips #00 screwdriver to unscrew two 2 mm screws located on the top corners of the device.
-
-
-
Use a nylon spudger or tweezers to remove the plastic protective plate at the top of device.
-
-
-
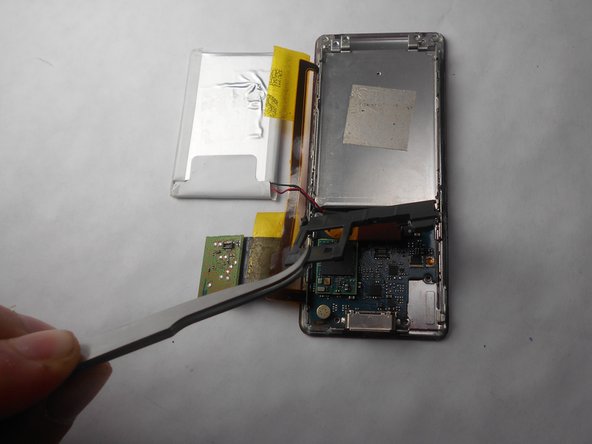
Remove the plastic protective frame located over the motherboard with tweezers and a spudger.
-
-
-
Remove screen connection from motherboard using tweezers and spudger.
-
-
-
Use a Phillips #00 screwdriver to remove two 3 mm screws at the bottom sides and two 1 mm screws at top sides of the device.
-
-
-
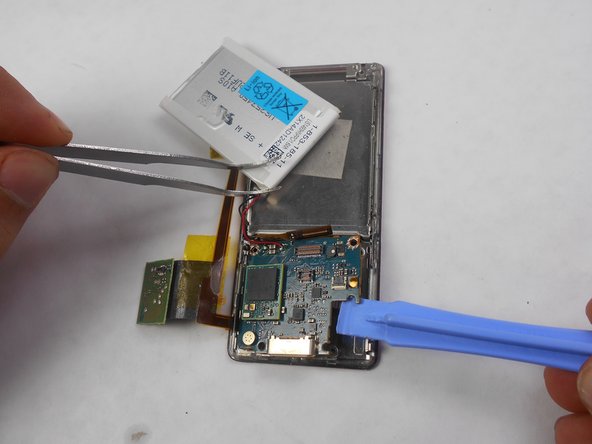
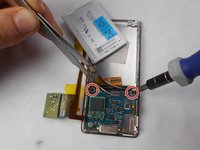
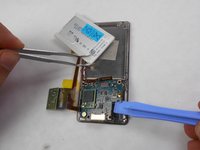
Use a Phillips #00 screwdriver to unscrew two 2 mm screws, and remove the motherboard from the device with tweezers and a plastic opening tool.
-
-
-
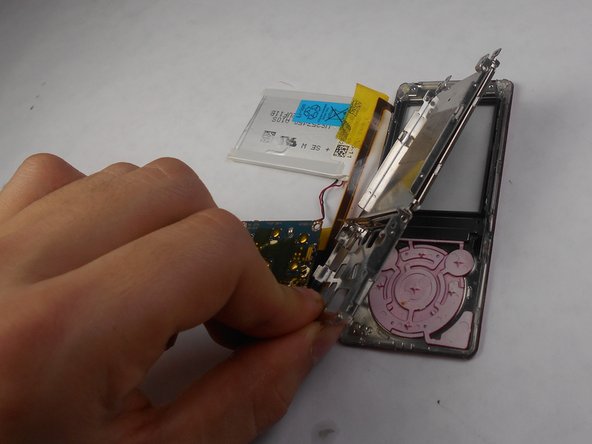
Disconnect the metal shielding plate from the front panel with tweezers or a plastic opening tool.
-
-
-
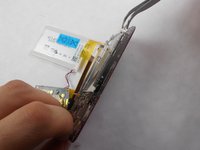
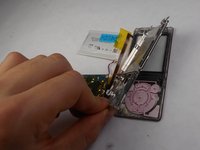
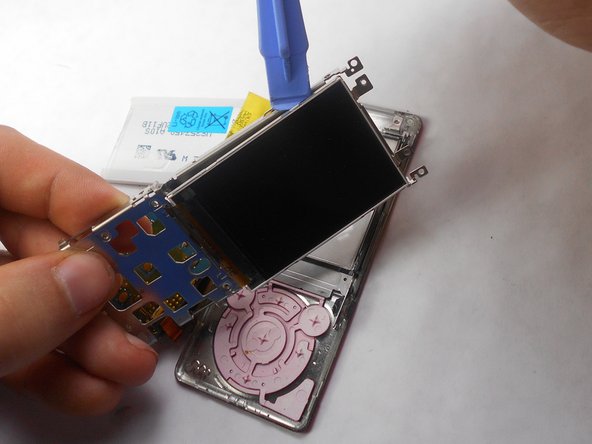
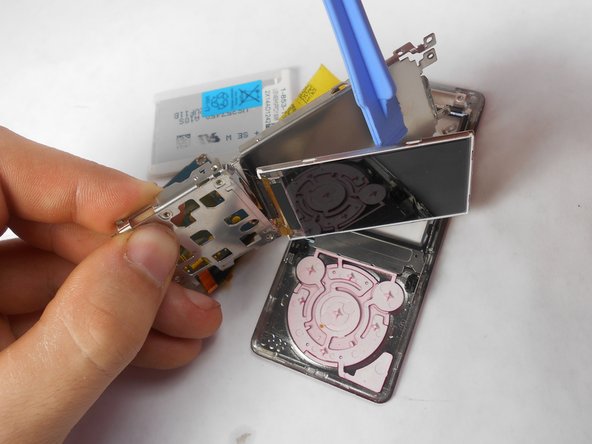
Use a plastic opening tool to remove the screen from metal back plate.
-
To reassemble your device, follow these instructions in reverse order.
To reassemble your device, follow these instructions in reverse order.


