crwdns2933423:0crwdne2933423:0

Sony MVC-FD200 LCD Display Screen Replacement

crwdns2942213:0crwdne2942213:0

  1. Sony MVC-FD200 LCD Display Screen Replacement, Battery: crwdns2935265:01crwdnd2935265:01crwdnd2935265:01crwdne2935265:0
    • Using your finger, slide the tab on the battery door up to release the battery latch.

  2. Sony MVC-FD200 LCD Display Screen Replacement: crwdns2935265:02crwdnd2935265:01crwdnd2935265:01crwdne2935265:0
    • Lift the battery door to reveal the battery compartment.

    • Push the gray lever to the left side to remove the battery.

    • If any other repairs are needed, make sure to carefully remove the battery to avoid any electric shock or short circuits during repairs.

  3. Sony MVC-FD200 LCD Display Screen Replacement, Back Cover: crwdns2935265:03crwdnd2935265:01crwdnd2935265:01crwdne2935265:0
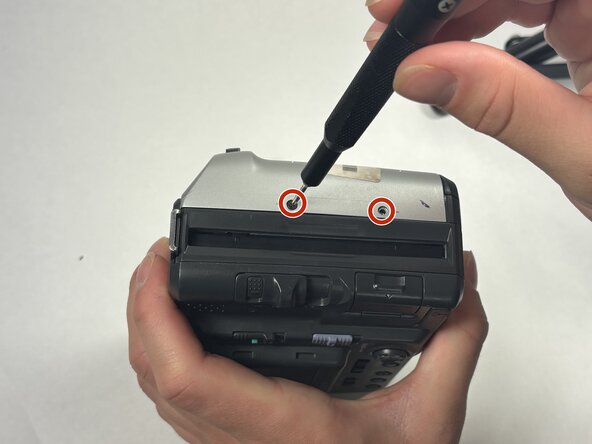
    • Turn the camera so that the top is facing down towards the table.

    • Using the Phillips #00 screwdriver, remove all 2.0 mm screws with the arrows facing towards them.

  4. Sony MVC-FD200 LCD Display Screen Replacement: crwdns2935265:04crwdnd2935265:01crwdnd2935265:02crwdne2935265:0 Sony MVC-FD200 LCD Display Screen Replacement: crwdns2935265:04crwdnd2935265:02crwdnd2935265:02crwdne2935265:0
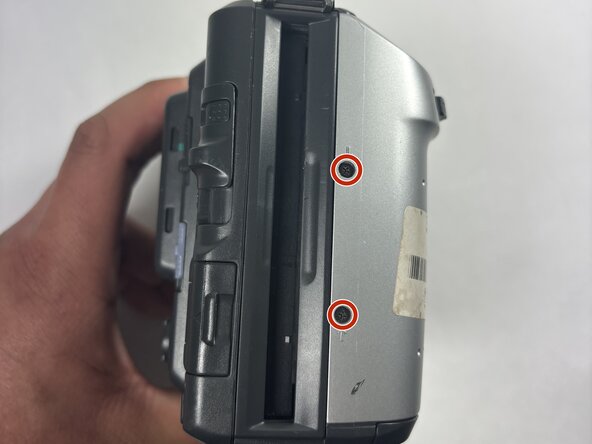
    • Flip the camera on both sides and remove the rest of the screws with arrows facing towards them.

    • Remove the 2.0 mm screws with the Phillips #00 screwdriver for both sides of the camera.

  5. Sony MVC-FD200 LCD Display Screen Replacement, LCD Display Screen: crwdns2935265:05crwdnd2935265:01crwdnd2935265:03crwdne2935265:0 Sony MVC-FD200 LCD Display Screen Replacement, LCD Display Screen: crwdns2935265:05crwdnd2935265:02crwdnd2935265:03crwdne2935265:0 Sony MVC-FD200 LCD Display Screen Replacement, LCD Display Screen: crwdns2935265:05crwdnd2935265:03crwdnd2935265:03crwdne2935265:0
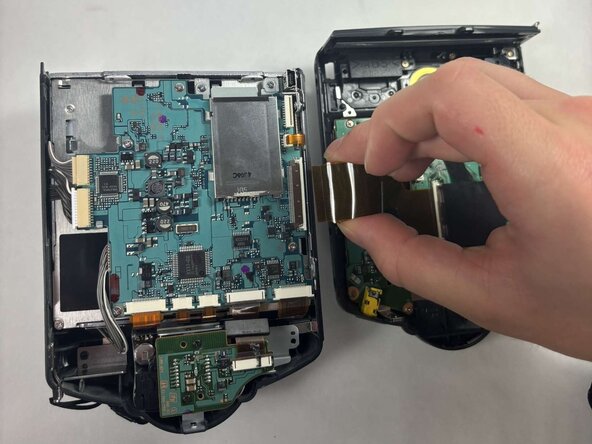
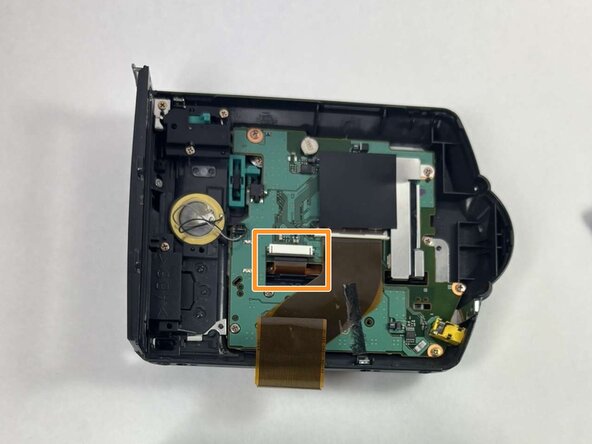
    • Detach the ribbon cable that connects the two halves of the device to split them apart.

    • Gently pry up the black plastic tab to slide out the ribbon cables.

    • Be gentle because this component is thin, but do not be afraid to damage the ribbon cable during removal. Add force progressively in small amounts.

  6. Sony MVC-FD200 LCD Display Screen Replacement: crwdns2935265:06crwdnd2935265:01crwdnd2935265:01crwdne2935265:0
    • Remove the six 2.0 mm screws which hold the motherboard in place using the Phillips #00 screwdriver.

  7. Sony MVC-FD200 LCD Display Screen Replacement: crwdns2935265:07crwdnd2935265:01crwdnd2935265:01crwdne2935265:0
    • Remove the four 2.0 mm screws which hold down the heat shield using the Phillips #00 screwdriver.

  8. Sony MVC-FD200 LCD Display Screen Replacement: crwdns2935265:08crwdnd2935265:01crwdnd2935265:02crwdne2935265:0 Sony MVC-FD200 LCD Display Screen Replacement: crwdns2935265:08crwdnd2935265:02crwdnd2935265:02crwdne2935265:0
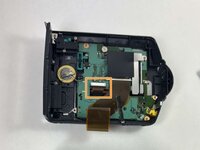
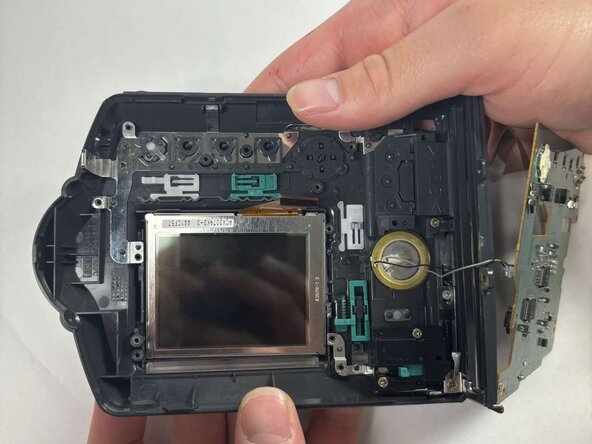
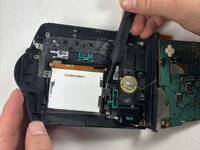
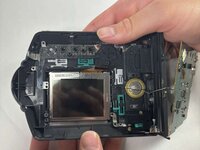
    • The LCD display and the backlight which sits on top of it are displayed.

    • Push both components out.

crwdns2915888:0crwdne2915888:0

To reassemble your device, follow these instructions in reverse order.

Nathan Cordeiro

crwdns2935283:003/19/25crwdne2935283:0

114 crwdns2915208:0crwdne2915208:0

crwdns2935295:0crwdne2935295:0

crwdns2915084:0crwdne2915084:0

UMass Dartmouth, Team 1-4, Rioux Spring 2025 crwdns2935289:0UMass Dartmouth, Team 1-4, Rioux Spring 2025crwdne2935289:0

UMASSD-RIOUX-S25S1G4

crwdns2931471:04crwdne2931471:0

crwdns2935297:04crwdne2935297:0

crwdns2947412:00crwdne2947412:0

crwdns2917038:0crwdne2917038:0

crwdns2936625:0crwdne2936625:0:

crwdns2936751:024crwdne2936751:0 0

crwdns2936753:07crwdne2936753:0 23

crwdns2936753:030crwdne2936753:0 30

crwdns2942667:0crwdne2942667:0 72