crwdns2915892:0crwdne2915892:0
If your Sony ICF-C1T is having trouble increasing or decreasing volume, use this guide to replace the volume dial.
The volume dial gauges the volume produced by the Sony ICF-C1T by rolling the dial-up and down. If your system does not change the volume upon moving the dial, the dial may need to be replaced.
Step 3-5 requires separating part of the device, make sure to use caution handling circuitry to ensure that no wires are torn.
Before beginning this guide, make sure to unplug the device and remove any batteries.
crwdns2942213:0crwdne2942213:0
-
-
-
Remove the 4 (14mm) screws from the underside of the device using the Philips #0 Screwdriver.
 crwdns2952109:0crwdne2952109:0
-
-
-
Pry apart the edge of the top and side portions of the device using a flat-headed tool (i.e. flathead screwdriver, card, etc)
-
-
-
-
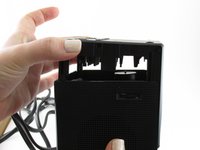
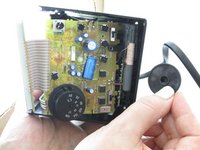
Carefully separate the device by gently pulling up on the top of the clock/radio.
-
-
-
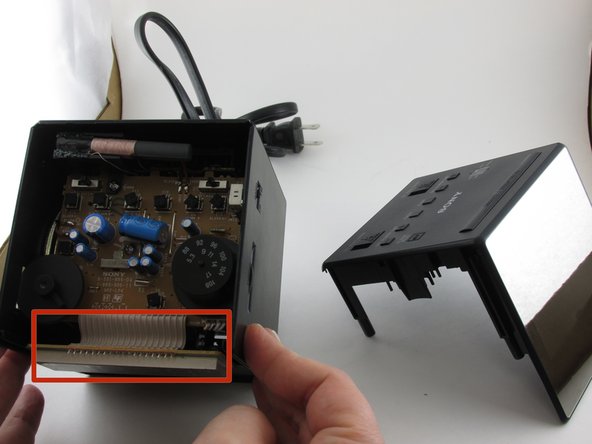
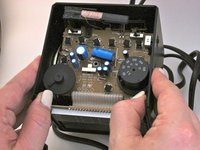
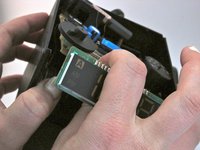
To remove the motherboard, gently pull apart the sides of the device.
-
-
-
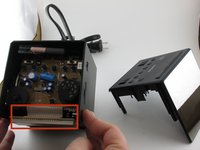
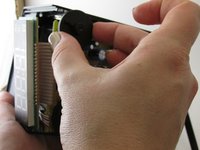
Remove the volume dial by pulling it off the motherboard. This can take a little force to remove.
-
-


To reassemble your device, follow these instructions in reverse order.
crwdns2935287:0crwdne2935287:0

University of Kentucky Louisville, Team 1-5, Rountree Winter 2015 crwdns2935289:0University of Kentucky Louisville, Team 1-5, Rountree Winter 2015crwdne2935289:0
LOUISVILLE-ROUNTREE-W15S1G5
crwdns2931471:03crwdne2931471:0
crwdns2935297:010crwdne2935297:0
crwdns2947410:01crwdne2947410:0
thanks for the great instructions. a few notes: it seems the “edit” comments were all left in above (“no edits necessary” and the stuff about highlighting parts of it). after step 3, there wasn’t instructions about removing the two screws from the motherboard, before step 4.
J Kwan - crwdns2934203:0crwdne2934203:0 crwdns2950251:0crwdne2950251:0