crwdns2915892:0crwdne2915892:0
Use this guide to help you remove the broken or defected motherboard in your Sony Handycam HDR-Cx220.
crwdns2942213:0crwdne2942213:0
-
-
Push in the battery indicator.
-
-
-
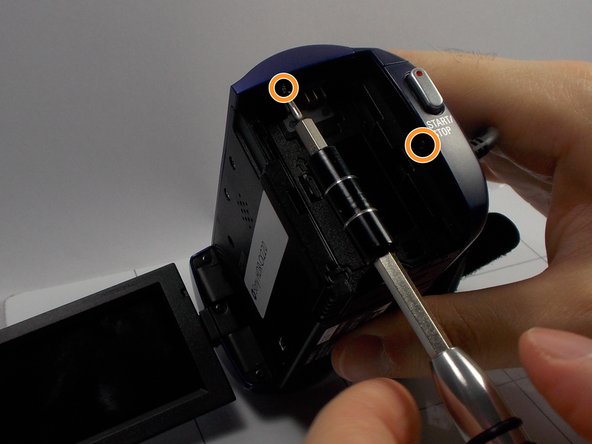
Use the Phillips #0 screwdriver to remove the two 5mm screws.
-
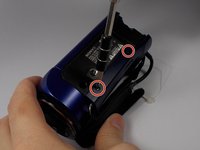
Use the Phillips #0 screwdriver to remove the two 5mm screws.
-
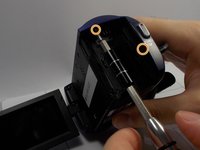
Use the Phillips #0 screwdriver to remove the three 5mm screws.
-
-
-
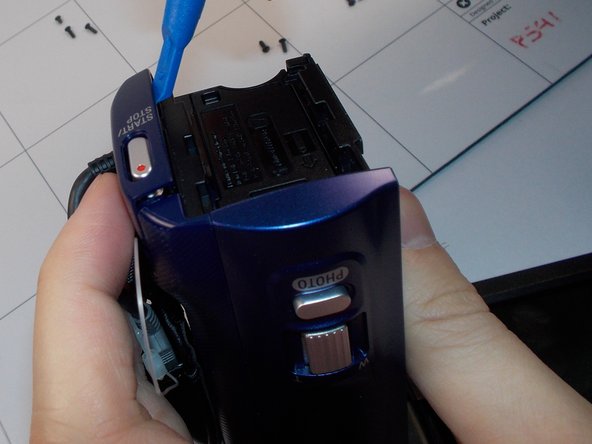
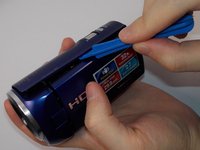
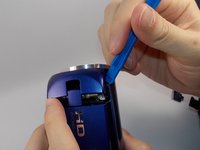
Use the plastic opening tool to loosen the plastic case of the camcorder.
-
-
-
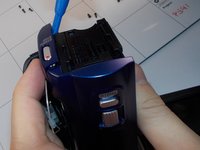
Use your hands to remove the plastic case.
-
-
-
-
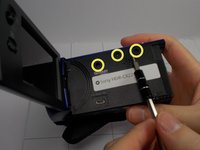
Use the Phillips #0 Screwdriver to remove the 5mm screw
-
Use the Phillips #0 Screwdriver to remove the 5mm screw
-
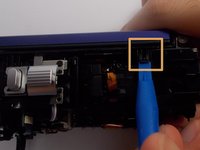
Use the Plastic Opening tools to unhook the highlighted area.
-
-
-
Remove the 3 (4mm) screws on the front of the lens using the Philips #0 Screwdriver.
-
-
-
Remove the lens and clean it if needed.
-
-
-
Use the Phillips #0 Screwdriver to remove the shown 5mm screws.
-
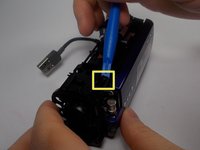
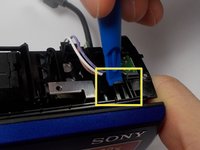
Use the plastic opening tool to release the front hook.
-
Use the plastic opening tool to release the back hook.
-
-
-
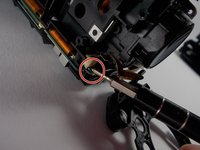
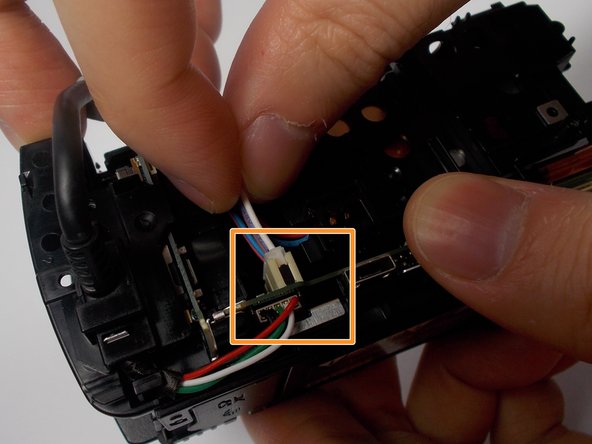
Gently pull on the 2 wires shown on the bottom of the camcorder.
-
Disconnect the wire shows on the second picture.
-
-
-
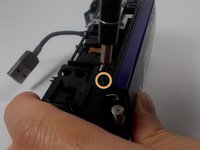
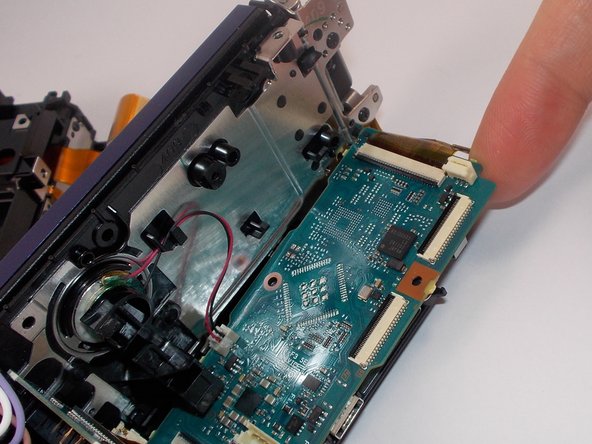
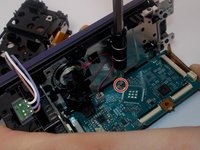
Use the Phillips #0 screwdriver to remove the 4mm screw shown.
-
-
-
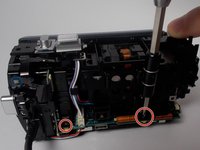
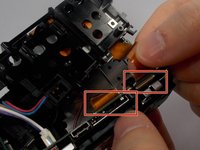
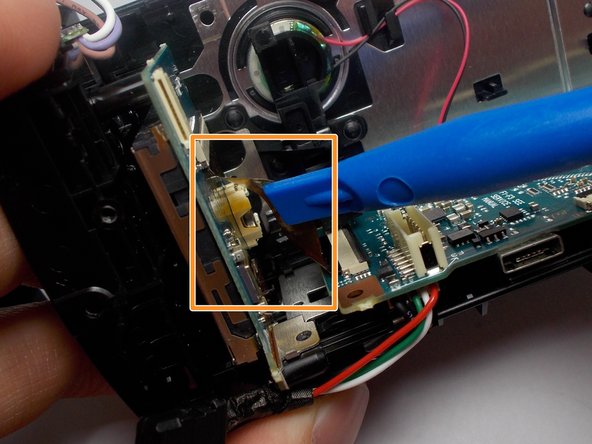
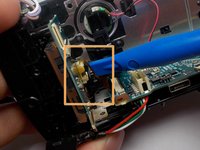
Remove the side wire from the motherboard as shown on the photo.
-
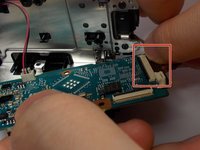
Remove the top wire from the motherboard as shown on the photo.
-
-
-
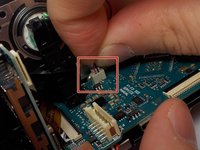
Unplug the speaker from the motherboard.
-


To reassemble your device, follow these instructions in reverse order.
To reassemble your device, follow these instructions in reverse order.
crwdns2935221:0crwdne2935221:0
crwdns2935227:0crwdne2935227:0
crwdns2915084:0crwdne2915084:0

UMass Dartmouth, Team 8-5, Botvin Spring 2016 crwdns2935289:0UMass Dartmouth, Team 8-5, Botvin Spring 2016crwdne2935289:0
UMASSD-BOTVIN-S16S8G5
crwdns2931471:03crwdne2931471:0
crwdns2935297:012crwdne2935297:0