crwdns2915892:0crwdne2915892:0
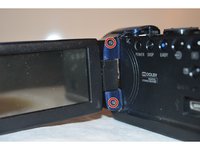
The LCD Screen is a crucial component to the playback of the camera. The camera will most likely take pictures if the LCD Screen is broken, but will be unable to show the pictures or setting options through the screen. If you wish to change the resolution settings on the camera, a broken or damaged LCD Screen must be fixed.
crwdns2942213:0crwdne2942213:0
-
-
Remove the battery.
-
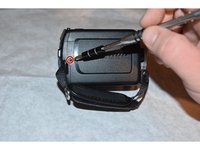
Use a Philips #000 screwdriver to remove the 3mm screw under the battery.
-
-
-
Using the Phillips #000 screwdriver, remove all six of the 3mm screws located on the side of the camera.
-
-
-
Using the Phillips #000 screwdriver remove the three 3mm screws from under the LCD screen.
-
-
-
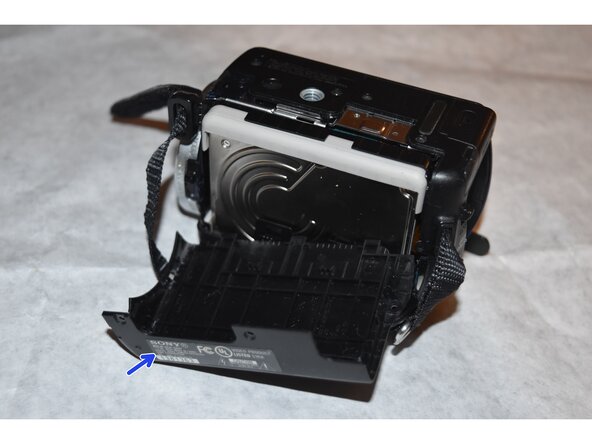
Using a Phillips #000 screwdriver remove the single 3mm screw on the back of the camera.
-
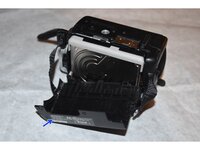
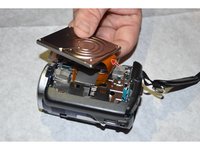
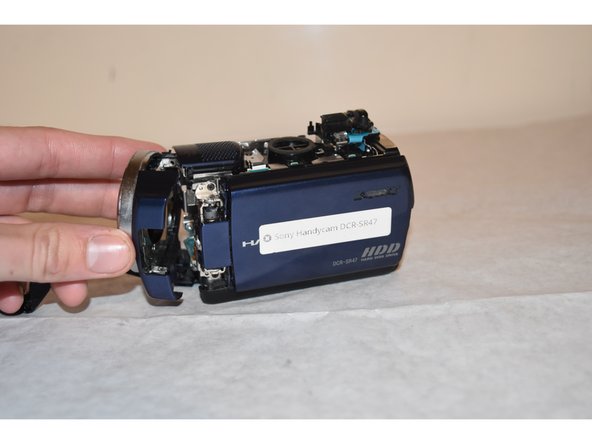
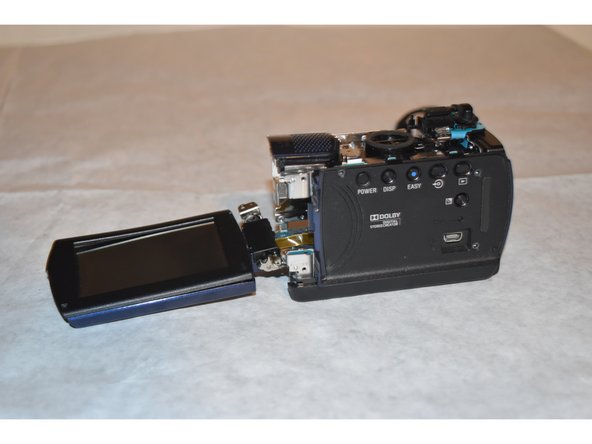
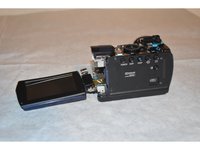
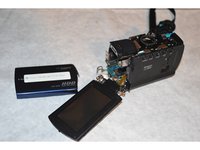
Pull away the back shell of the camera to expose the hard drive.
-
-
-
-
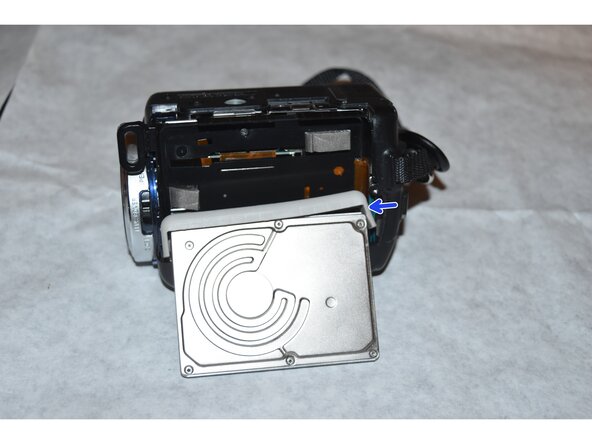
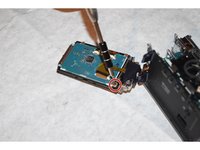
Gently pull the flex cable away from the hard drive. It should pop off with minimal effort.
-
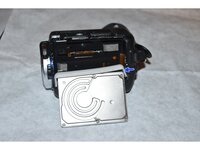
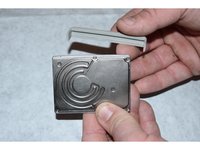
After removing the flex cable take off the plastic guard from the side of the hard drive.
-
-
-
Use a Philips #000 screwdriver to remove the two 3mm screws on the hinge securing the screen to the body of the camera.
-
-
-
Use a Philips #000 screwdriver to remove the two 3mm screws on the opposite side of the hinge.
-
-
-
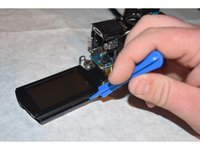
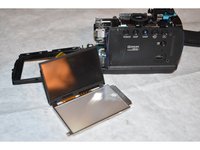
Using the plastic opening tool, gently separate the LCD screen from its plastic housing.
-
-
-
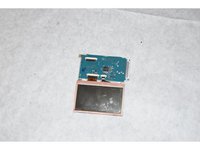
Using the spudger or your fingers, gently remove the smaller end of the flex cable from the LCD Screen.
-
-
-
Using the Phillips #000 screwdriver, remove the 3mm screw from the LCD screen.
-
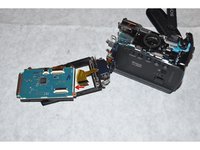
The LCD screen may now be removed from the camera completely.
-
-
-
Remove the old LCD screen and replace it with the new screen.
-


To reassemble your device, follow these instructions in reverse order.
To reassemble your device, follow these instructions in reverse order.
crwdns2935221:0crwdne2935221:0
crwdns2935229:02crwdne2935229:0
crwdns2915084:0crwdne2915084:0

Western Carolina University, Team 1-2, Virtue Fall 2015 crwdns2935289:0Western Carolina University, Team 1-2, Virtue Fall 2015crwdne2935289:0
WCU-VIRTUE-F15S1G2
crwdns2931471:04crwdne2931471:0
crwdns2935297:08crwdne2935297:0
crwdns2947410:01crwdne2947410:0
where can i buy a screen for this camera?